BTCPay Transmuter
With BTCPay Transmuter you can automate the payment process of your Bitcoin payments. You can define a certain event and when this event occurs, then a certain action should be taken automatically.
The following applications are currently available:
- Forwarding the incoming bitcoin to another bitcoin address
- When an invoice has been paid, you want to be informed by email
- When a payment is received, then the bitcoin amount is to be exchanged into euro at an exchange
Custom applications can be developed for individual requirements. There are a variety of extensions that can be used for this purpose. A trigger can be defined, which then executes an action.
Detailed information about programming your own applications can be found on the Github page of BTC Transmuter
If you would like to exchange ideas with the developers, you can do so via this channel:
https://chat.btcpayserver.org/btcpayserver/channels/btc-transmuter
In this article we want to show you how to set up BTCPay Transmuter on your BTCPay server and how to use the already existing applications (presets) successfully.
Use BTCPay Transmuter at Coincharge
You can try BTCPay Transmuter as a demo application at Coincharge.
Go to the page:
https://btcpay.coincharge.io/btctransmuter
There you can register and try it yourself.
If you want to use BTCPay Transmuter on your own BTCPay server, the following chapter will tell you how to set up BTCPay Transmuter
Otherwise you can skip the following chapter and jump directly to the BTCPay Transmuter setup chapter.
Set up BTCPay Transmuter
You can install BTCPay Transmuter on your own server if you have the appropriate root rights.
You log in to your BTCPay server via Terminal (Linux / Mac) or Putty (Window).
To do this, enter the following command:
ssh ubuntu@btcpayXXXXXXX.lndyn.com
Where for btcpayxxxx.lndyn.com you use the name of your BTCPay server.
Then you will be asked to enter a password. Here you enter the LunaNode password, which you can find in the backend system of LuneNode for this server. It is not the password for LunaNode that you use for the website, but the password from the server from the Initial Login Details field.
After you have successfully logged in to the BTCPay server, you need to switch to the administration mode
To become an admin (Sudo), you give the command:
sudo su -
with the stroke.
Then change to the directory btcpayserver-docker. You do this by entering the command:
cd btcpayserver-docker
If this does not work, then the name of the folder may be spelled differently. You can use the ls command to see exactly how the directory is written.
In the Github manual the directory and the command was written accordingly like this
cd BTCPayServer-docker
Now you are in the directory btcpayserver-docker and here we install the BTC Transmuter by entering the following command:
export BTCPAYGEN_ADDITIONAL_FRAGMENTS="$BTCPAYGEN_ADDITIONAL_FRAGMENTS;opt-add-btctransmuter"
After that still
. ./btcpay-setup.sh -i
And we are done.
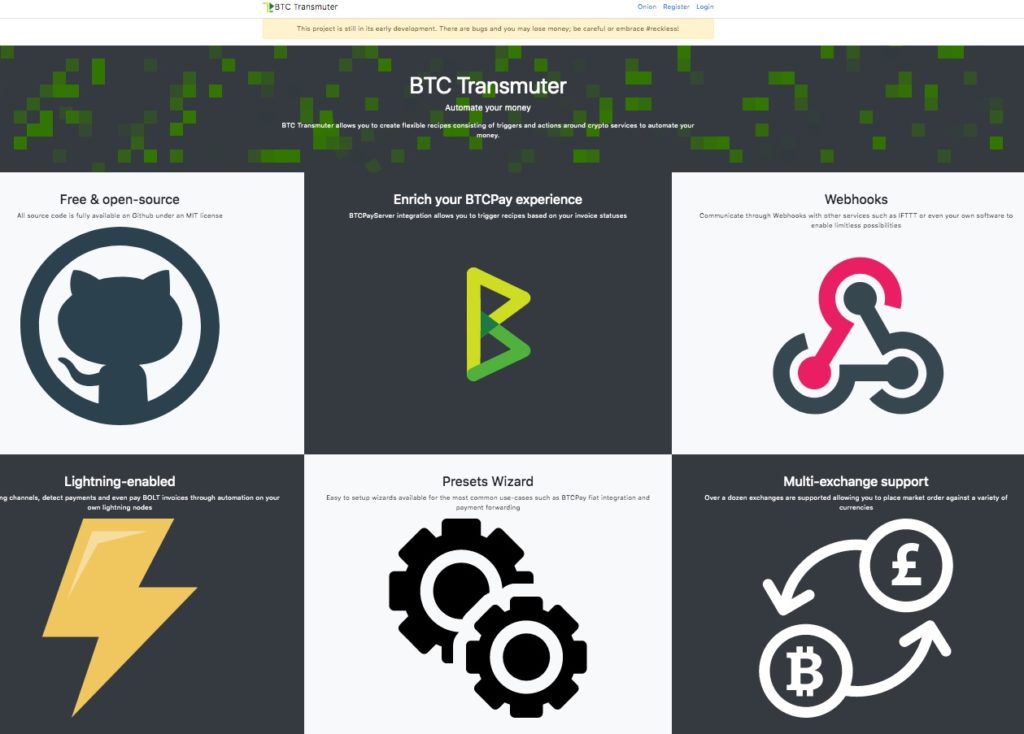
We call the web page of our BTCpay server and attach /btctransmuter/ to it.
The home page should look something like this:

Now you should immediately register yourself, because the account that registers first is automatically administrator.
Set up BTCPay Transmuter
Once you have successfully logged in, the following navigation will appear.

In the following points you will find:
- Admin – an overview of all registered users
- Extension – An overview of all available extensions with the information which actions are executed after which triggers. The same applies to the information on which External Services the respective extensions are used for.
- Recipes – for creating your own applications (Recipe)
- External Services – here you can find a variety of External Services, which you can configure for your own requirements.
- NBXplorer Status – shows you which is the current block and has been synchronized with NBXplorer.
- Presets – here are already created applications, which we can use for our applications.
Presets (preset applications)
Currently, there are three preset applications, which can be easily activated and used. You could create your own applications via Recipes, but ready-made applications are already provided under Presets.
We present these applications in detail on individual pages. You can access these descriptions via the corresponding links:


Leave a Reply
Your email is safe with us.