In this article, we will show you how to install and configure the Phoenix Lightning Wallet on your smartphone. How to make a deposit and how to send and receive Lightning payments.
We take a look at how a Lightning Wallet works where you have the balance under your own control, and how such a self-custodial Lightning Wallet interacts with the Lightning Network. We explain how to open a Lightning channel via the Phoenix Wallet, why it takes a little longer, what fees are incurred and what special features a self-custodial Lightning wallet offers its users.
If you may have been using a third-party managed Custodial Lightning Wallet like the Wallet of Satoshi, this article will help you take the next step and start using a self-managed Lightning Wallet like the Phoenix Wallet.

YouTube Video: Phoenix Lightning Wallet. Install, set up and use.
On the German-language YouTube channel of Coincharge + Coinpages we have a video with the title: Phoenix Lightning Wallet. Install, set up and use published.
Acinq Website
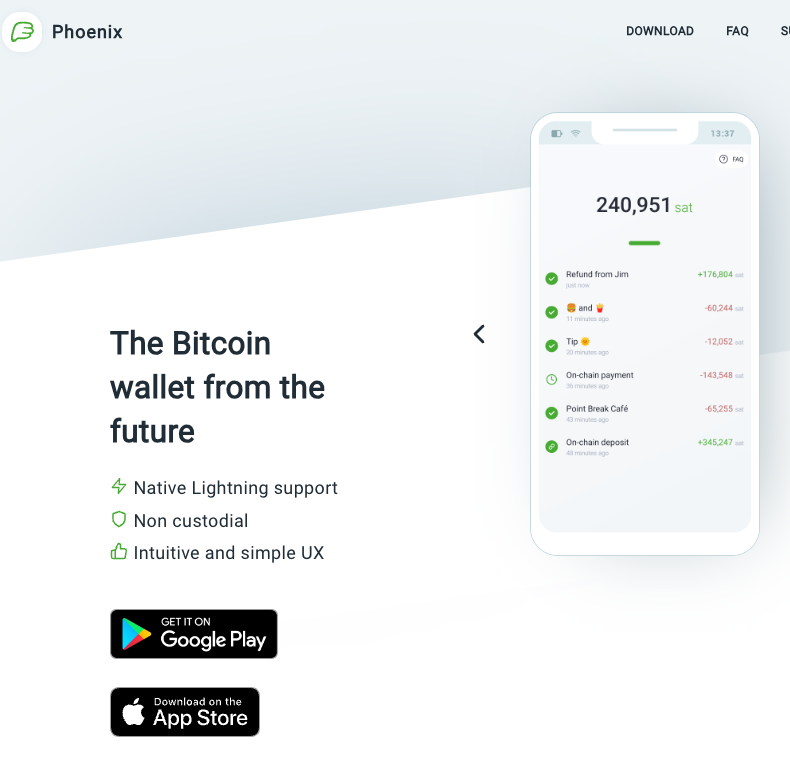
The Phoenix Wallet is a product of the French company Acinq and to install the wallet, we go to the website. https://phoenix.acinq.co/
There we find the links to the Wallet in the Google and Apple app stores.
The Phoenix Wallet is also characterized by the fact that it is a non-custodial Lightning Wallet.
Non-custodial means that the balance is not managed by a third party, but only the owner has full access to the wallet balance and not the provider of the Phoenix Wallet, which distinguishes the Phoenix Wallet from the Wallet of Satoshi, for example.
Having sole access to your Wallet balance as a user protects you from the provider doing something with your balance that you don’t want. For example, run away with it or block the credit. However, it also requires you to take personal responsibility and understand how to handle this credit.
We want to explain this to you here and help you if you have perhaps been using a Custodial Lightning Wallet such as the Wallet of Satoshi, that you might now take the next step and use a self-managed Lightning Wallet such as the Phoenix Wallet.
Phoenix Setup
After we have installed the Phoenix Wallet on our smartphone, we first go to the Settings area to familiarize ourselves with the setting options and make some changes according to our personal needs.
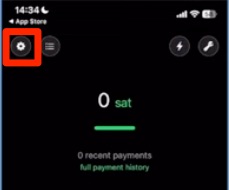
To do this, click on the cogwheel at the top left
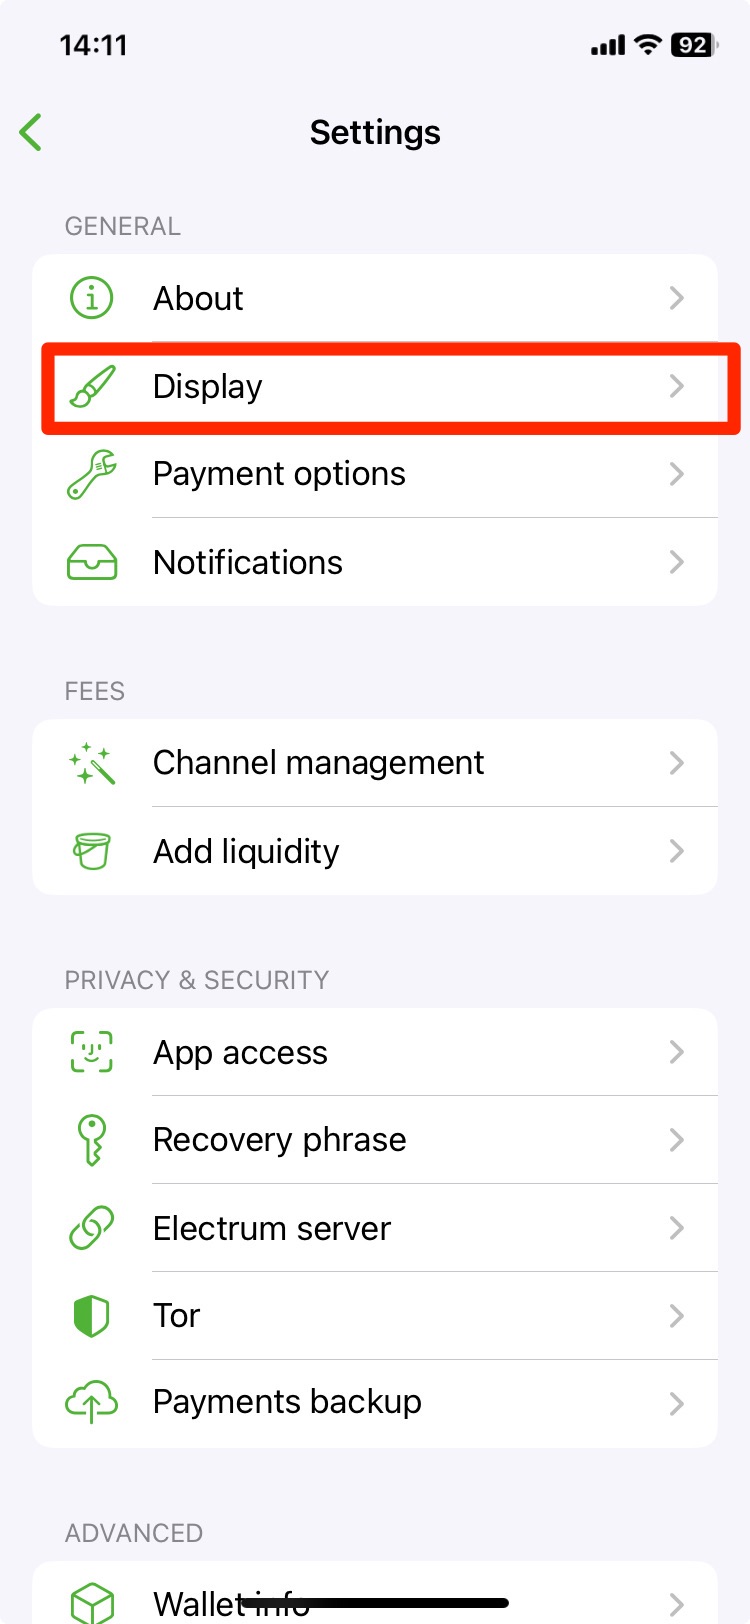
Then go to the second line with Display.
Here we have the option of setting our own currency. In our case, we change the setting to euros so that we are always shown the equivalent value in euros when we make a payment.
Swiss users use the Swiss franc accordingly and those who wish to continue to have prices displayed in USD can leave the settings as they are.
You can then use Unit to set how the Bitcoin value should be displayed. I personally prefer the display as Sat and set it accordingly.
Now comes a small drop of bitterness for iPhone users: the Phoenix language is English and there is no option to change it to German.
Wallet top up
Since our Phoenix Lightning Wallet has no credit, we need credit on our wallet.
We can top up our Phoenix Wallet with Bitcoin and Lightning. The procedure for loading funds onto our wallet is identical to the procedure for receiving Bitcoin or Lightning from other users later on.
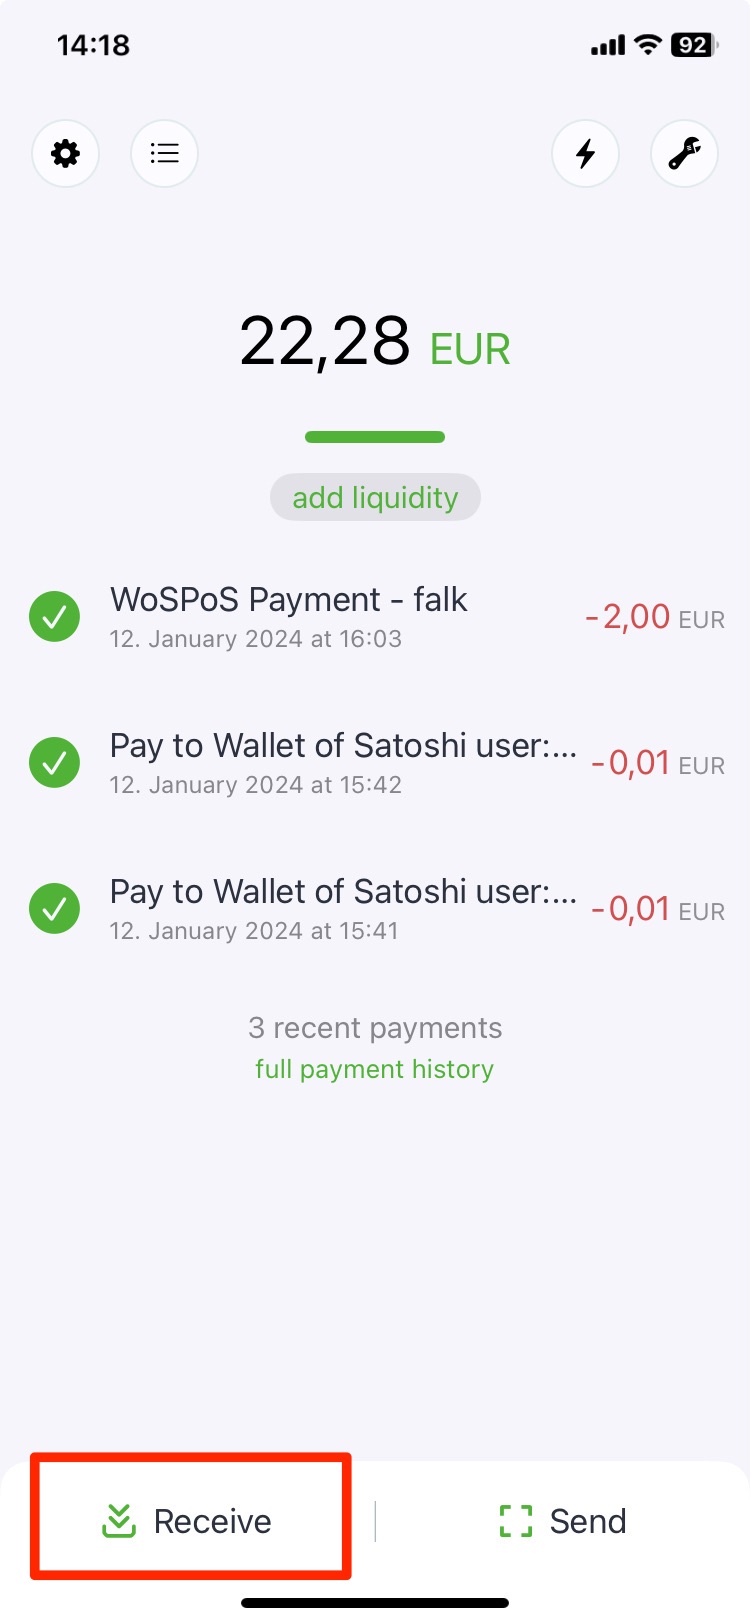
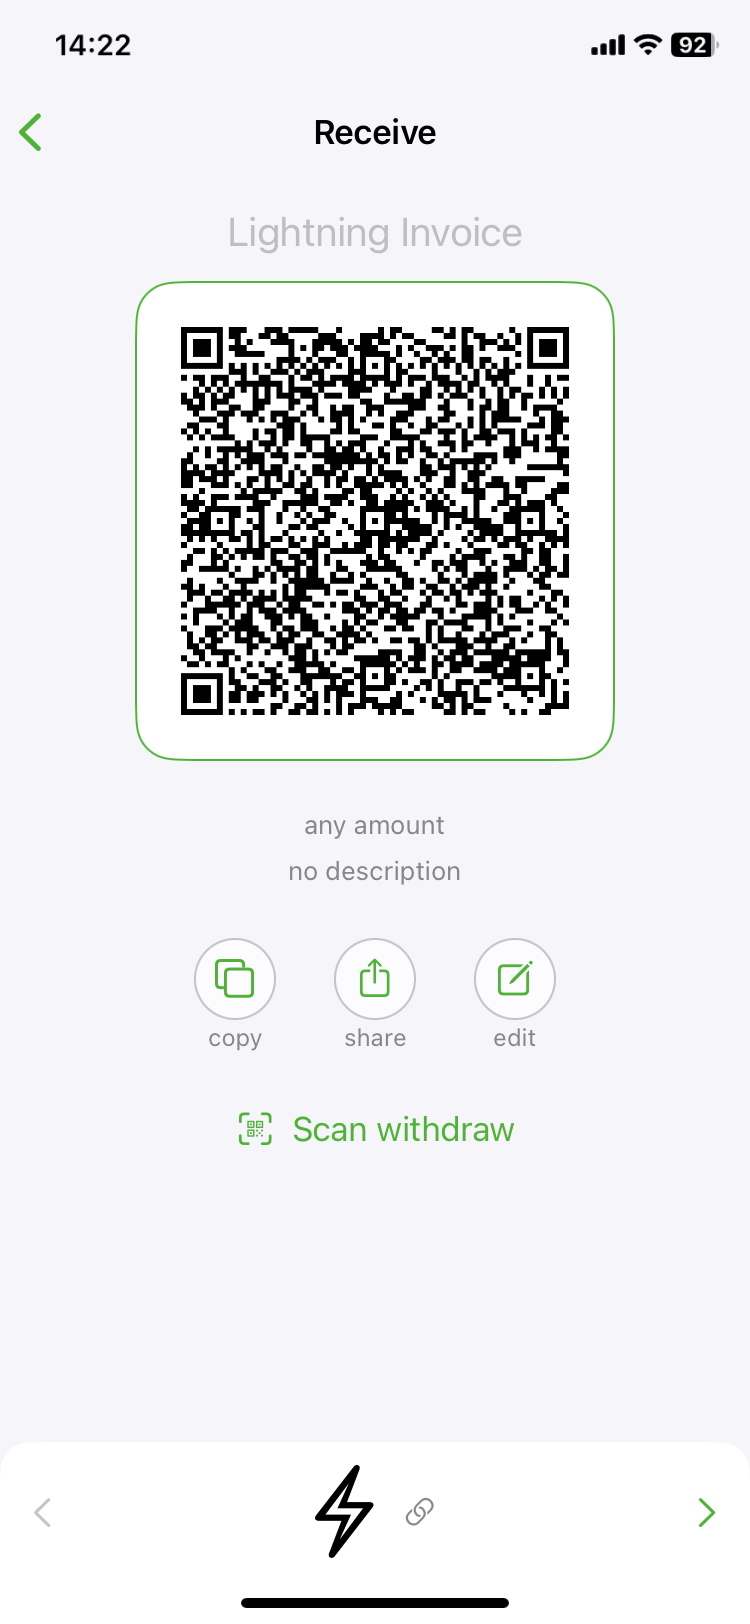
Let us now turn to the Lightning deposit. If we want to receive a Lightning deposit from someone, we go to Receive and get the different Lightning deposit options.
First we see a QR code that we can pass on in the form or show to someone. This is the variant in which we as the payee do not specify an amount or a purpose.
When we meet the payer in person, they scan the QR code with their smartphone, specify the amount and the intended use and make the payment.
If the payer wants to pay, they take their smartphone, scan the QR code and, as the payer, specify the amount themselves and have the option of specifying a purpose.
If I am not facing the payer, I can also forward the QR code or the data displayed behind the QR code. Either by copying the data to the clipboard and pasting it into another application or e-mail or by clicking on Share and forwarding the data.
There are three green circles at the bottom. If you click on the first circle, the QR code data is copied to the clipboard and can then be transferred to another application.
The middle circle can be used to forward this data via WhatsApp, email or other communication channels, for example.
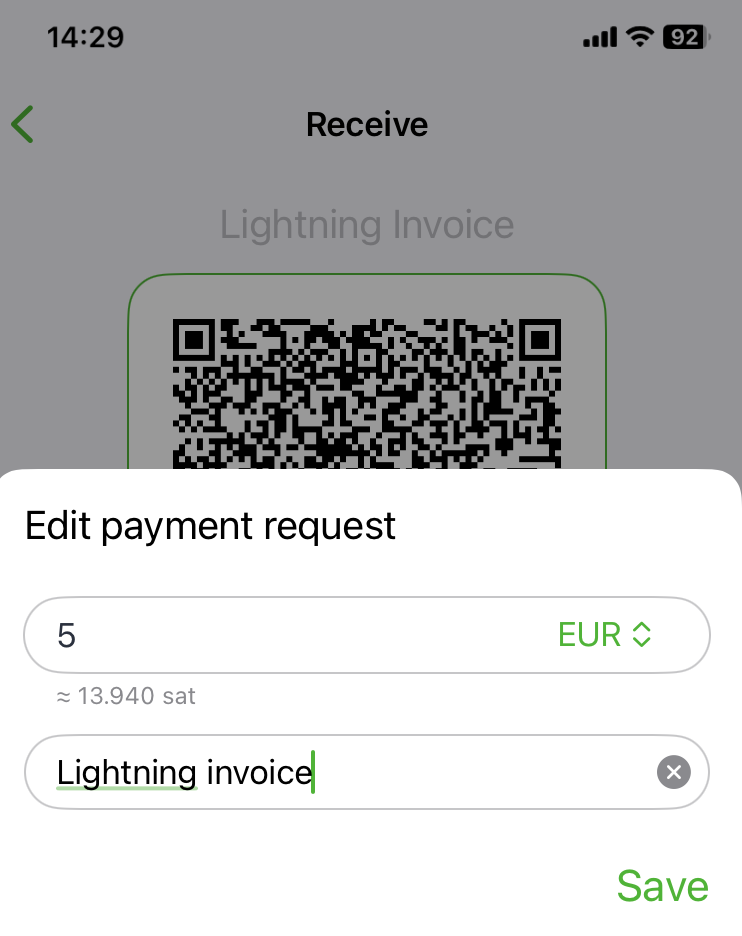
The right-hand circle offers an editing function. Here we can create a Lightning Invoice where we can specify the amount. As we have previously set the parameters in Sat and Euro, this is displayed accordingly.
Now we can forward this Lightning Invoice with a fixed amount and a reason for payment. As just explained, by scanning the QR code or copying it to the clipboard or forwarding it.
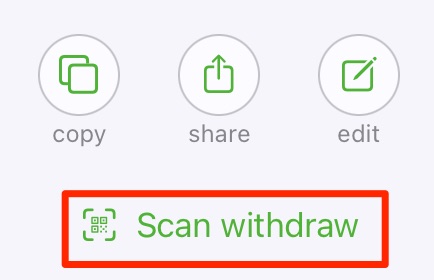
Below this we find the function Scan withdraw. We use this when we are shown an LNURL withdraw address and can use it to pick up sats.
If you receive a few Sats as a gift voucher, you can collect this credit.
The displayed QR code is then scanned and the Sats are transferred to our wallet.
We can receive both Bitcoin and Lightning with the Phoenix Wallet.
When we open our Phoenix Wallet, we find the two options Receive for receiving and Send for sending at the bottom.
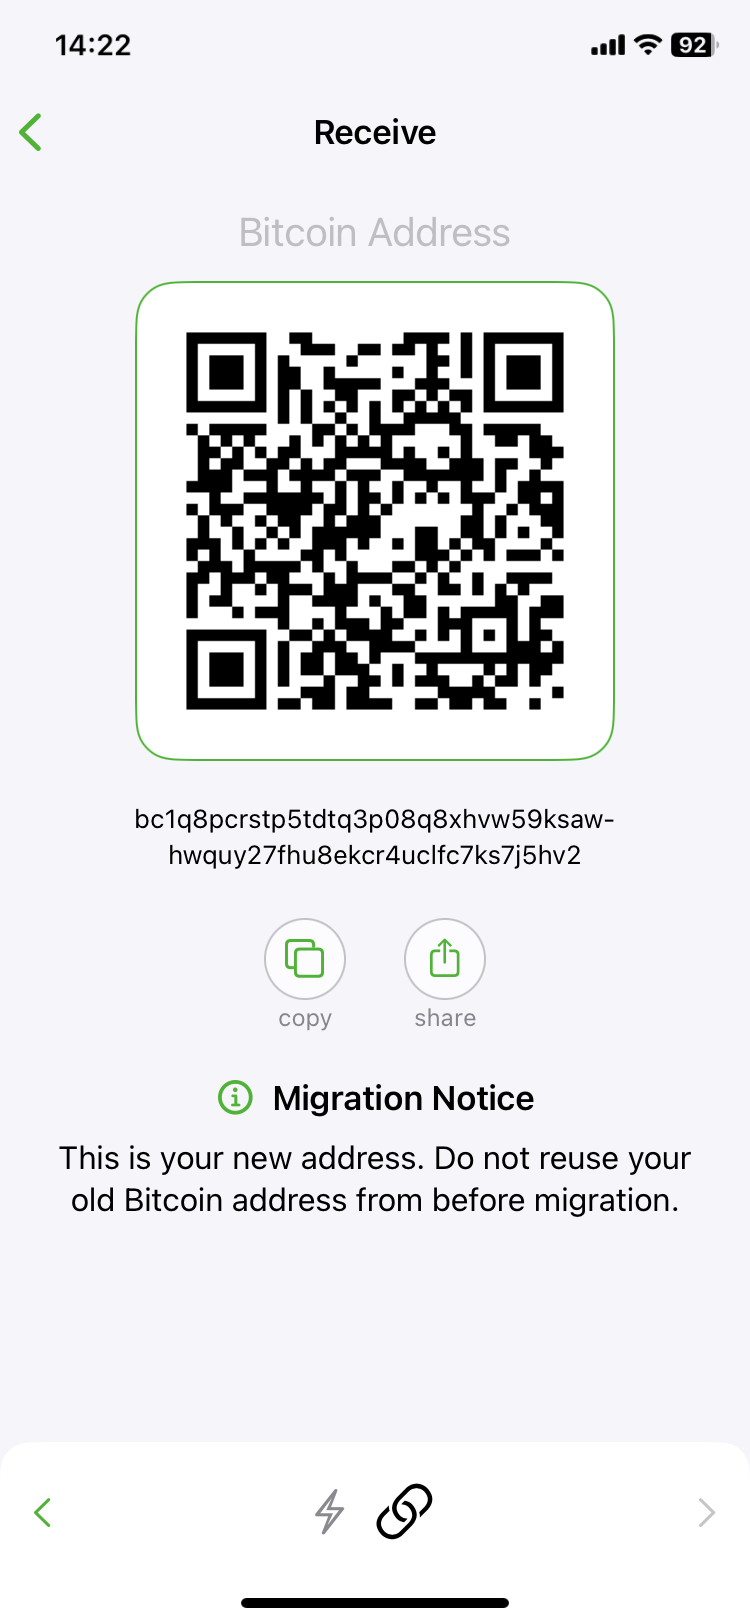
If we go to Receive, we first see the view for receiving Lightning. Below you can see the symbol for a chain. This stands for blockchain or onchain and it refers to Bitcoin.
Here we see the Bitcoin address in the form of a QR code and the address is displayed again below it. You can copy the information to the clipboard to paste it into another application. You can also forward them by e-mail or via other communication channels.
As a payer, I have to pay the mining fee myself and pay the fee that enables me to receive confirmation in one of the next three blocks.
Then Acinq will put the transaction in the payment channel and write it to the blockchain on its own and credit it to our Phoenix Wallet in the form of Lightning.
The process can take 1-2 hours, as this Bitcoin deposit must first be confirmed on the blockchain.
Send Lightning payment
So far, we have looked at how we can receive Bitcoin and Lightning payments.
We have already gained a brief insight into how payments can also be made with a Phoenix Wallet, as we also used a Phoenix Wallet for these deposits.
Now let’s take a closer look at the payout option.
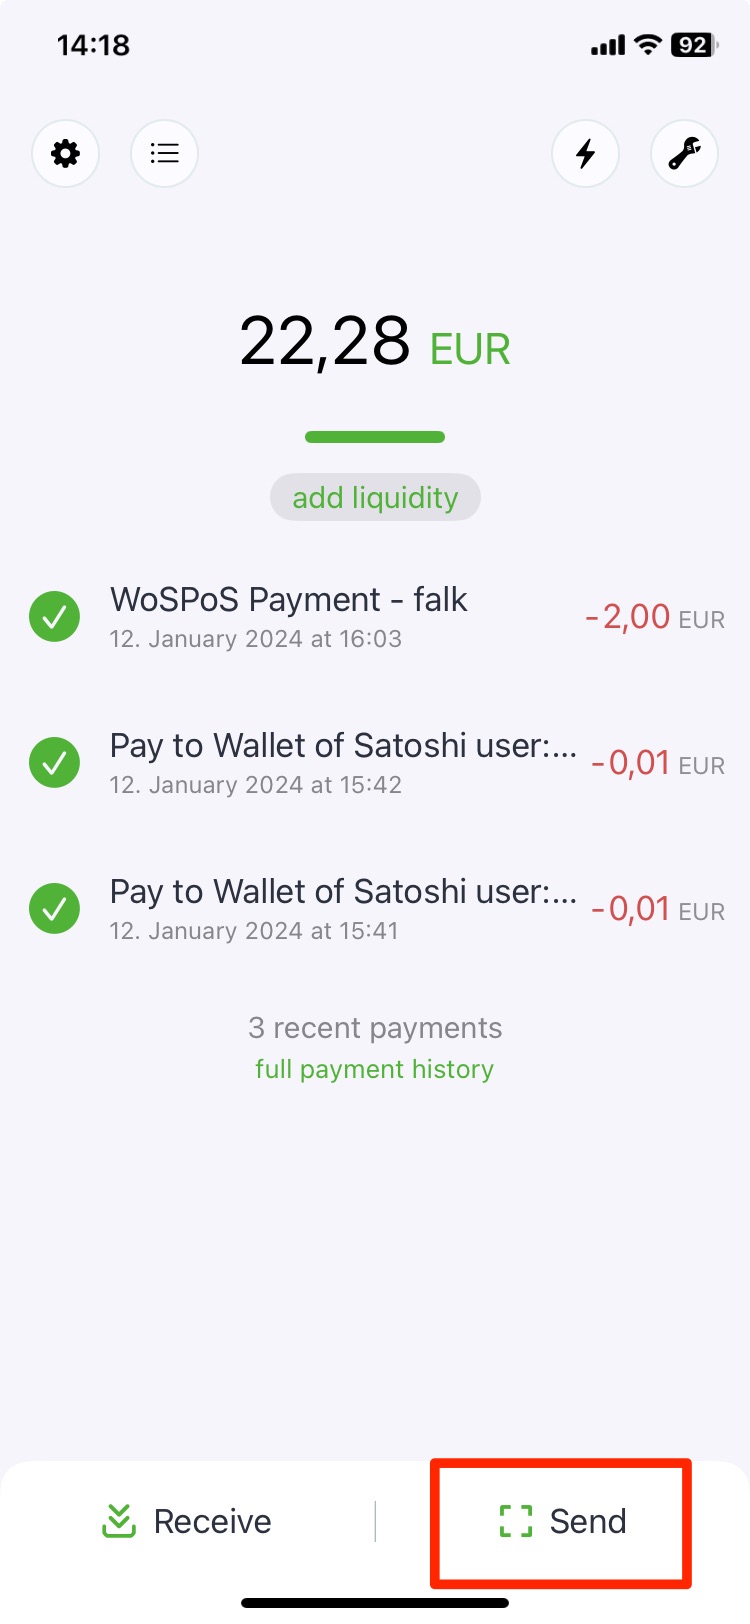
In addition to the Receive button, Phoenix Wallet also has a Send button for sending payments.
When we click on it, the camera view appears first, with which we can scan a QR code. This will be the most frequently used mode, which we will start with now.
To make a payment, we simply scan the QR code displayed and make the payment. It does not matter whether it is a Bitcoin or Lightning payment or QR code.
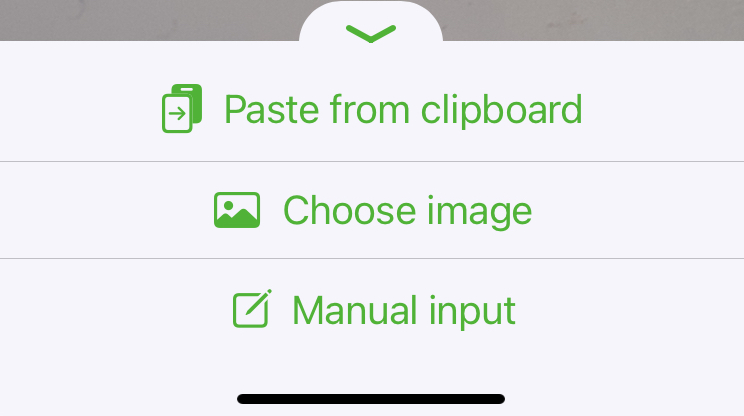
In addition to the option of paying by scanning a QR code, there are other ways to make payments.
Using Paste from Clipboard, we can insert the corresponding data, we can insert the image of a QR code or enter it manually.
When entering manually, we can make payments to a Lightning address or insert a Lightning Invoice or Lightning URL.
Seed / Recovery Phrase
With the Phoenix Wallet, we have a self-managed Lightning Wallet. This means that we have sole access to the credit balance. This presupposes that we also handle our credit carefully, because we cannot contact anyone if the money is gone. But don’t worry, anyone who has read this article has acquired the knowledge to handle their Bitcoins responsibly.
We receive 12 words from the Phoenix Wallet, which we can use to access our credit at any time if something happens to our smartphone. If we lose it, we still have access to our Bitcoin balance.
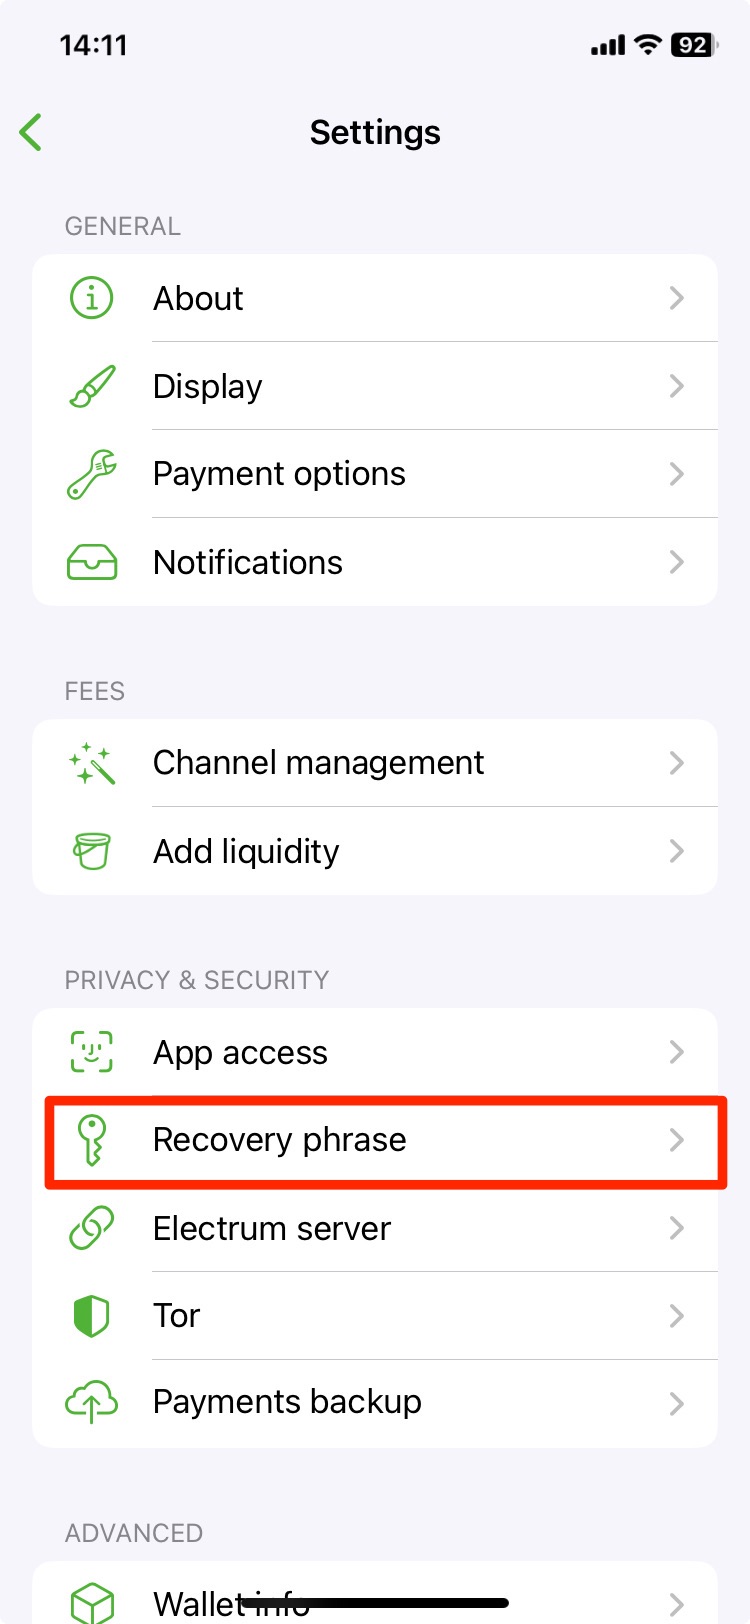
You can find these words under Settings in the Recovery Phrase section. The text shown here explains once again the meaning of these 12 words and that you should write them down carefully and keep them in a safe place.
If you click on Display Seed, you will see the 12 words. Never pass these words on to third parties and never enter these words on any website or to any supposed support staff.
Fees
Let’s take a look at the fees that are charged for using the Phoenix Wallet.
Once again as a reminder. Our balance in the Phoenix Wallet is in Lightning.
We can receive both Lightning and Bitcoin or send Bitcoin and Lightning with our Phoenix Wallet.
Whenever Bitcoin is involved, the blockchain is also involved and so-called mining fees are incurred. These mining fees are not fixed, but are based on how many transactions are still waiting in the mempool, how quickly a payment is to be executed and what the payer is prepared to pay.
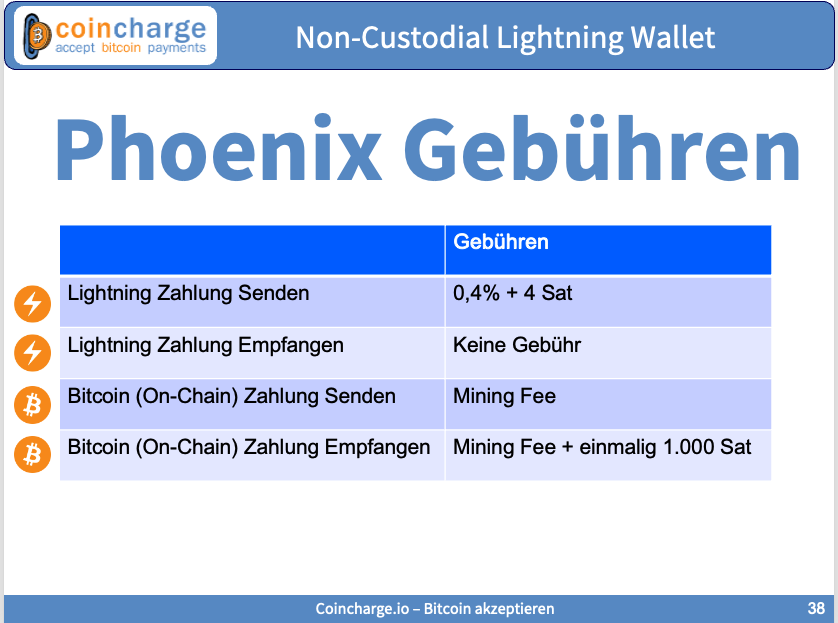
When setting up the Phoenix Wallet for the first time, we cannot avoid paying this fee. This mining fee is charged to us by Acinq and an additional fee of 1000 Sats. This fee is charged when Acinq establishes a channel to us for the first time.
If we send or receive payments in Bitcoin with the Phoenix Wallet, these mining fees are also due. Acinq earns nothing from this, but passes the fees on to us.
It is cheaper if we use Lightning and send or receive payments via it. We do not incur any costs when receiving Lightning payments.
When we send a Lightning payment, Acinq charges us a fee of 0.4%.
This fee also includes the so-called routing fees, which are payable for the forwarding of a Lightning payment to the routing nodes involved.
Acinq charges the flat fee of 0.4%, pays the participating routing nodes and the rest remains with Acinq.
Phoenix summary
Wir haben euch nun sehr ausführlich die Funktionsweise der Phoenix Wallet vorgestellt und euch hoffentlich so weit mit Phoenix vertraut gemacht, dass es für euch eine Alternative zu den Custodial Lightning Wallets darstellt. Denn der absolute Vorteil einer selbstverwalteten Lightning Wallet ist, dass man vollen Zugriff auf sein eigenes Guthaben hat. Ganz nach dem Bitcoin-Prinzip „Not your keys, not your coin“.
Allerdings müssen auch einige Nachteile angesprochen werden. Leider ist die Phoenix Wallet für das iPhone nur auf Englisch verfügbar. Für Android gibt es Deutsch und Englisch.
Dann bekommt man bei Phoenix Wallet keine eigene Lightning Adresse. Das ist bei Self-Custodial Wallets auch sehr schwer zu realisieren, aber dass es geht, zeigt die Zeus Wallet, die wir uns in einem der nächsten Videos genauer anschauen wollen.
Jeder der den Anfänger Status verlassen hat, dem empfehle ich sich mit einer Non-Custodial Wallet, wie zB der Phoenix Wallet vertraut zu machen. Du behältst die volle Kontrolle über deine Bitcoin und nebenbei erfährst du sehr viel über die Funktionsweisen von Lightning und dem Lightning Netzwerk.
Für mich ist die Phoenix Wallet eine Empfehlung und verwende ich gerne zusätzlich zu einer Custodial Wallet.

