Zeus Bitcoin and Lightning Wallet – Set up, configure and use
Zeus is both a Bitcoin wallet and a Lightning wallet for your smartphone.
The Zeus Wallet is also a node management app that allows you to use your own Lightning Node on the go.
The Zeus Wallet is a self-managed wallet in which you have access to your credit at all times. You also get your own Lightning address, which is unique for self-managed wallets.
In this article, we explain how to install and configure the Zeus Lightning Wallet on your smartphone. As the Zeus Wallet has separate Bitcoin and Lightning wallets, we will show you how to send and receive Bitcoin and Lightning payments.
We explain how the Zeus Wallet is connected to the Lightning network via a payment channel. How to secure your seed in the self-managed Zeus Wallet so that you can access your own funds at any time.
Then we’ll show you how to get your own Lightning address, set your preferred name and send and receive payments via this Lightning address.
And for all those who already operate their own Lightning Node or a BTCPay server, we explain how to use the node management functions of Zeus.
YouTube Video: Zeus Wallet – Set up, configure and use
On the German YouTube channel of Coincharge + Coinpages we have published a video with the title: “Zeus Bitcoin and Lightning Wallet – Set up, configure and use“.
Zeus Wallet – Download and install
We go to the website zeusln.com and get initial information about the Zeus app and the corresponding download links for our smartphone. Ideally, you should call up this website via your smartphone and be forwarded directly to the right app after clicking on the link.
Of course, you can also search for the App Wallet directly in your App Store. As there are many products with the name Zeus in the App Store, when searching for Zeus Wallet, make sure that the app is from the provider Atlas 21 Inc. is.
Setting up the Zeus Wallet
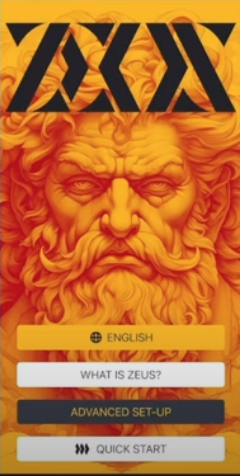
After you have installed and started the Zeus Wallet, you will be asked whether you want to use the Zeus Wallet for node management or as a wallet.
In the first step, we opt for the wallet variant.
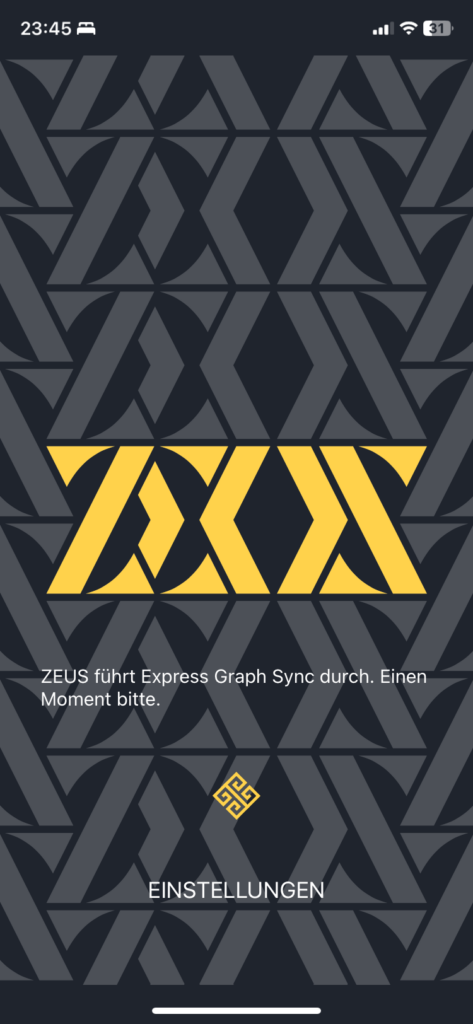
It takes a while for the required services to be synchronized in the background. So don’t lose patience, it can take 5 to 10 minutes.
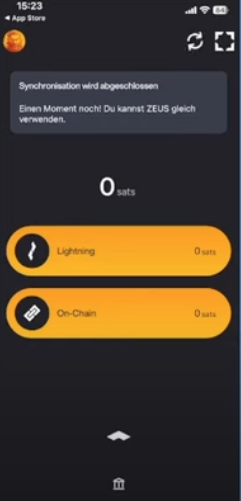
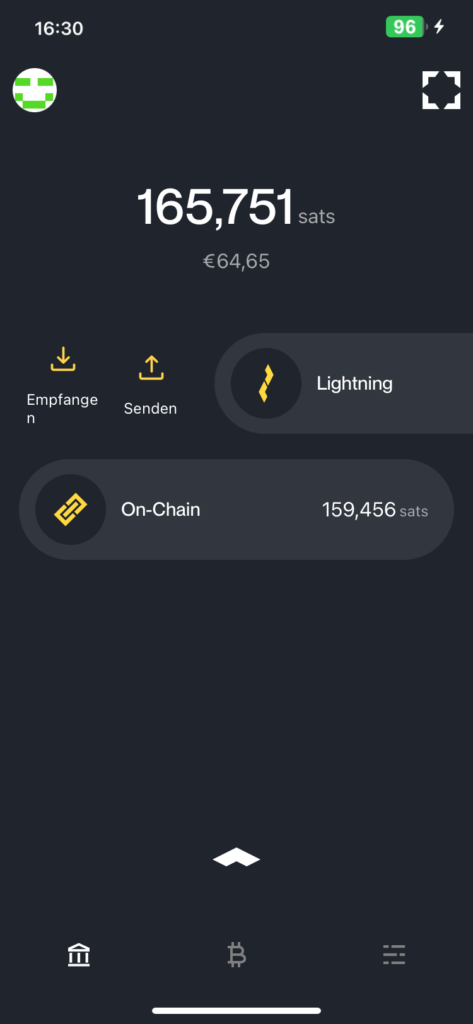
The first thing we see is the start screen and we want to familiarize ourselves with the most important functions, which we will look at in detail later.
The square symbol at the top right activates the camera function of our smartphone. If we click on it, we can scan a QR code when it is displayed to us to make payments.
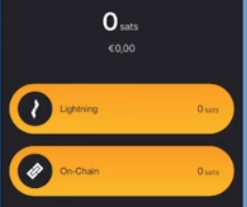
In the middle we see the balance of our wallet, which is currently 0 sats.
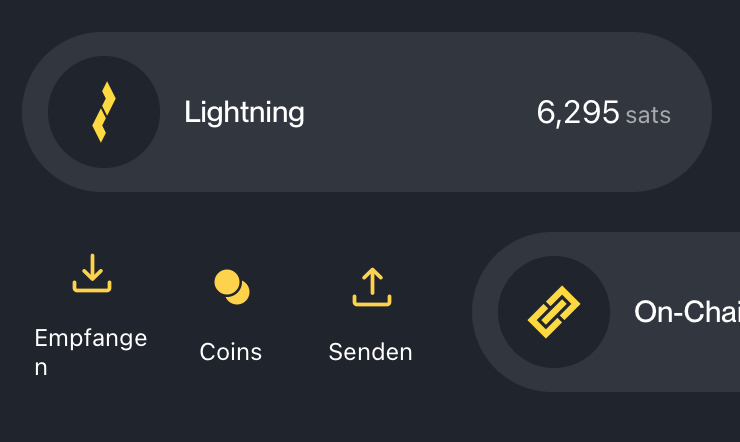
Below this are the two buttons with Lightning and On-Chain.
Most Lightning wallets can receive Bitcoin and Lightning payments and can also be used to make payments. However, the credit is then held in Lightning.
The Zeus Wallet keeps the balance in Lightning and Bitcoin separate. You can then send and receive Lightning payments via the Lightning wallet and send and receive Bitcoin payments via the on-chain wallet.
On-chain because these payments are processed via the blockchain, i.e. the chain.
Zeus Settings
First, let’s take a look at the setting options to configure Zeus Wallet according to our wishes.
To do this, click on the symbol at the top left.
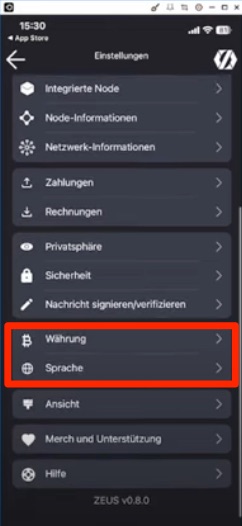
We see a variety of setting options, some of which we will discuss later. Now we scroll almost all the way down and find Currency.
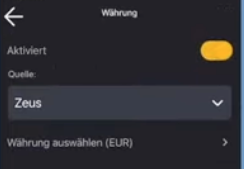
At the moment, our Zeus Wallet only displays all amounts in Sats, but not in the corresponding fiat currency. There is therefore no conversion into USD or Euro. For this to happen, the function must first be activated. This is also necessary if, for example, you want to send €10 to someone and the corresponding sats are to be determined in the background based on the current Bitcoin exchange rate.
You can then use Select Currency to specify the currency in which this should be displayed. For example in USD, Euro or CHF.
Below this you will find the settings for the language and can switch to German, for example.
Payment channel
Since we want to receive our first Lightning credit, it is necessary that our Zeus Wallet is connected to the Lightning network.
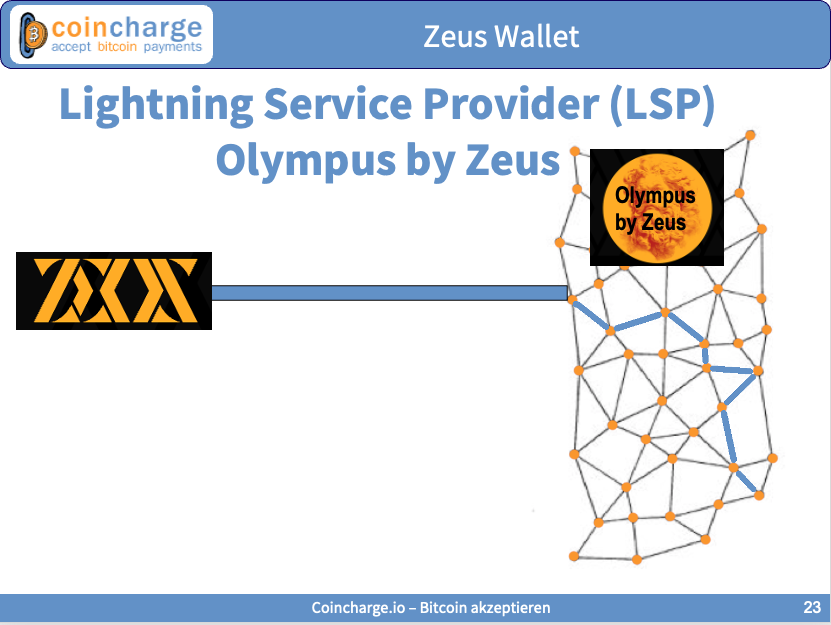
To do this, our Zeus Lightning Wallet must set up a payment channel with another node in the Lightning network.
To do this, our Zeus Lightning Wallet must set up a payment channel with another node in the Lightning network.
Our Zeus Node opens a payment channel with the Olympus Node. This Olympus Node is a Lightning Service Provider, LSP for short, which is operated by Zeus and is called Olympus by Zeus.
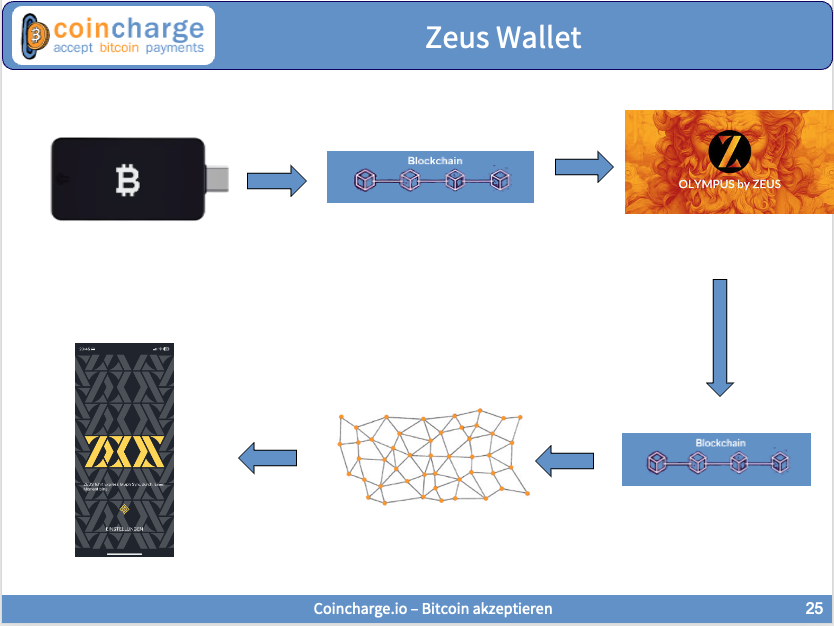
To open a payment channel, we send Bitcoin (on-chain) to the Lightning Service Provider (LSP) Olympus by Zeus. In the graphic, this is shown as a payment from our Bitcoin hardware wallet. This payment is made via the blockchain and we as the payer must bear the costs (mining fee) for the blockchain.
The LSP then opens a payment channel to our Zeus Wallet. The payment channel is also opened via the blockchain and mining fees are also incurred, which are borne by the LSP and passed on to us.
The initial opening of such a channel is therefore associated with additional costs (2x mining fee) and confirmation on the blockchain can take some time.
You then benefit from the advantages of low-cost and lightning-fast Bitcoin payments via the Lightning network.
Our Zeus Node is an integrated LND Node with all the functions of a node, such as sending and receiving Lightning and on-chain payments as well as channel management.
When we receive our first Lightning payment, Olympus creates a payment channel to our Zeus Node. This payment channel is created immediately and is called 0-conf Channel Service, as no confirmation has to be waited for on the blockchain. Olympus creates the payment channel immediately. In addition, Olympus provides liquidity. This is because the capacity of the channel is about twice as large as our insert. This means that there is a reserve for future incoming Lightning payments.
Olympus charges a fee of 10,000 sats for setting up this channel if the amount is less than 1 million sats.
For amounts over 1 million sats, a fee of 1% of the incoming payment is charged.
Wrapped Invoice
The payment channel between our Zeus Node and the Olympus LSP is hidden. This means that this channel is not known in the Lightning network. Only you and Olympus know that this channel exists.
When you create a Lightning Invoice, all relevant information for payment processing is integrated there and then forwarded directly to the payer.
A Wrapped Invoice is a packaged invoice that is created by the Zeus Node and sent to the Olympus LSP. The LSP packages this invoice and forwards it to the payer.
The payer and the entire Lightning Network do not need to know about the existence of your Zeus node. The payer pays the Lightning invoice. Olympus accepts the payment for you and forwards it to you as soon as you are online with your Zeus Node.
With the Zeus Node, you are only online when the Zeus app is open in the foreground on your smartphone.
You should therefore open Zeus regularly and perform the sync process in the foreground.
You should not push Zeus into the background by using another app in the meantime. The screen log should also not be active. This has led to problems for me. So please leave all services running in the foreground until the sync process is complete.
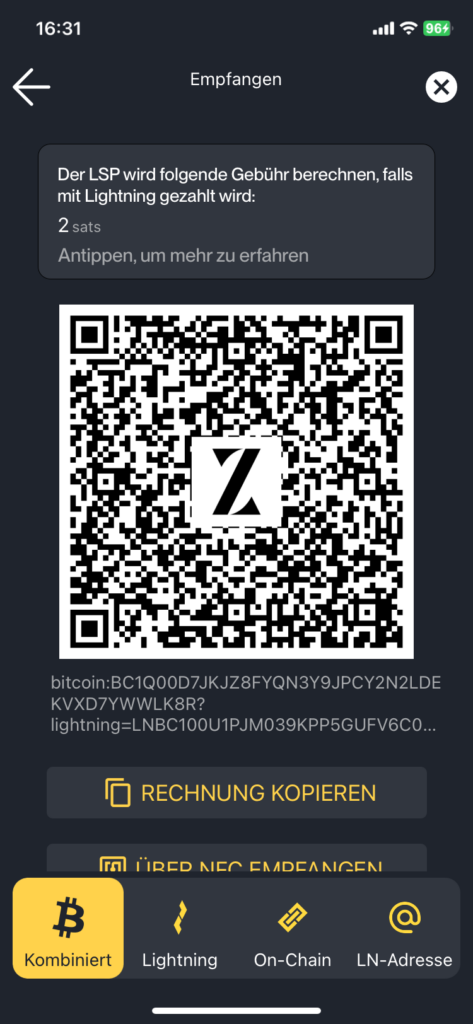
Olympus charges a fee of 2 sats for forwarding such a wrapped invoice via an existing channel.
Zeus deposit
As we do not yet have any funds on our Zeus Wallet, we would like to start with the deposit.
Deposits can be made in various ways. Let’s start with the home screen.
Here we have the two buttons for Bitcoin and Lightning.
A special feature of Zeus is that there are separate wallets for Bitcoin and Lightning. We used to have this with the Blue Wallet, otherwise there are usually Lightning wallets where you can send and receive Bitcoin and Lightning payments, but the balance is then held in Lightning.
Bitcoin (on-chain) payment
First, let’s take a look at the Bitcoin wallet. The Bitcoin wallet is called on-chain. Both are Bitcoin, only in this case the Bitcoin payments are stored on the blockchain via on-chain.
You can use this on-chain wallet to manage a portion of your Bitcoin balance that you want to keep on your smartphone. It is better to store your saved bitcoins in a hardware wallet.
But I also like to have a few on-chain sats with me. I don’t need it, as I can pay everywhere with Lightning, but if I can use a pure Bitcoin on-chain service, that’s an advantage.
I recommend the Zeus wallet to those who do not yet have their own hardware wallet but still have Bitcoin on their wallet. Then the Zeus Wallet and later a hardware wallet.
To make a Bitcoin deposit, click on the on-chain button and slide it to the right.
Then we see three further sub-items. When we go to Receive, we see a QR code with our Bitcoin address. The Bitcoin address is also listed below. We can also copy this Bitcoin address to the clipboard and forward it or receive Bitcoin via NFC.
Lightning (off-chain) payment
Let’s now turn to the Lightning Wallet on Zeus Wallet. First, we’ll show you how to receive and send a Lightning payment.
If we want to send or receive a Lightning payment, we slide the Lightning button to the right.
Receive Lightning
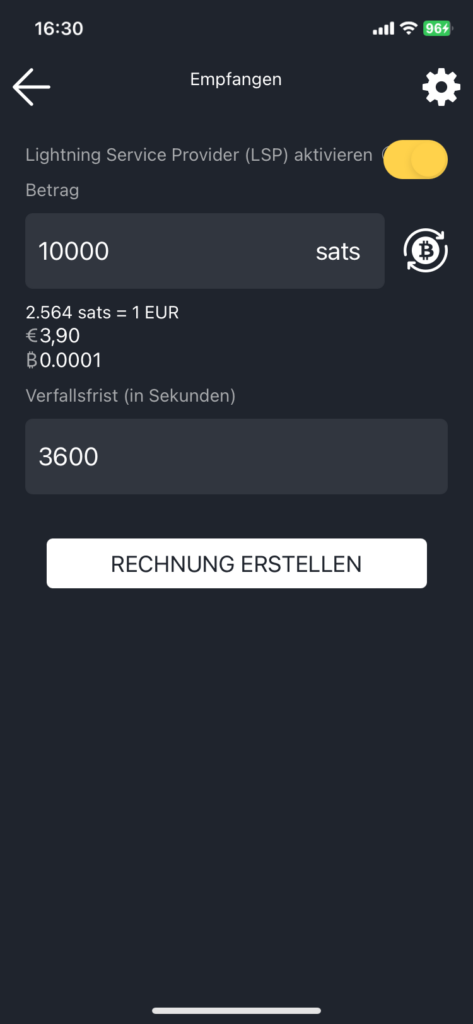
To receive a Lightning payment, we create a Lightning Invoice.
We enter the amount we wish to receive as the payee. We can enter this amount in Sats or we can also switch to Bitcoin or Euro or USD by clicking on the Bitcoin symbol.
We have previously changed the currency to Euro, we could now enter a Euro amount.
We will switch to Sats and create a Lightning Invoice for 10,000 Sats, which corresponds to around €3.90.
Then the expiry date by which the invoice must be paid. The default setting here is 3600 sec, i.e. one hour. Within one hour, the payer has the option of paying the bill as soon as it expires. This time is sufficient if the payer and payee are currently facing each other and the payment is to be executed immediately.
If you want to forward the invoice and the recipient will be able to pay it later, you should enter 86,400 seconds for one day or 604,800 seconds for one week.
Then click on Create invoice.
Lightning Invoice
We are then shown a combined QR code that contains both a Lightning Invoice and the Bitcoin address. We can forward this QR code or invoice and the payer can pay either via on-chain or via Lightning.
But we can also have it separately. If we click on Lightning, we only have the Lightning address and on On-Chain we have the Bitcoin address.
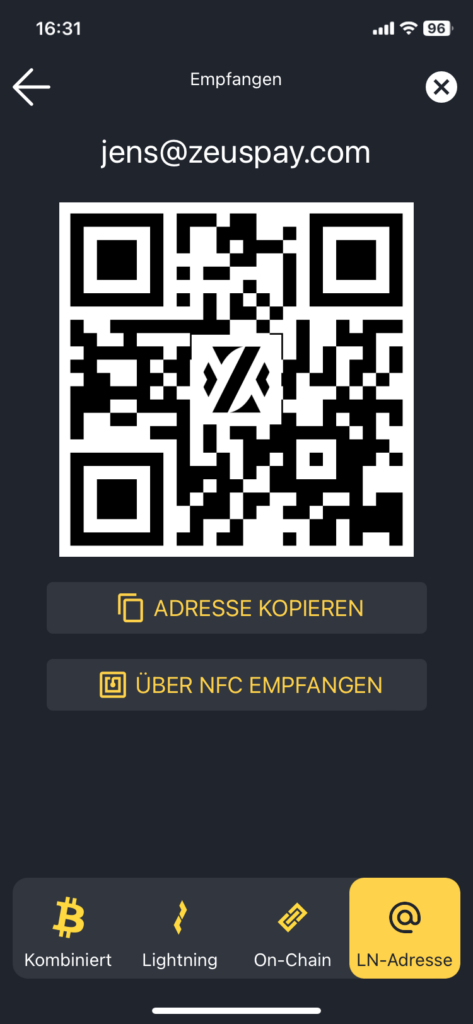
On the far right we find our Lightning address from Zeus.
Ideally, we send the combined Bitcoin-Lightning invoice or show the payer the QR code. The payer can pay us with both Bitcoin and Lightning.
Lightning Address
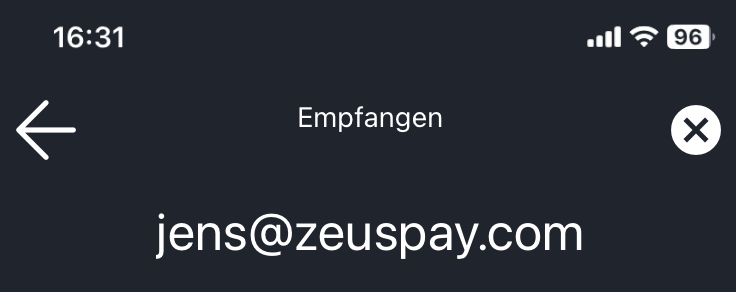
The Lightning address provided by Zeus is displayed on the far right.
In my case jens@zeuspay.com
Below this is another QR code. This can be used if no Lightning Invoice is to be created before a payment. In this case, the payer determines the amount and the intended use himself.
Send Lightning payment
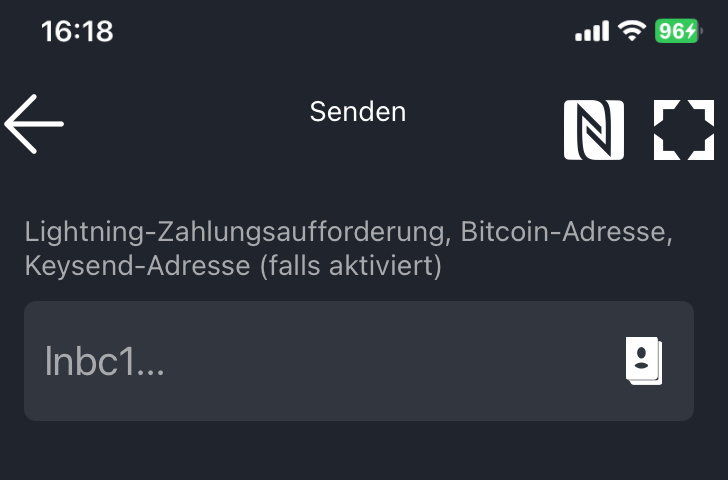
A Lightning payment can be sent by scanning the QR code with the smartphone’s camera function.
Alternatively, the Lightning Invoice, the Lightning address or the LNURL received from the payee can be entered in the field.
Zeus Lightning Address
We have already talked about the fact that you can also receive Lightning payments via a Lightning address. Zeus Wallet has made it possible for self-custodians, i.e. self-managed Lightning wallets, to have their own Lightning address, which they can use to receive Lightning payments.
The special thing about this is that you must always be available online with a Lightning address in order to be able to receive incoming Lightning payments.
Here, too, the Lightning Service Provider Olympus steps in. Olympus accepts the incoming payments to the Lightning address and stores them until you go online with your Zeus Node and collect the incoming payments from Olympus.
If the payment is not collected within 24 hours, the payment is returned to the payer.
If we receive Lightning payments via the Lightning address, fees will apply.
If the amount is less than 20 sats, a fee of 50% will be charged.
For less than 2,500 sats 10% of the amount and for more than 2,500 sats a lump sum of 250 sats.
Backup / Seed
As we have a self-managed Bitcoin and Lightning wallet here, we are also responsible for the balance ourselves.
We should therefore make a note of the seed so that we can access our balance at any time.
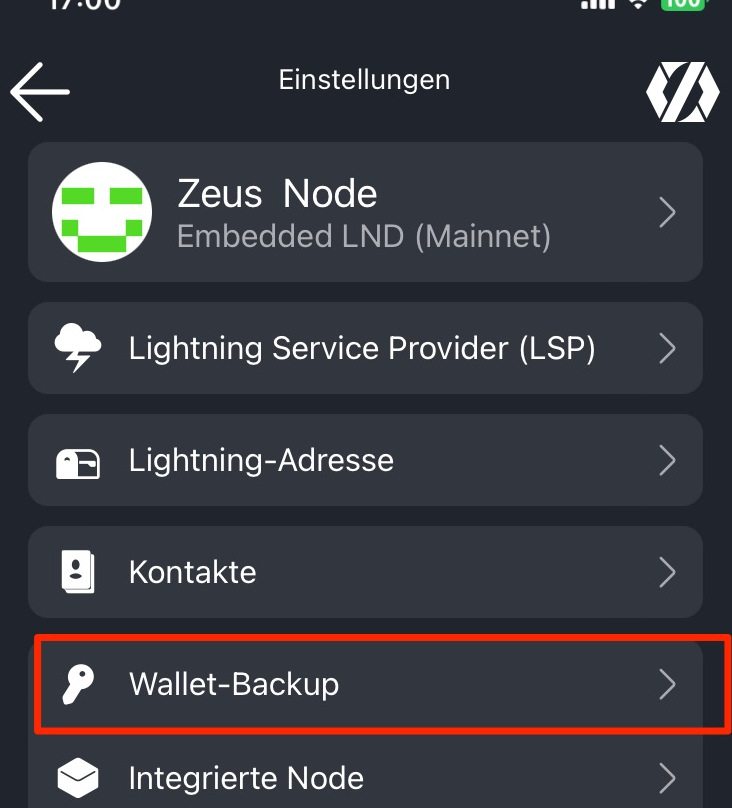
We go to the Backup menu item in the settings.
Fees
Let’s take another look at the costs of using Zeus.
Use of the Bitcoin Wallet is free of charge. The sender of a Bitcoin payment only has to pay the Bitcoin transaction fee, which the Bitcoin miners receive and the amount of which depends on how full the mempool is at the time.
Fees of the Lightning Service Provider (LSP) Olympus
To be able to use the Lightning Wallet, a Lightning payment channel must first be set up. Here, the Bitcoin mining fees and an additional 10,000 sats are charged by the Lightning Service Provider Olympus if the amount is less than 1 million sats.
If the channel is larger than 1 million sats, a fee of 1% is charged.
A fee of 2 sats is charged for a packed Lightning bill.
No fees are charged for the transfer of Lightning credit between your own Zeus Node and Olympus. When sending a Lightning Invoice, the fees of the nodes that forward the Lightning Invoice to the recipient are incurred.
Fees for the Zeus Lightning address
Fees also apply when receiving a payment via the Zeus Lightning address.
If the amount is less than 20 sats, the fee is 50%.
If the amount is less than 2,500 Sats, then the fee is 10% and if the amount is more than 2,500 Sats, then the fee is a flat rate of 250 Sats.
Node Management
The Zeus wallet can be used not only to manage Bitcoin and Lightning wallets, but also if you operate your own Lightning node or already have another Lightning wallet.
LNDhub
LNDHub is a way to connect to other Lightning Wallets or import them into the Zeus Wallet.
For example, an Alby Lightning Wallet as a browser plugin or an LNbits Wallet.
There is no special smartphone version for this Lightning Wallet. However, you can integrate this Lightning Wallet into your Zeus Wallet so that you always have this Lightning Wallet with you and can use it to make Lightning payments.
Alby Wallet
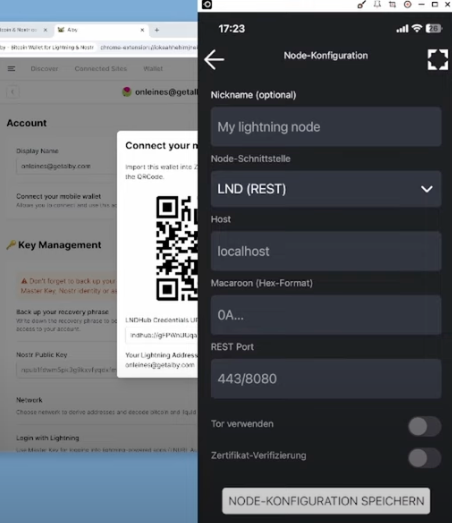
To do this, we go to the Account Settings area.
There you will find the Connect your Mobile Wallet item. When we click on Connect there, we are shown a QR code. We then scan it with our Zeus Wallet and we can use our Alby Wallet on the move.
Connect BTCPay Server with Zeus
We also want to do this with our BTCPay server, which runs on a hoster. We have just shown how we want to integrate a single LNBank Lightning Wallet. Now we don’t just want to integrate a single wallet, but our entire Lightning Node as an admin.
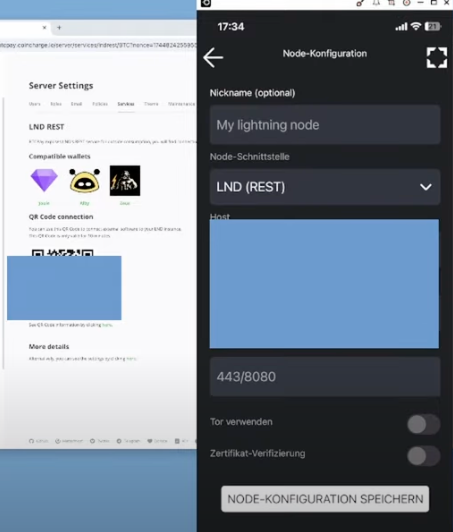
I log on to the BTCPay server as an admin and go to the server settings. In the server settings there is the menu item Service.
There I select LND (Rest).
Here I can see which wallets can be connected to it. We have the Zeus Wallet and we are right with it.
We click on Show QR Code and scan the displayed QR code.
Connect Raspiblitz with Zeus
We log in via the console on our Raspiblitz. In the main menu, go to Connect with Connect Apps & Show Credentials.
Then we go to Mobile and select Connect Mobile Wallet.
Then we have to select whether our Zeus Wallet runs on Google or Apple.
If you do not yet have a Zeus Wallet, you will see a message on how to install the Zeus Wallet. We have already installed the Zeus Wallet and can continue with Next.
The QR code is generated in the background and shown on the display of our Raspiblitz.
If you use a Raspiblitz without a screen, you can display the QR code via Console.
My Raspiblitz has a screen and I scan it with my Zeus Wallet to connect my Raspiblitz to the Zeus Wallet.
Summary
The Zeus Wallet is a good alternative to the Phoenix Wallet. Both wallets are self-custody wallets, where you have the balance under your own control.
What I like about Zeus is that you have a separate Lightning wallet and a Bitcoin wallet and can manage them separately.
The absolute highlight is its own Lightning address for its self-custody wallet. Unfortunately, the disadvantage is that you have to be active every 24 hours to collect your credit or check whether payments have been received on the Lightning address.
All operators of their own Lightning Node have already come to appreciate Zeus in the past. I really like the fact that you now have everything together in a Bitcoin Lightning Wallet.
My recommendation: definitely try it out.

