How to create an xPub Key with the Electrum Wallet
xPub Key with Electrum Wallet
What is an Extended Public Keys (xpub Key)?
In an online store, a new Bitcoin address must be generated for each payment transaction. This is necessary in order to clearly assign each incoming payment to an order. This requires an Extended Public Keys (xpub).
You can think of the xpub key as a kind of master key from which an almost endless amount of public keys – and thus Bitcoin addresses – can be generated.
The counterpart, the private key, is the so-called seed, which is often encoded in the form of 12 to 24 words. These words must be kept safe.
The xPub key is a public key, which can be passed on without any problems.
If you accept Bitcoin payments as a merchant, you have to store this xPub key in your store, so that the store can present new Bitcoin address to the buyer each time.
An xPub key can be created using a variety of wallets.
If you already have a hardware wallet, then you can use this xPub key to have Bitcoin payment receipts credited directly to your own Bitcoin wallet. Read the article “Determine xPub Key for Bitcoin Wallet“.
How to create an xPub Key with the Electrum Wallet
The Bitcoin Payment Server operates without a middleman. This means that the merchant receives the Bitcoin payments directly on their own Bitcoin wallet.
For this, the trader must have his own Bitcoin wallet. The corresponding Bitcoin addresses to which the customers send the Bitcoin must be deposited accordingly with the BTCPayServer.
If you as a merchant have assigned a programmer, an administrator or an external service provider with the integration of Bitcoin payments into the online store, you must remain the owner of the private key. Only the owner of the private key is also the owner over the Bitcoin.
In this tutorial we will explain exactly how to get the private key. Even if you are not a computer expert, you should have no problems with this tutorial, because this area you can not delegate, you have to do yourself.
xPub addresses
Incoming payments are received and managed with the help of the BTCPayServer. This requires your own Bitcoin wallet. This is because the Bitcoin balance is never on the payment server, but always on the merchant’s wallet.
A wallet is required that can be used to generate public keys based on xPub. A public key is effectively the Bitcoin address that is given to the payer to send the payment to. The xPub Key is capable of generating an infinite number of Bitcoin addresses. This number is also required so that a separate and independent Bitcoin address can be used for each payment transaction.
This public key (xPub) is deposited with the BTCPayServer and the associated private key remains in the possession of the merchant.
The BTCPayServer is thus able to generate a public key, i.e. a Bitcoin address, for each individual transaction and credit the payments directly to the merchant’s Bitcoin wallet.
Extended Public Keys always start with one of the following prefixes: “xpub”, “ypub” or “zpub”. The first letter, however, indicates what kind of addresses can be generated with the respective xpub: xpubs become legacy addresses, ypubs and zpubs become BIP49-compatible P2SH or bech32 addresses with SegWit support.
P2SH can be recognized by the fact that they start with a 3 (unlike legacy addresses, which start with a 1 and bech32 start with “bc1”).
Since we need the xPub key for our store, we use a format that is supported by all wallets. We recommend the use of segwit p2sh. This bitcoin address start with the 3.
Electrum Bitcoin Wallet
To manage payments in his store, a Bitcoin wallet is needed. We recommend Electrum Wallet for use as a merchant wallet. With the Electrum Wallet, addresses can be generated via xPub and deposited with the BTCPay server.
Of course, other Bitcoin wallet that can generate Xpub addresses can also be used. In this tutorial, we will look at this using the Electrum Wallet as an example, as it is ideally suited for our purpose.
We install this Bitcoin wallet on our local workstation.
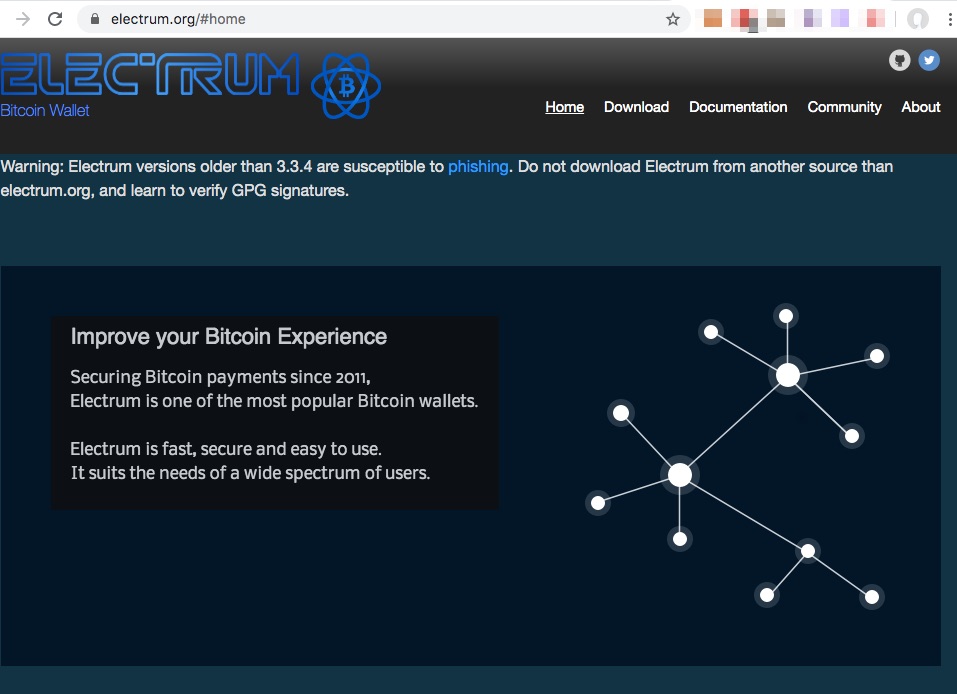
For this purpose we go to the website of http://electrum.org.
Please pay close attention to the domain name (Electrum and ending with .org) and download the software from this site only.
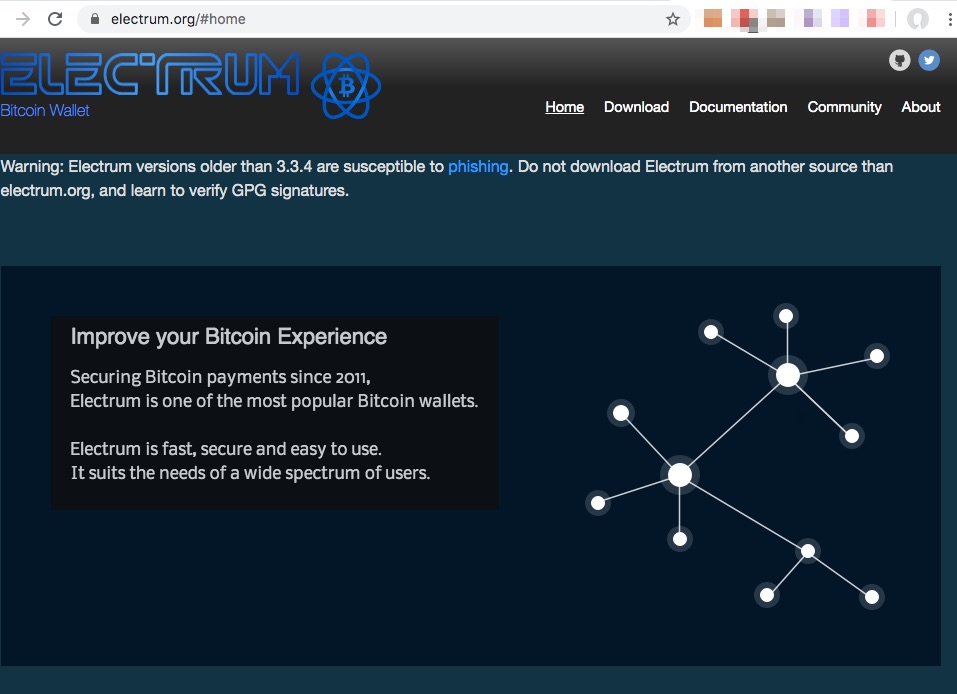
The website is only available in English. We go to the download area and select our operating system.
In most cases, this will be a Mac or Windows computer.
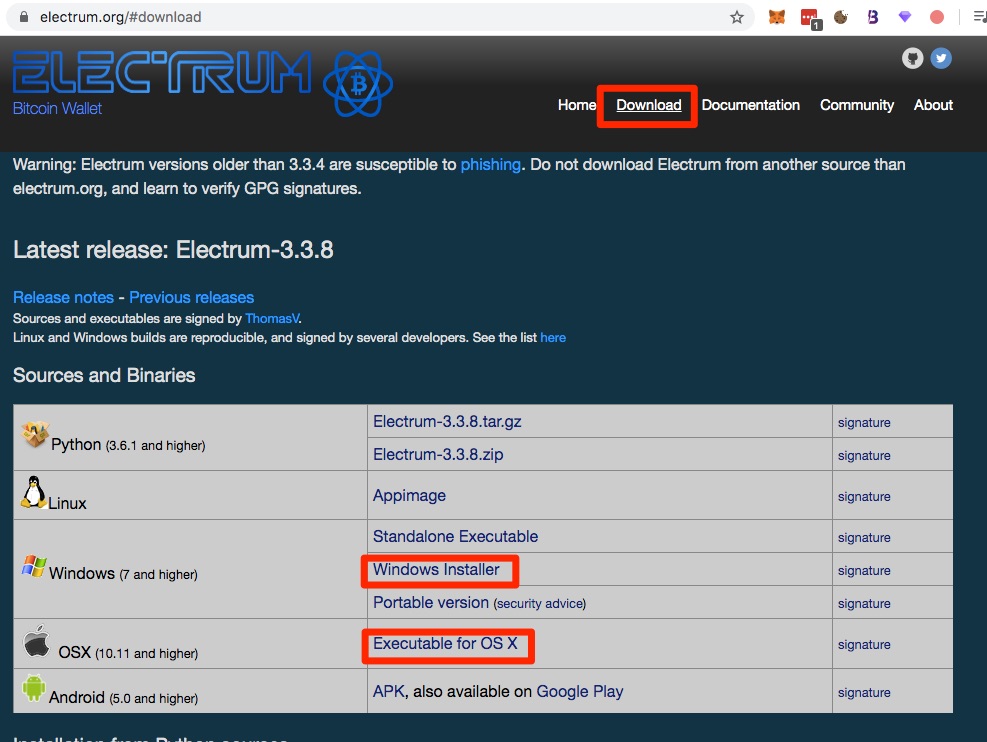
Download the software and double-click to begin the installation. You will receive warning messages from your computer because it is software from the Internet. This is normal. To be on the safe side, check the exact spelling of the domain again, so that the software is really only loaded from the site electrum.org.
Electrum Wallet Install
After the Electrum Wallet is installed and launched, you should set a wallet name.
This is not necessary at this point, as we will determine the name at a later time. Therefore, we ignore the proposal and use the proposed name.
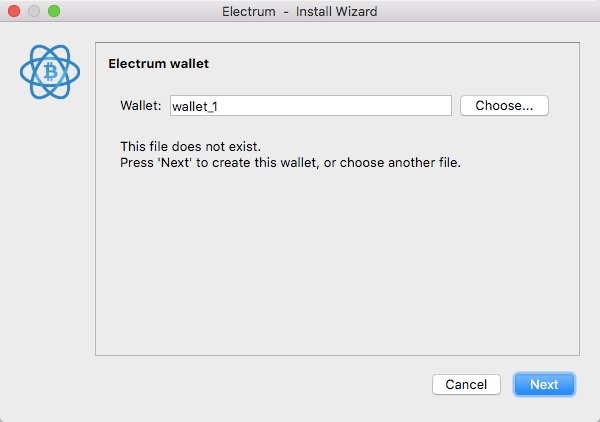
The wallet is installed as a default wallet.
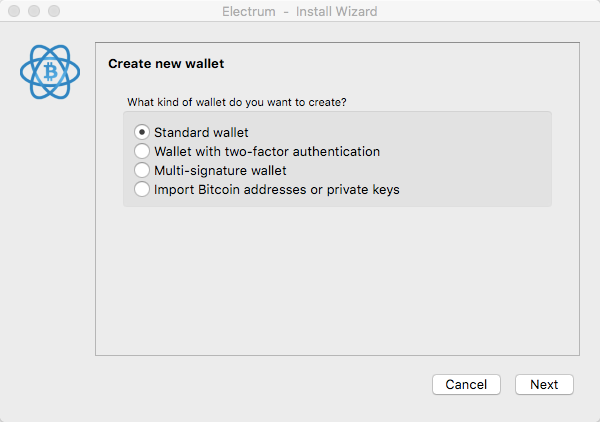
As a multi-sig wallet, it would come in handy if you wanted to secure your Bitcoin balance with multiple keys and people.
If one had already generated a wallet at an earlier time and now wants to import an existing private key into the Electrum wallet, one would use the Import Private Key function.
After we proceed with the default wallet
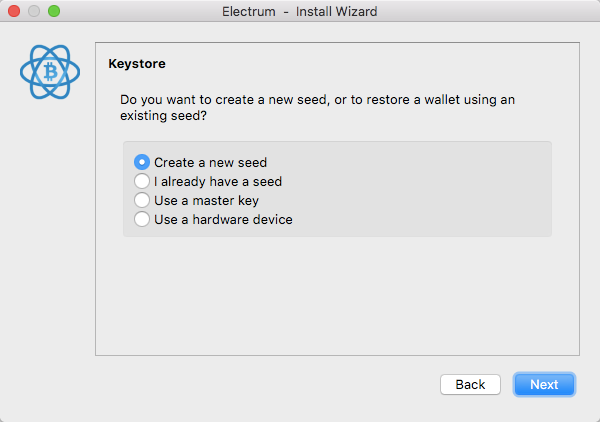
We select the option “Create a new seed” and on the next page we have to decide between Segwit or Legacy.
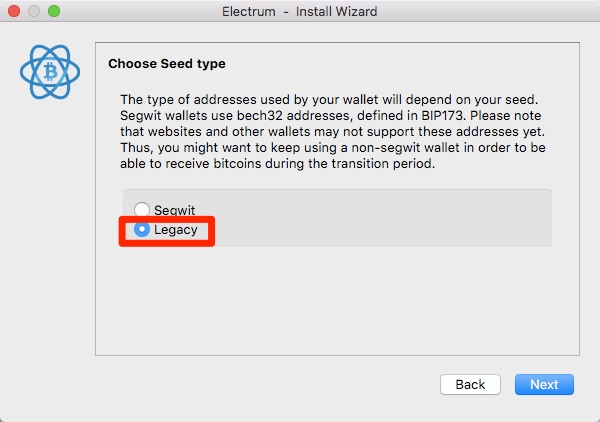
As a trader it is recommended to use segwit p2sh. Through Segwit, payers benefit from low transaction fees. If we were to use Segwit, the bitcoin addresses would start with bc1.
However, there are still some end-user wallets that do not fully support Segwit. In order not to exclude this customer, we recommend the use of segwit p2sh. This bitcoin address start with the 3.
In order to generate a segwit p2sh address via the Electrum Wallet, we must choose Lecacy at this point and NOT SegWit. If we were to select SegWit at this point, we would be able to offer SegWit exclusively and exclude the other wallet.
That’s why we’re moving forward with Legacy:
Then a seed phrase is generated from 12 different words. This is your private key. You must keep it safe and not share it with anyone. If you know these 12 words, you own the Bitcoin on your wallet.
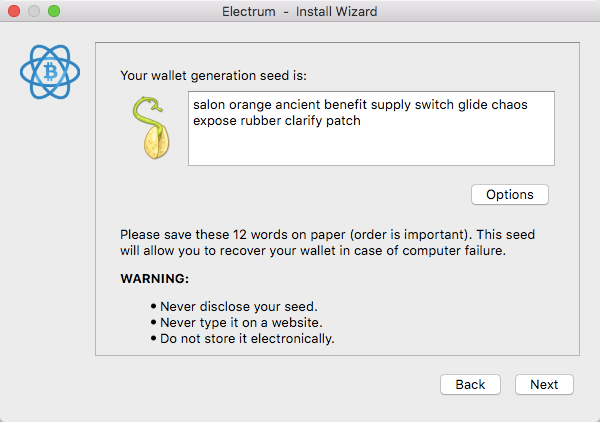
If your work computer breaks down or you no longer have access to the server. No problem, as long as you know these twelve words.
So write it down carefully and keep it in a very safe place. Do not betray anyone. Not even your programmer, administrator or service provider who integrates the Bitcoin payment into your store.
Because these twelve words are so important, you will get the blank page
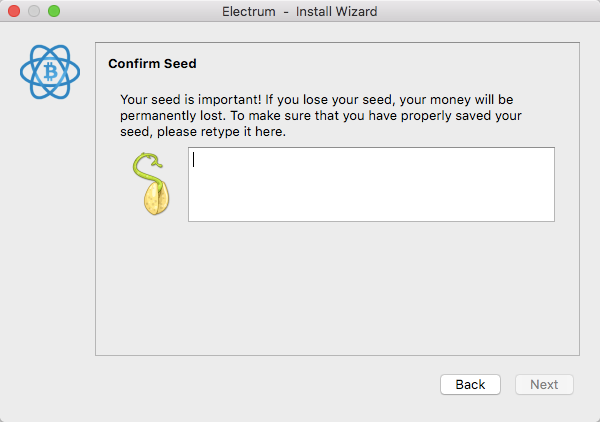
and have to enter the 12 words again:
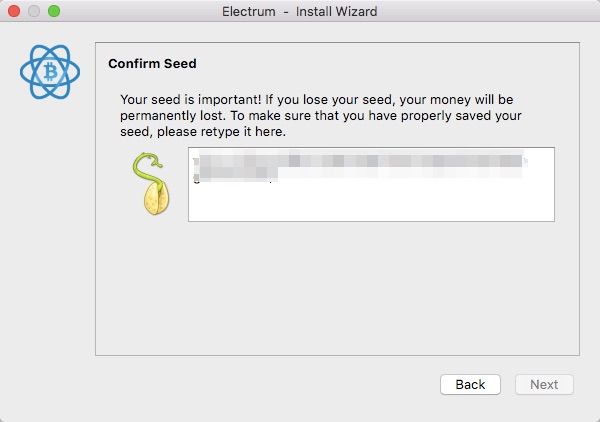
Then click Next and you will be asked to generate a password.
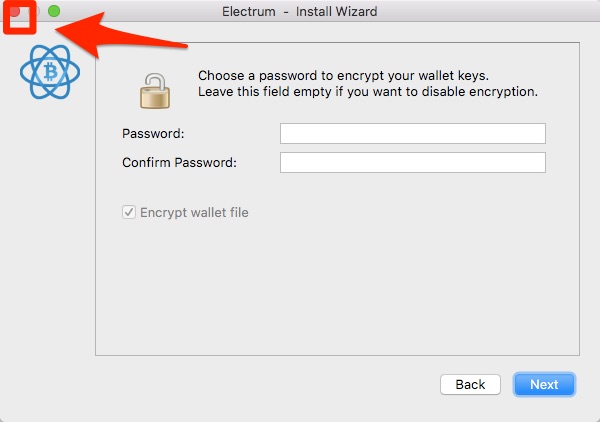
At this point you break off. Don’t just back off, cancel completely.
You go to Electrum under File and then under New/Restore. You start as if you were creating a new wallet at Electrum.
You start as if you were creating a new wallet at Electrum. At this point, the name is now set.
For example, we give the wallet the name BTCPayServer
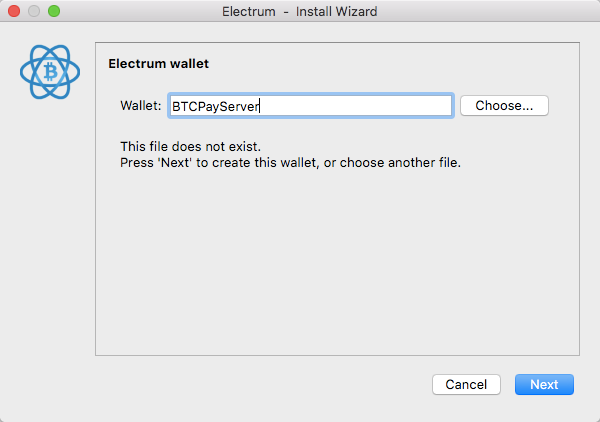
Click Next.
Create it again as a standard wallet.
Attention: Do notimport a private key at this point.
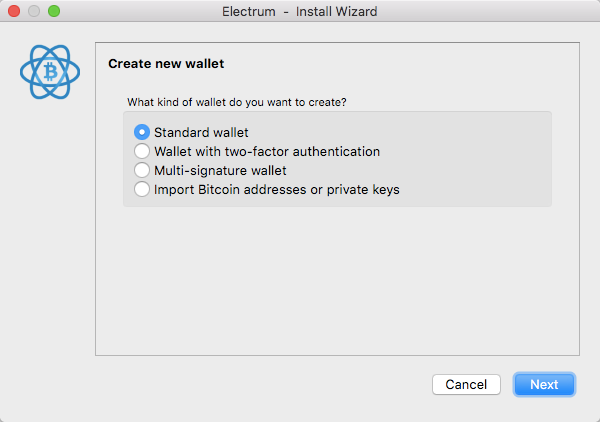
After that the following window appears
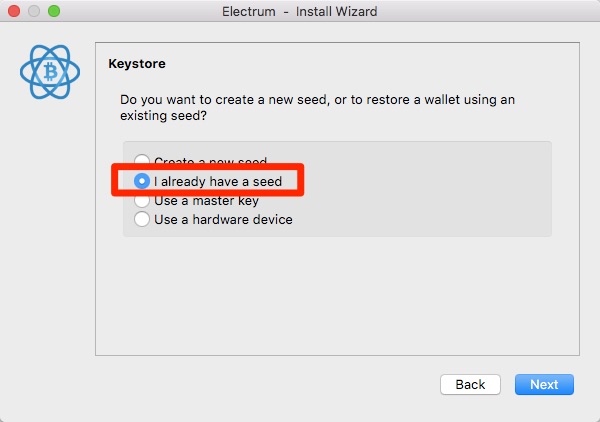
and select here that we already have a seed.
Then we are prompted to enter the seed. We now enter the 12 words we generated in the first pass.
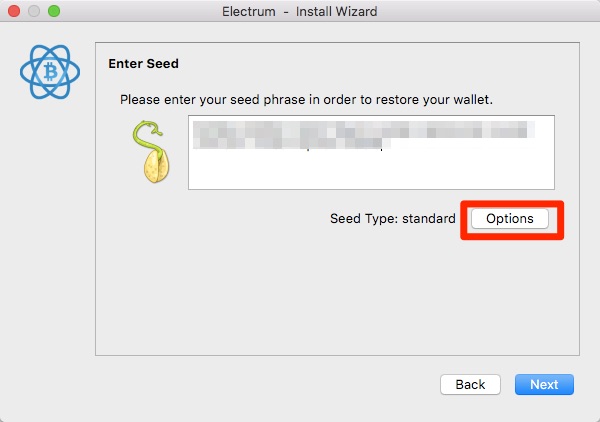
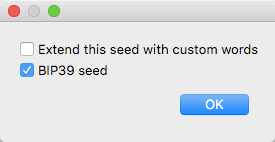
After that we click Options. In the window we activate BIP39 seed and click OK.
The following page appears with the security warning
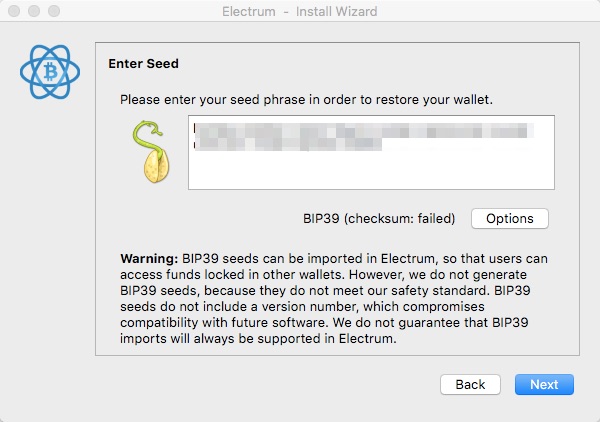
and click Next.
We select the option with p2sh-segwit (p2wpkh-p2sh)
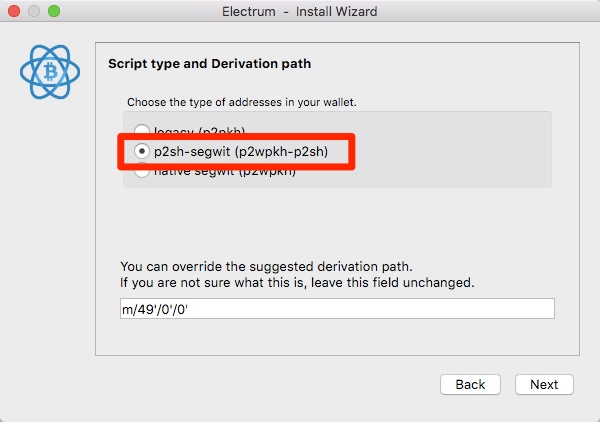
and click Next.
Then you need to remember a secure password to access your wallet.
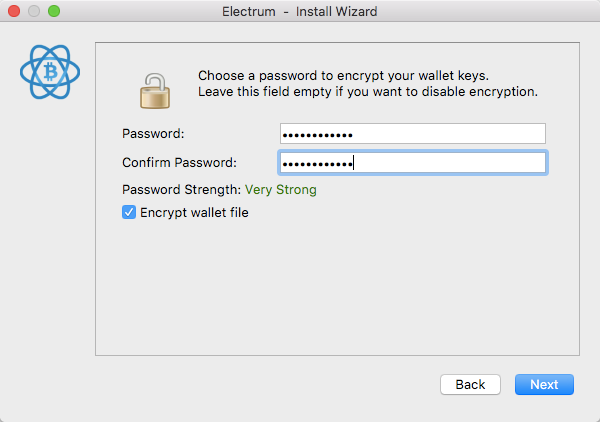
An Encrypt wallet file is generated and stored on your computer. To decrypt this file, the previously generated password is required. So keep this password safe as well.
You will then be taken to the Electrum Dashboard.
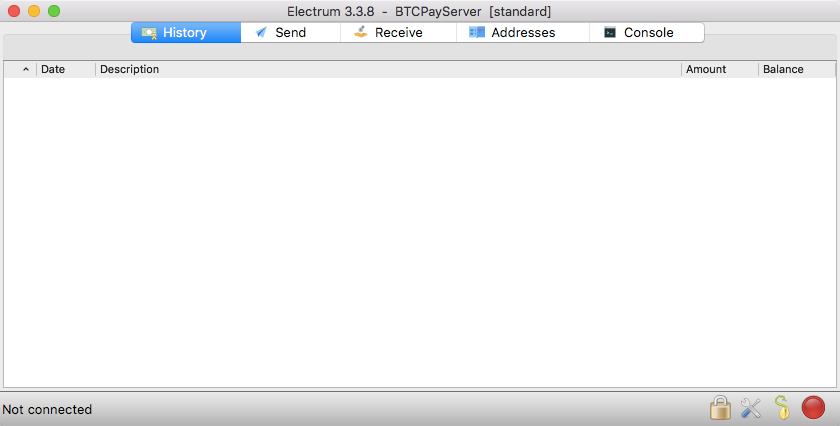
Here you have the possibility to send and receive Bitcoin and to view the history of your transactions.
Here you can check whether everything has been done correctly. We do this by clicking Receive. If we get a Bitcoin address with a 3 there, it looks very good already.
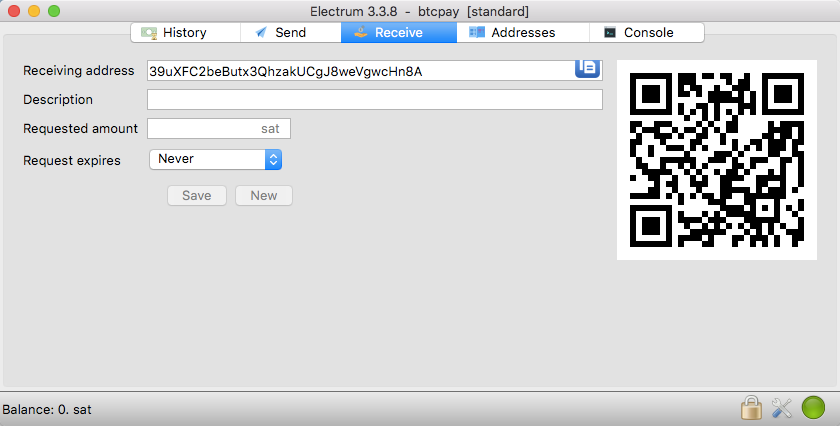
Then we click on Addresses and get 10 Bitcoin addresses that have already been generated:
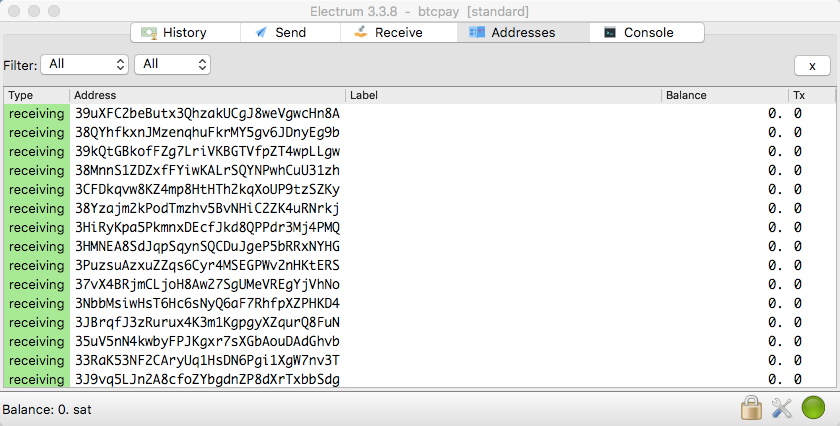
These addresses also start with a 3.
However, since we expect more than 10 transactions to take place in our store, we need to increase the number of Bitcoin addresses generated in advance.
We do this by switching to the Console section.
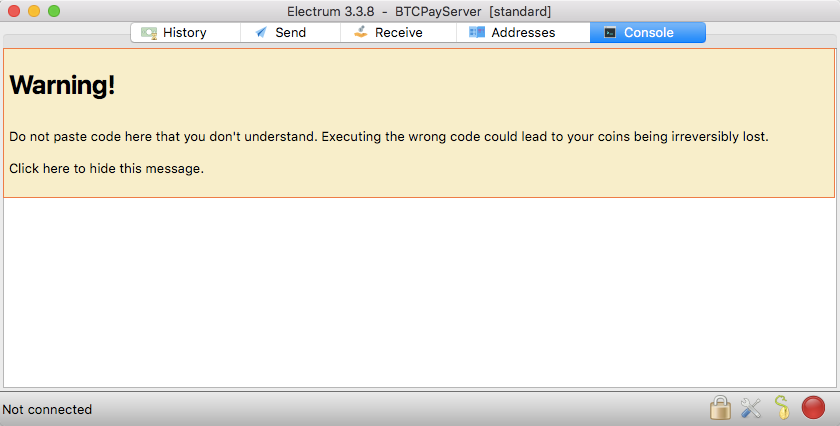
We read the warning and click on the yellow area.
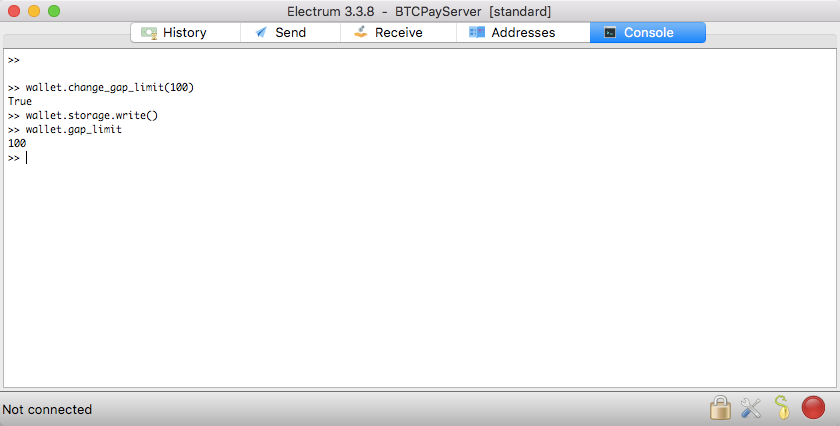
We want to increase the gap limit to 100. We want to generate a total of 100 Bitcoin addresses in advance.
To do this, we enter the command:
wallet.change_gap_limit(100)
and press Enter.
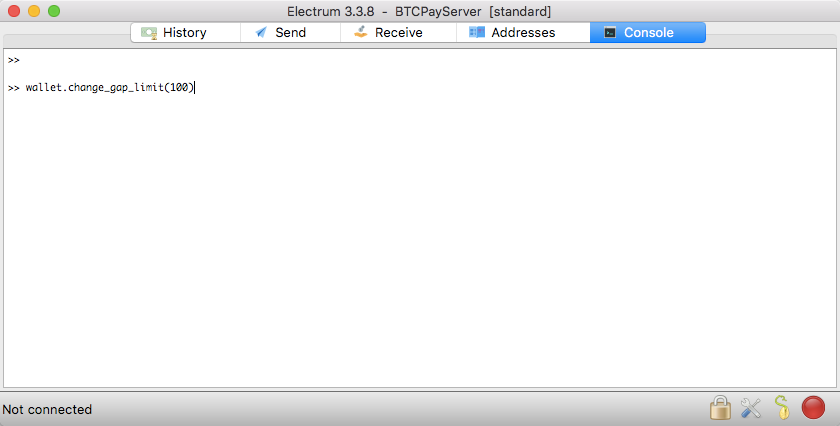
After that we give
wallet.storage.write()
one.
To check how high the new gap limit is now, we give the command:
wallet.gap_limit
one.
Everything is right when it looks like this:
Export xPub key
Now we need the xPub key to store this key in the BTCPayServer. This xPub key is the public key, which may be passed on without any problems.
You can export the xPub key by going to the Walletsection and then to Information.
There you will find the xPub key, referred to as the Master Public Key:
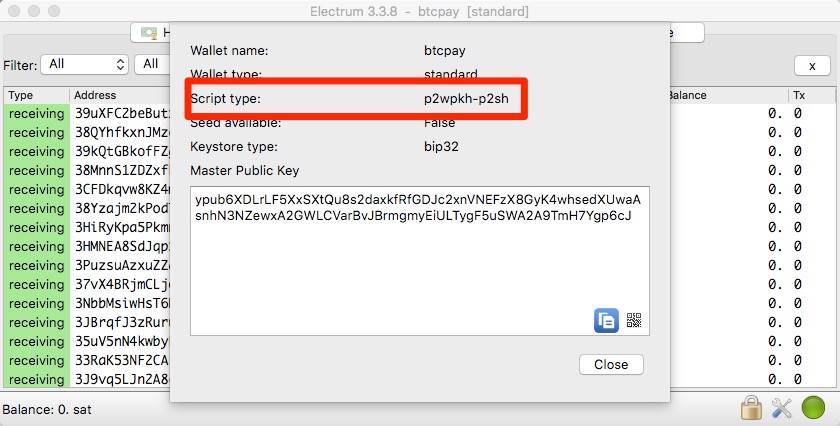
If the script type is also p2wpkh-p2sh, then we have done everything correctly.
Now this Xpub key can be used to generate an infinite number of Bitcoin addresses.
We now store this Xpub key in our BTCPay store on the BTCPay server.
How this works, you will learn in the article: “Deposit Xpub Key at BTCPay Server“.


Leave a Reply
Your email is safe with us.