Accept Bitcoin Lightning payments with Opago in-store
Accept Bitcoin Lightning payments with Opago in-store. In this article, we explain how to order and install the Opago Lightning Point of Sale Terminal. How to set up your own Lightning address to which your sales will be credited.
We show you how to operate the Opago terminal. How your customers can pay with Lightning when you are connected to the internet with your terminal and when you are offline.
YouTube Video: Accept Bitcoin Lightning payments with Opago in-store
On the YouTube channel of Coincharge+Coinpages we have published a German-language video entitled: “Bitcoin-Lightning Zahlungen mit Opago im Geschäft akzeptieren“.
Customer pays at the Opago terminal
Let’s take a look at how a customer pays at the Opago terminal.
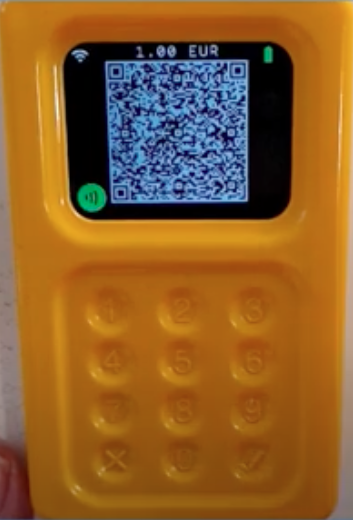
The seller enters the invoice amount. A QR code is displayed. The payer scans this QR code with their Lightning Wallet and pays.
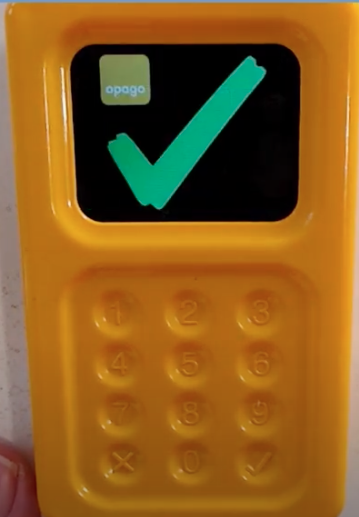
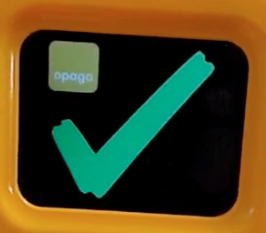
If the payment was successful, this is indicated to the merchant with a green tick.
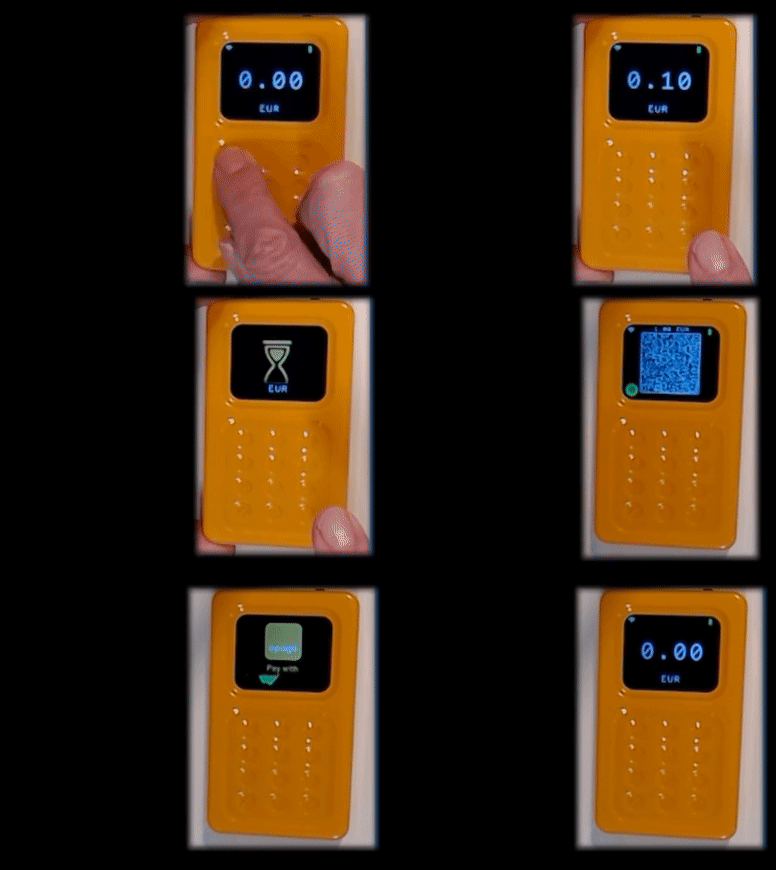
The Opago terminal works both with and without an Internet connection. It can therefore also be used at flea markets and weekly markets, in food trucks or as a handyman on the road.
Now you’ve seen how you as a payer can easily pay a merchant using the Opago terminal.
If you are a merchant yourself and would like to receive Lightning payments with the Opago terminal, we will now explain how to do this.
Order Opago Terminal
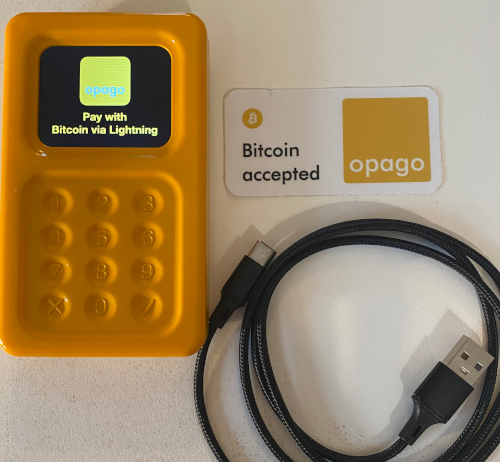
The Opago Lightning Terminal is about the size of a pack of cigarettes and is available in the color Bitcoin Orange.
It makes a very robust impression and should not suffer any major damage even in the rough and tumble of everyday business life. The keyboard is part of the housing and can therefore be kept clean with a damp cloth, which is not unimportant for use in the hospitality industry.
The large display is very good. This also allows the QR code to be displayed larger, which makes it easier to scan the QR code.
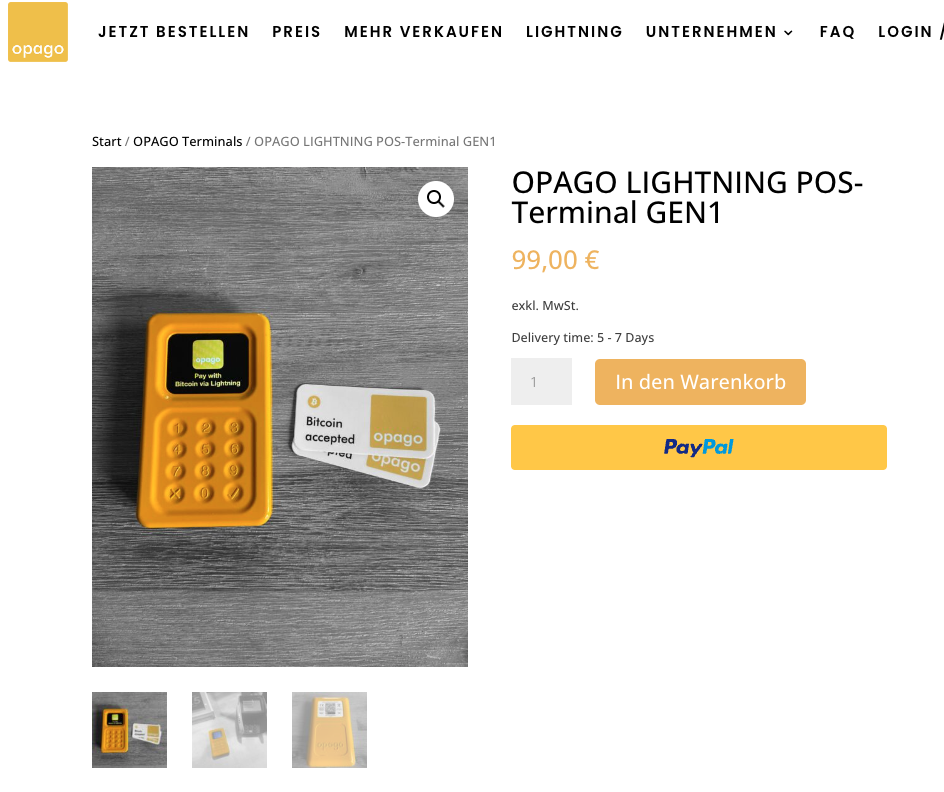
The device costs €99,- plus VAT and is free of shipping costs.
The Opago terminal can be ordered via the website opago-pay.com.
Opago registration
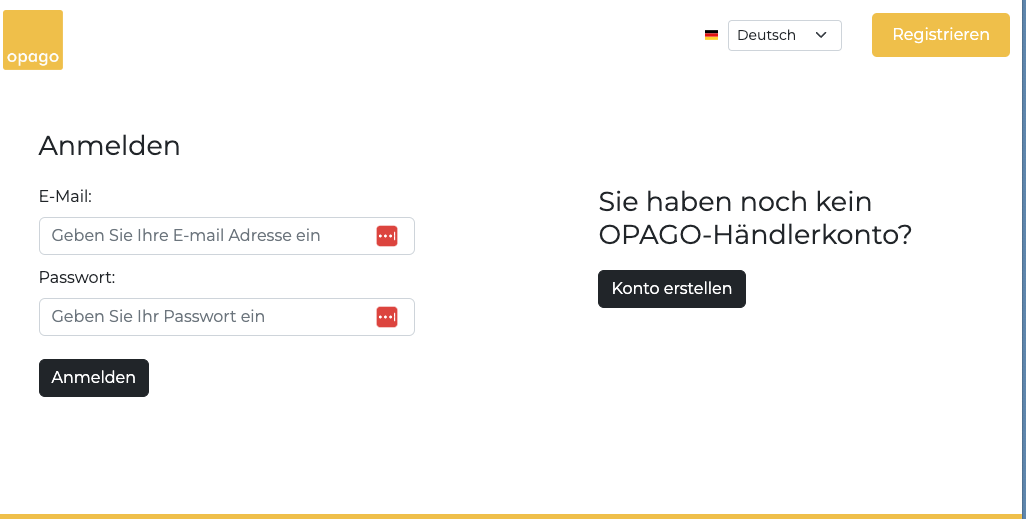
Once we have received the Opago terminal, the first step is to open an account with Opago. To do this, we go to the Login / Register area on the opago homepage and create a new merchant account.
When creating a merchant account, you enter your company details such as address, tax number, etc.
You must also enter a Lightning address. A Lightning address looks like an e-mail address. But instead of sending and receiving messages, you can use a Lightning address to send and receive Lightning payments.
You can find an overview of Lightning wallets that give you your own Lightning address here: https://coincharge.io/en/lightning-address/
Installing and setting up Opago
Once we have created an Opago customer account, we can start configuring the Opago terminal. To do this, we must first install the latest software, the so-called firmware, on the hardware terminal.
Please note that we use Google Chrome or Microsoft Edge as our browser. Problems may occur with other browsers.
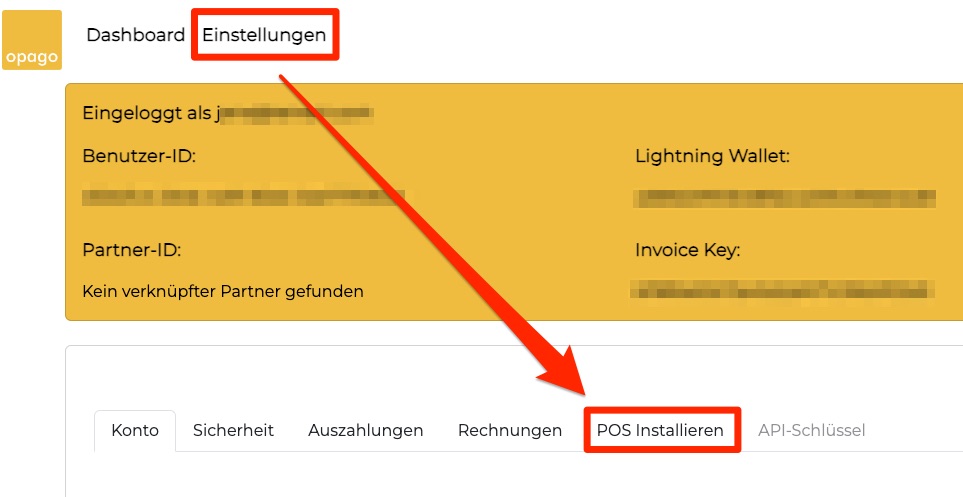
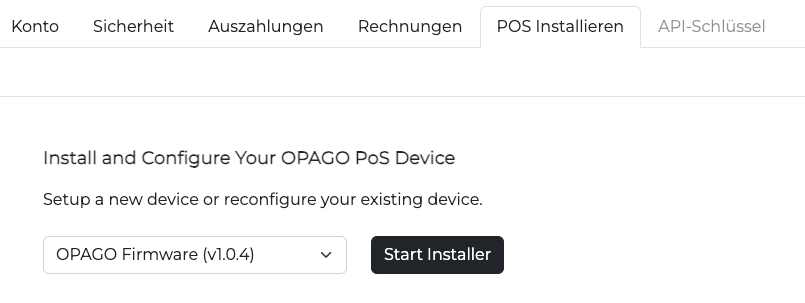
In the Opago Dashboard there is the Settings tab. There we find the menu item Install POS.
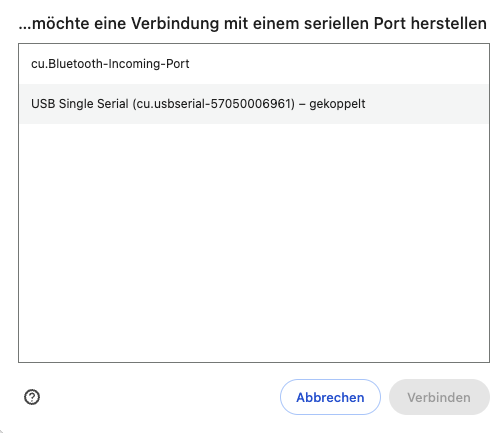
We are then asked to select the appropriate interface. With Microsoft, this is usually COM3 or another COM port.
On a Mac, the interface can be named ch.wchusbserial and then some numbers. Then we select the appropriate connection and click on Connect.
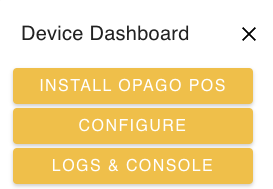
Now our computer is connected to the Opago terminal and we select Install Opago PoS.
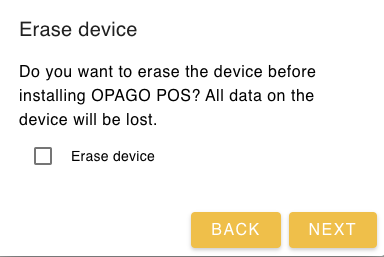
Then the dialog with Format device appears, we do not have to do this and do not select it and click Next.
Then we confirm the installation with Install and the latest firmware is installed on the Opago terminal.
This process will now take a few minutes and we will be redirected to the installation page.
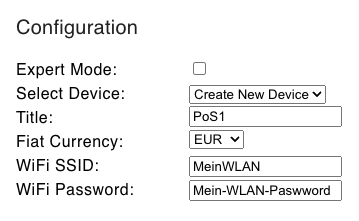
In the following window, we now have the option of giving the device a unique name. This is done in the Title field. If we use several devices, we can differentiate between them.
In the Fiat Currency field, we enter the currency that we use in our business. For example, the euro.
To connect our Opago terminal to the Internet, we enter the name of our local network in the WiFi SSID field and the corresponding password in the WiFi Password field.
If you want to use the terminal in the store, then use the network. If you are on the move, you can connect it to your smartphone. However, you can also use the Opago terminal offline if you do not have an Internet connection yourself, as long as the customer is online.
The settings made are then saved with Save Configuration. The settings you have made are now transferred to the device.
If everything was successful, we can see this in the serial monitor. Configuration saved successfully is then displayed there.
It is recommended to restart the device completely. You can do this by clicking on Reset Device. The terminal then shuts down once and then restarts.
Accept Lightning payments
Our Opago terminal is now installed and our customers can pay with Bitcoin Lightning.
Now we want to carry out three test transactions to check whether our Opago terminal is working properly.
1.) Lightning payment when the Opago terminal is connected to the Internet.
2) Once without an Internet connection
3.) Und mit einer Lightning NFC-Karte
Opago terminal with Internet connection
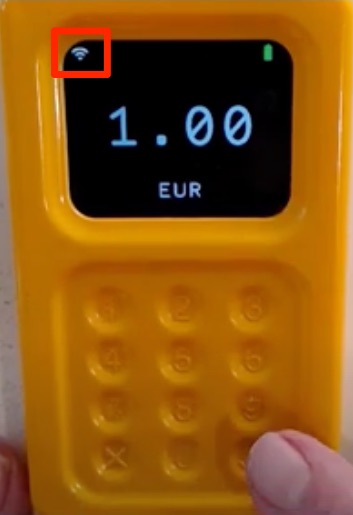
First we do a test when our Opago terminal is connected to the Internet.
First we do a test when our Opago terminal is connected to the Internet.
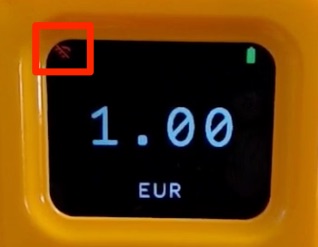
This can be recognized by the waves at the top left of the Opago screen.
As a merchant, I enter the invoice amount in euros and confirm the amount at the bottom right with the check mark.
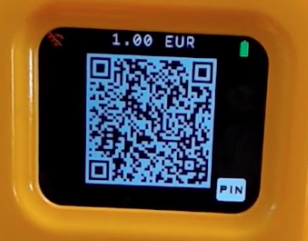
A QR code appears on the display, which the customer can now scan with their Lightning Wallet.
As a customer, I take my Lightning Wallet on my smartphone and scan the QR code displayed.
The payment is noted as paid on the customer’s smartphone.
Opago terminal without internet connection
However, the Opago terminal also works without an Internet connection.
Merchants who want to use the Opago terminal without an Internet connection can do so. This is helpful, for example, if you want to accept Lightning payments at the flea market or weekly market, at the food truck or as a craftsman on the road.
I took the Opago terminal offline once and show how it works now.
As a merchant, I enter the amount again and the corresponding QR code appears.
The customer scans the QR code with their smartphone and makes the payment.
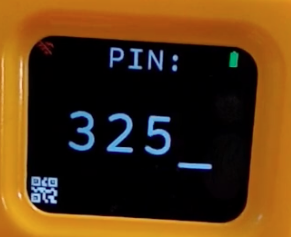
PIN appears at the bottom right of the display. The merchant then clicks on the tick on the keyboard again.
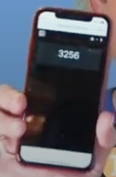
To check whether the payment was successful, the payer is shown a PIN.
The merchant enters the PIN displayed by the customer into the Opago terminal.
Payment by NFC card
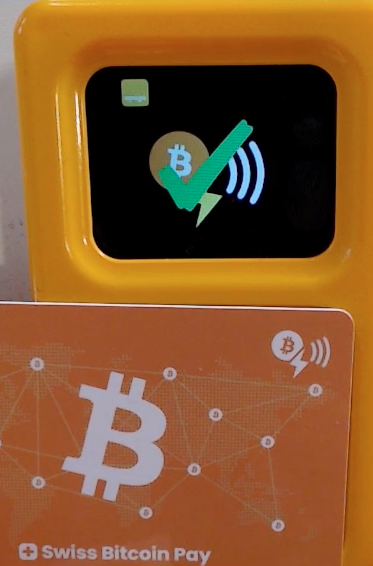
The Opago terminal can also accept payments by NFC card.
To pay by NFC card, the Opago terminal must be online.
The amount is entered and the Lightning Invoice is created. When the QR code appears, the customer’s NFC card is placed on the keypad. Move it back and forth a little. At some point, the device recognizes the card and establishes a connection.
Once the connection has been established, the payment is made. If the payment is successful, the green tick appears again.
Dashboard
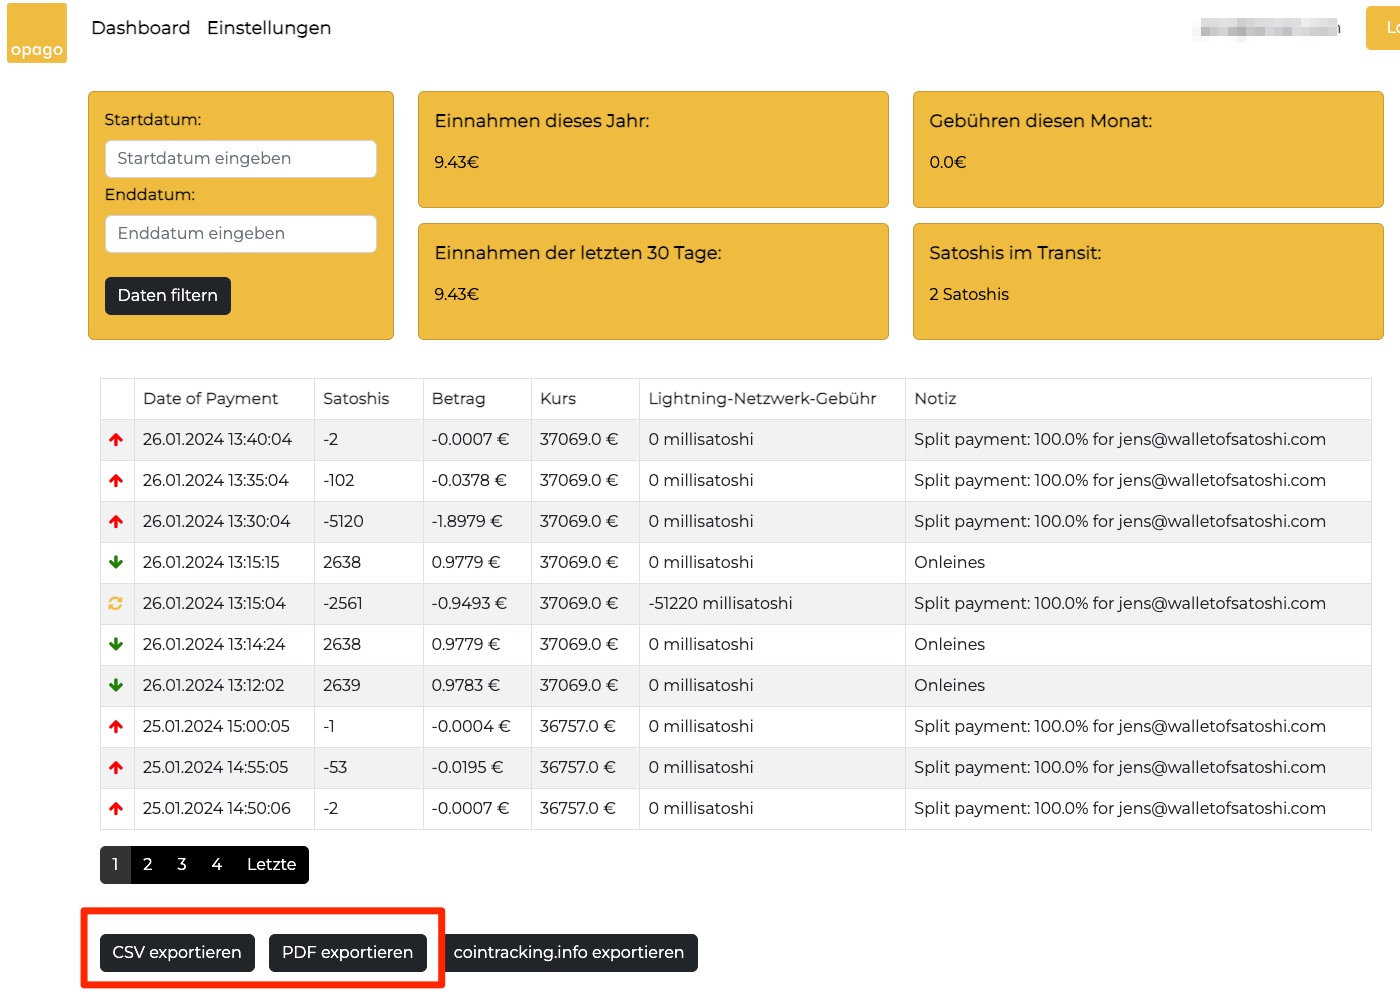
Now that we have carried out a few transactions, let’s take a look at the Opago backend. We already created an account here when we set up our Opago terminal.
Anyone who accepts Lightning payments will also want to record these payments in their own accounting.
In the Opago backend, we find an overview of all transactions that have been carried out. These transactions can be exported as a CSV file and used for your own accounting.
Now we have an overview of all payments made, but where was the turnover credited?
Payout to Lightning Wallet
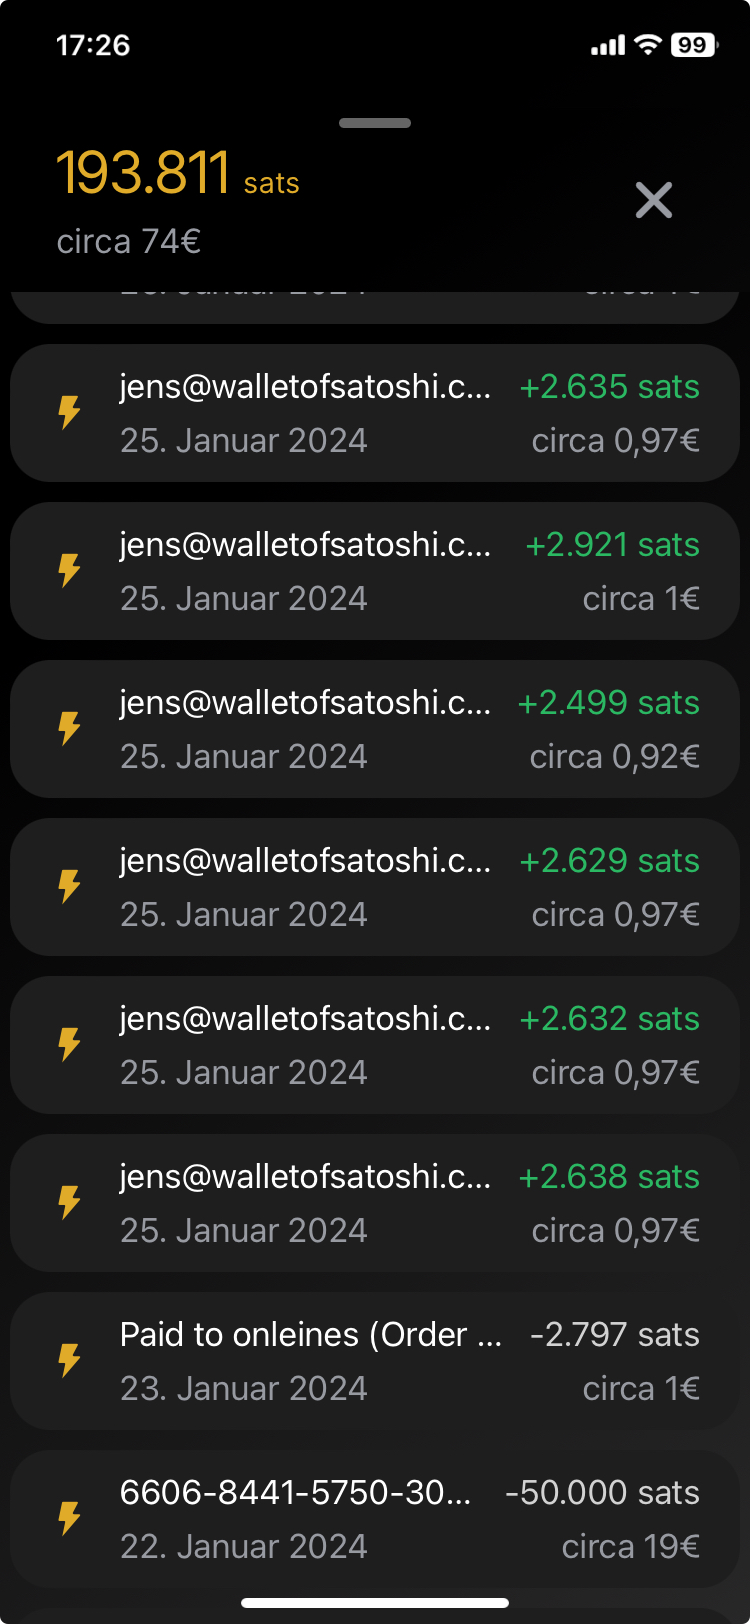
Lightning transactions are credited directly to your own Lightning Wallet. I had deposited my Lightning address from the Wallet of Satoshi. Of course, any other Lightning wallet that offers a Lightning address can also be used.
Here you can now see my Wallet of Satoshi transaction view and the list of all transactions. Likewise the crediting of all sales in my store.
Opago summary
The Opago Lightning Terminal is an affordable and convenient solution for accepting Lightning payments in your store. As you can see in the video, it is very quick and easy to set up and the revenue generated is credited directly to your Lightning Wallet.
From there, you can either transfer the balance to a Bitcoin wallet or exchange it for euros with a broker service provider and have it paid out to your bank account.
The device is small and handy and can be easily stored near the checkout and is always ready to hand when a customer can pay with Lightning. Every employee can operate the device intuitively and incoming sales are immediately credited to the store’s stored wallet. No employee can dispose of the credit, as the device is only suitable for accepting payments.
The device can be used both with an Internet connection and offline. This makes it perfect for food trucks, flea markets and weekly markets or if you want to be paid on the spot as a tradesman.
In any case, a very good solution for all tradespeople who are looking for a solution that is always available in the store and can be used by all employees instead of their own Lightning Wallet on their smartphone.
As already mentioned, the Opago Lightning Terminal can be ordered via the website and is ready for use after just a few minutes.
When can I pay with Bitcoin Lightning?

