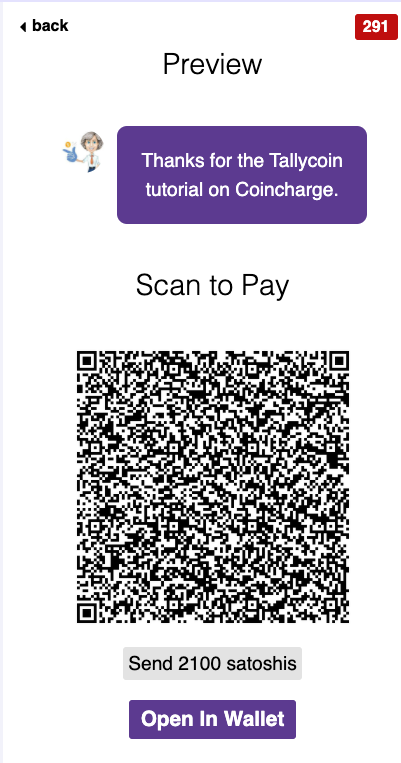
Tallycoin was a fundraising platform for Bitcoin. Unfortunately, the domain no longer exists.
This article describes how the project used to be. how the project used to work in the past.
Tallycoin Fundraising & Crowdfunding with Bitcoin and Lightning
Tallycoin is a crowdfunding or fundraising platform for accepting donations via Bitcoin and Lightning.
You can receive Bitcoin donations via the Tallycoin platform or by embedding them on your own website.
If you want to raise funds for a project, you can use Tallycoin to present the project and the amount of money you need to realize your project.
Tallycoin provides the platform on which the projects can present themselves and the technical platform to receive donations via Bitcoin and Lightning.
Each donation can be provided with a 140-character comment, which is displayed on the project page.
Table of contents
Tallycoin Bitcoin Fundraising and Crowdfunding
In this post, we explain how you can create a Tallycoin project yourself to receive donations for your crowdfunding or fundraising campaign. Just like you can deposit your Bitcoin address to receive the donated Bitcoin directly on your own Bitcoin wallet.
If you also want to receive donations via Lightning, we explain how to deposit your Lightning Node so that Lightning payments are credited to your own Lightning Wallet.
We explain how you can integrate the donation function of Tallycoin on your own website.
Create a Tallycoin Account
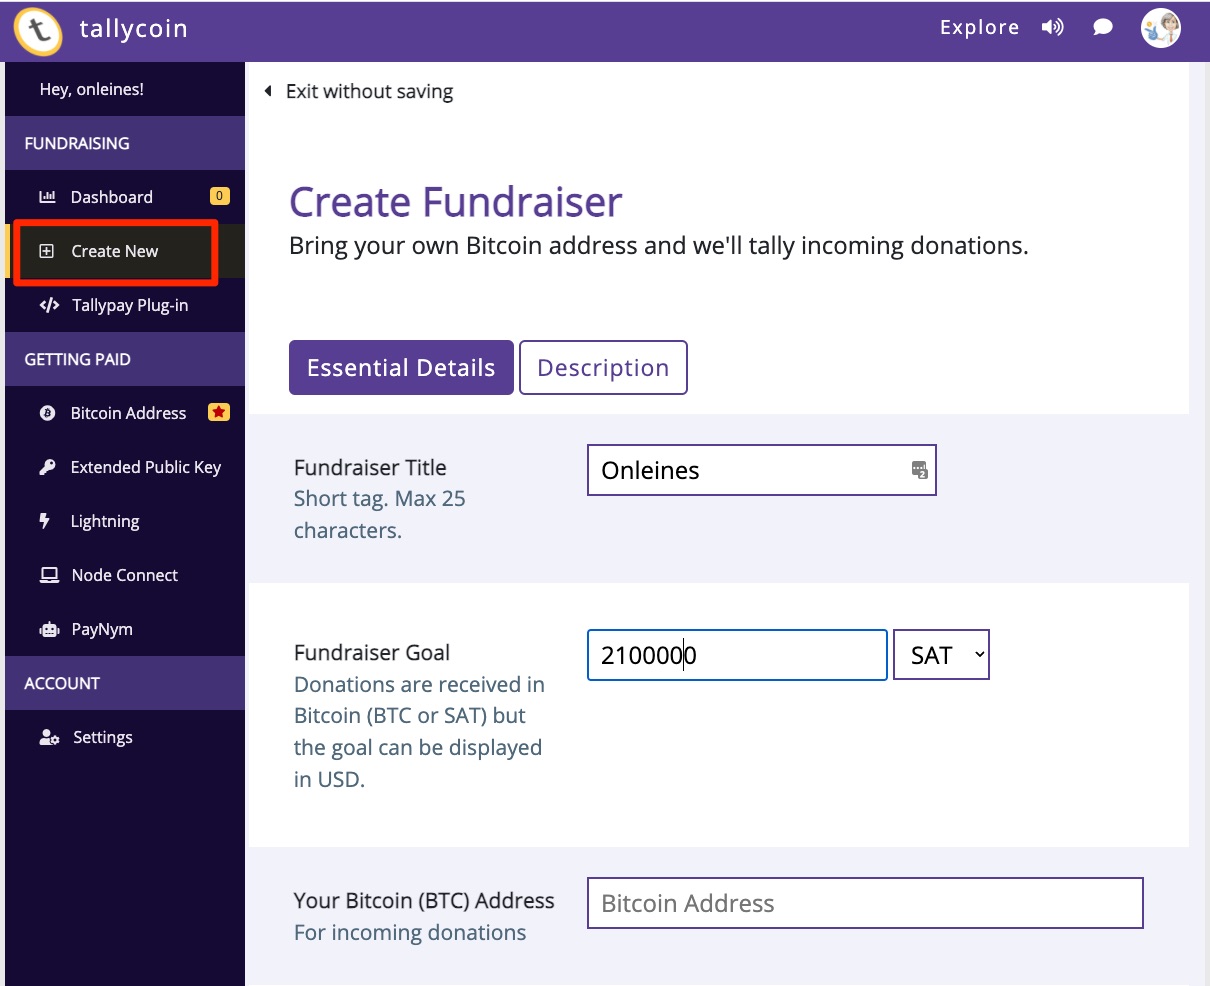
You can create an account on the https://tallyco.in/ website and create your own fundraiser page via the Create New menu item.
You assign a title for your fundraiser project and the amount you would like to collect.
Tallycoin is a non-custodial fundraising platform. This means that all Bitcoin donations made will be credited directly to the fundraiser’s Bitcoin wallet.
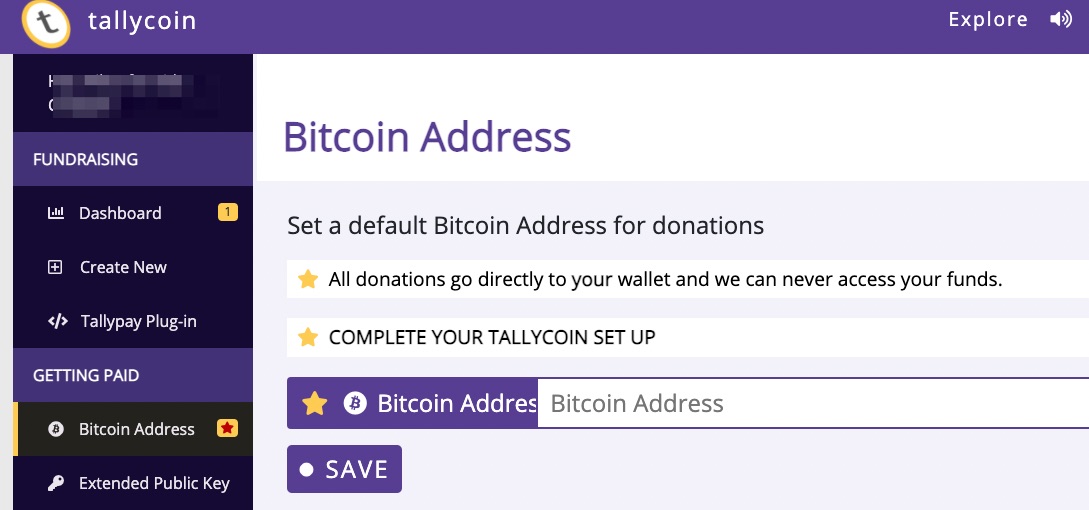
The fundraiser has the option to deposit its own Bitcoin address to which incoming Bitcoin payments will be credited.
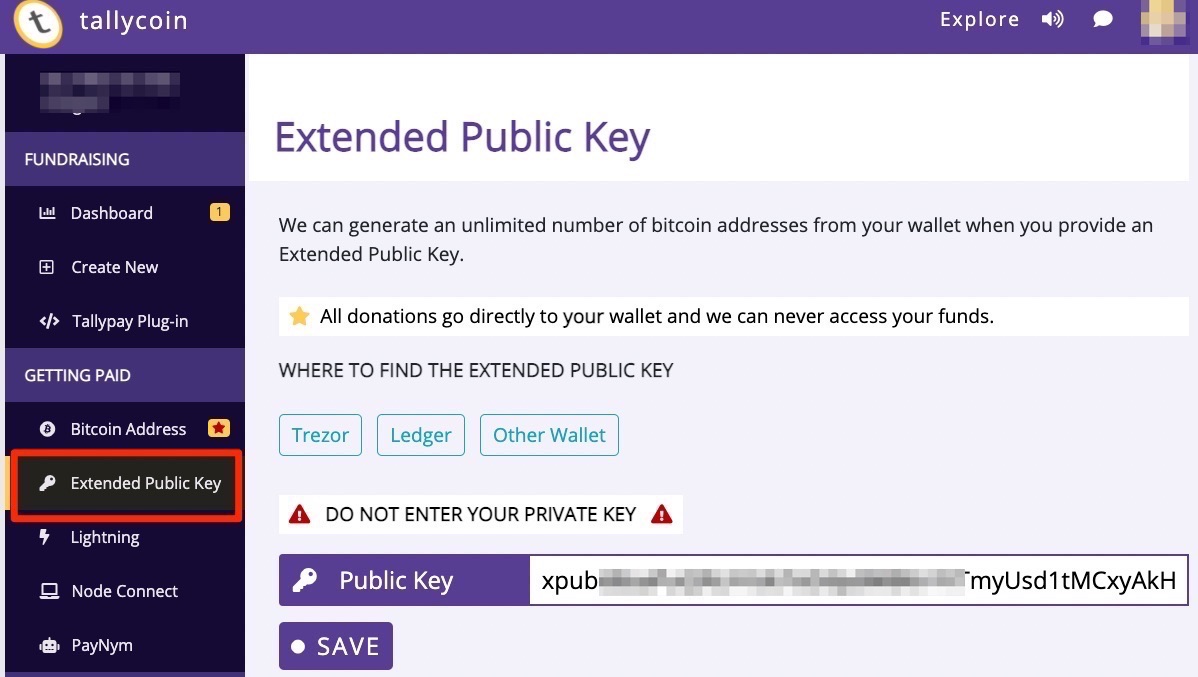
Instead of a single Bitcoin address, an Extended Public Key (xPub Key) can also be deposited. Thus, for each individual Bitcoin payment receipt, a separate, unique Bitcoin address is generated.
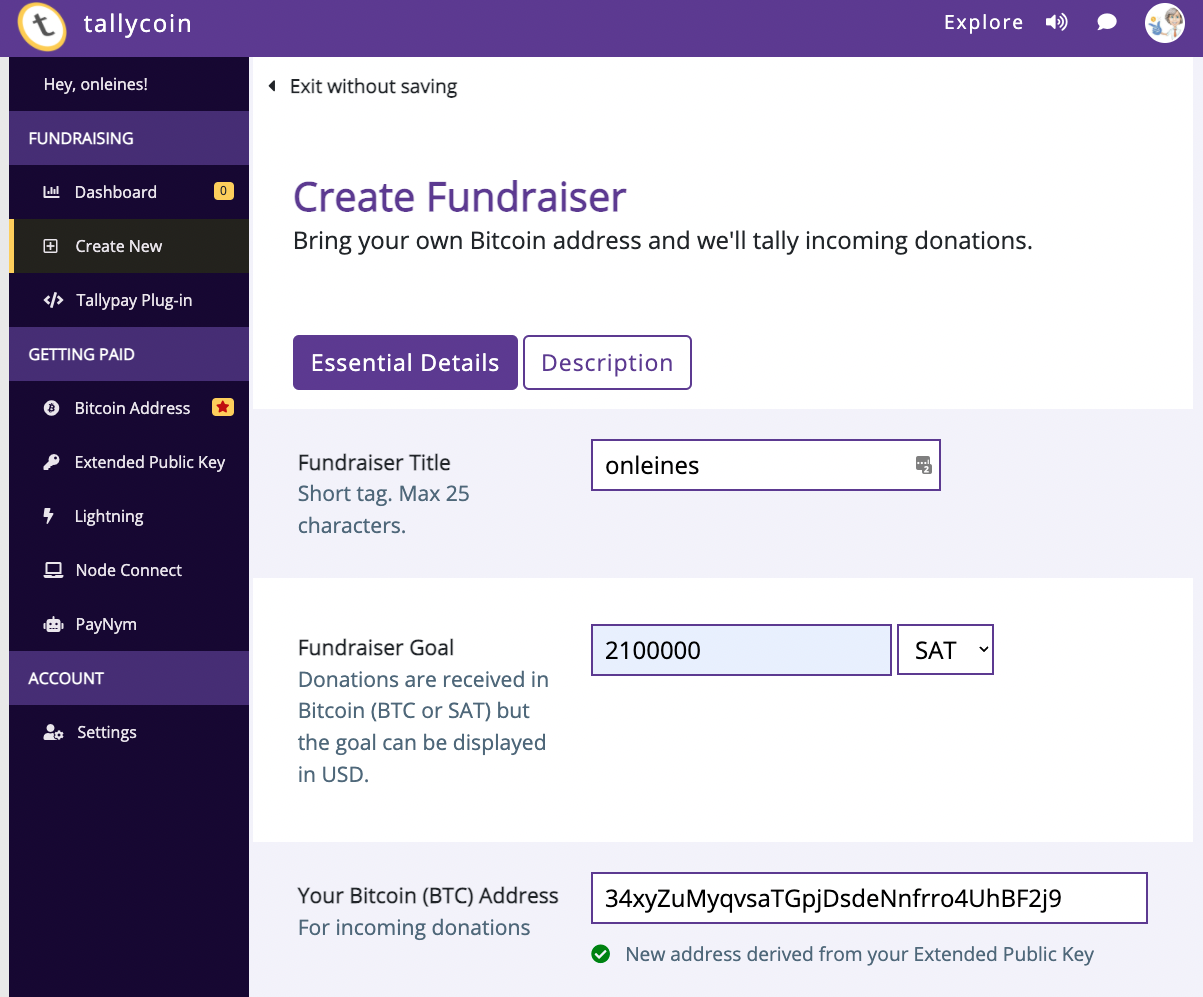
If an xPub key was stored in the Extende Public Key menu field, then no Bitcoin address will be stored when the fundraising project is created. This field is automatically created by the xPub Key.
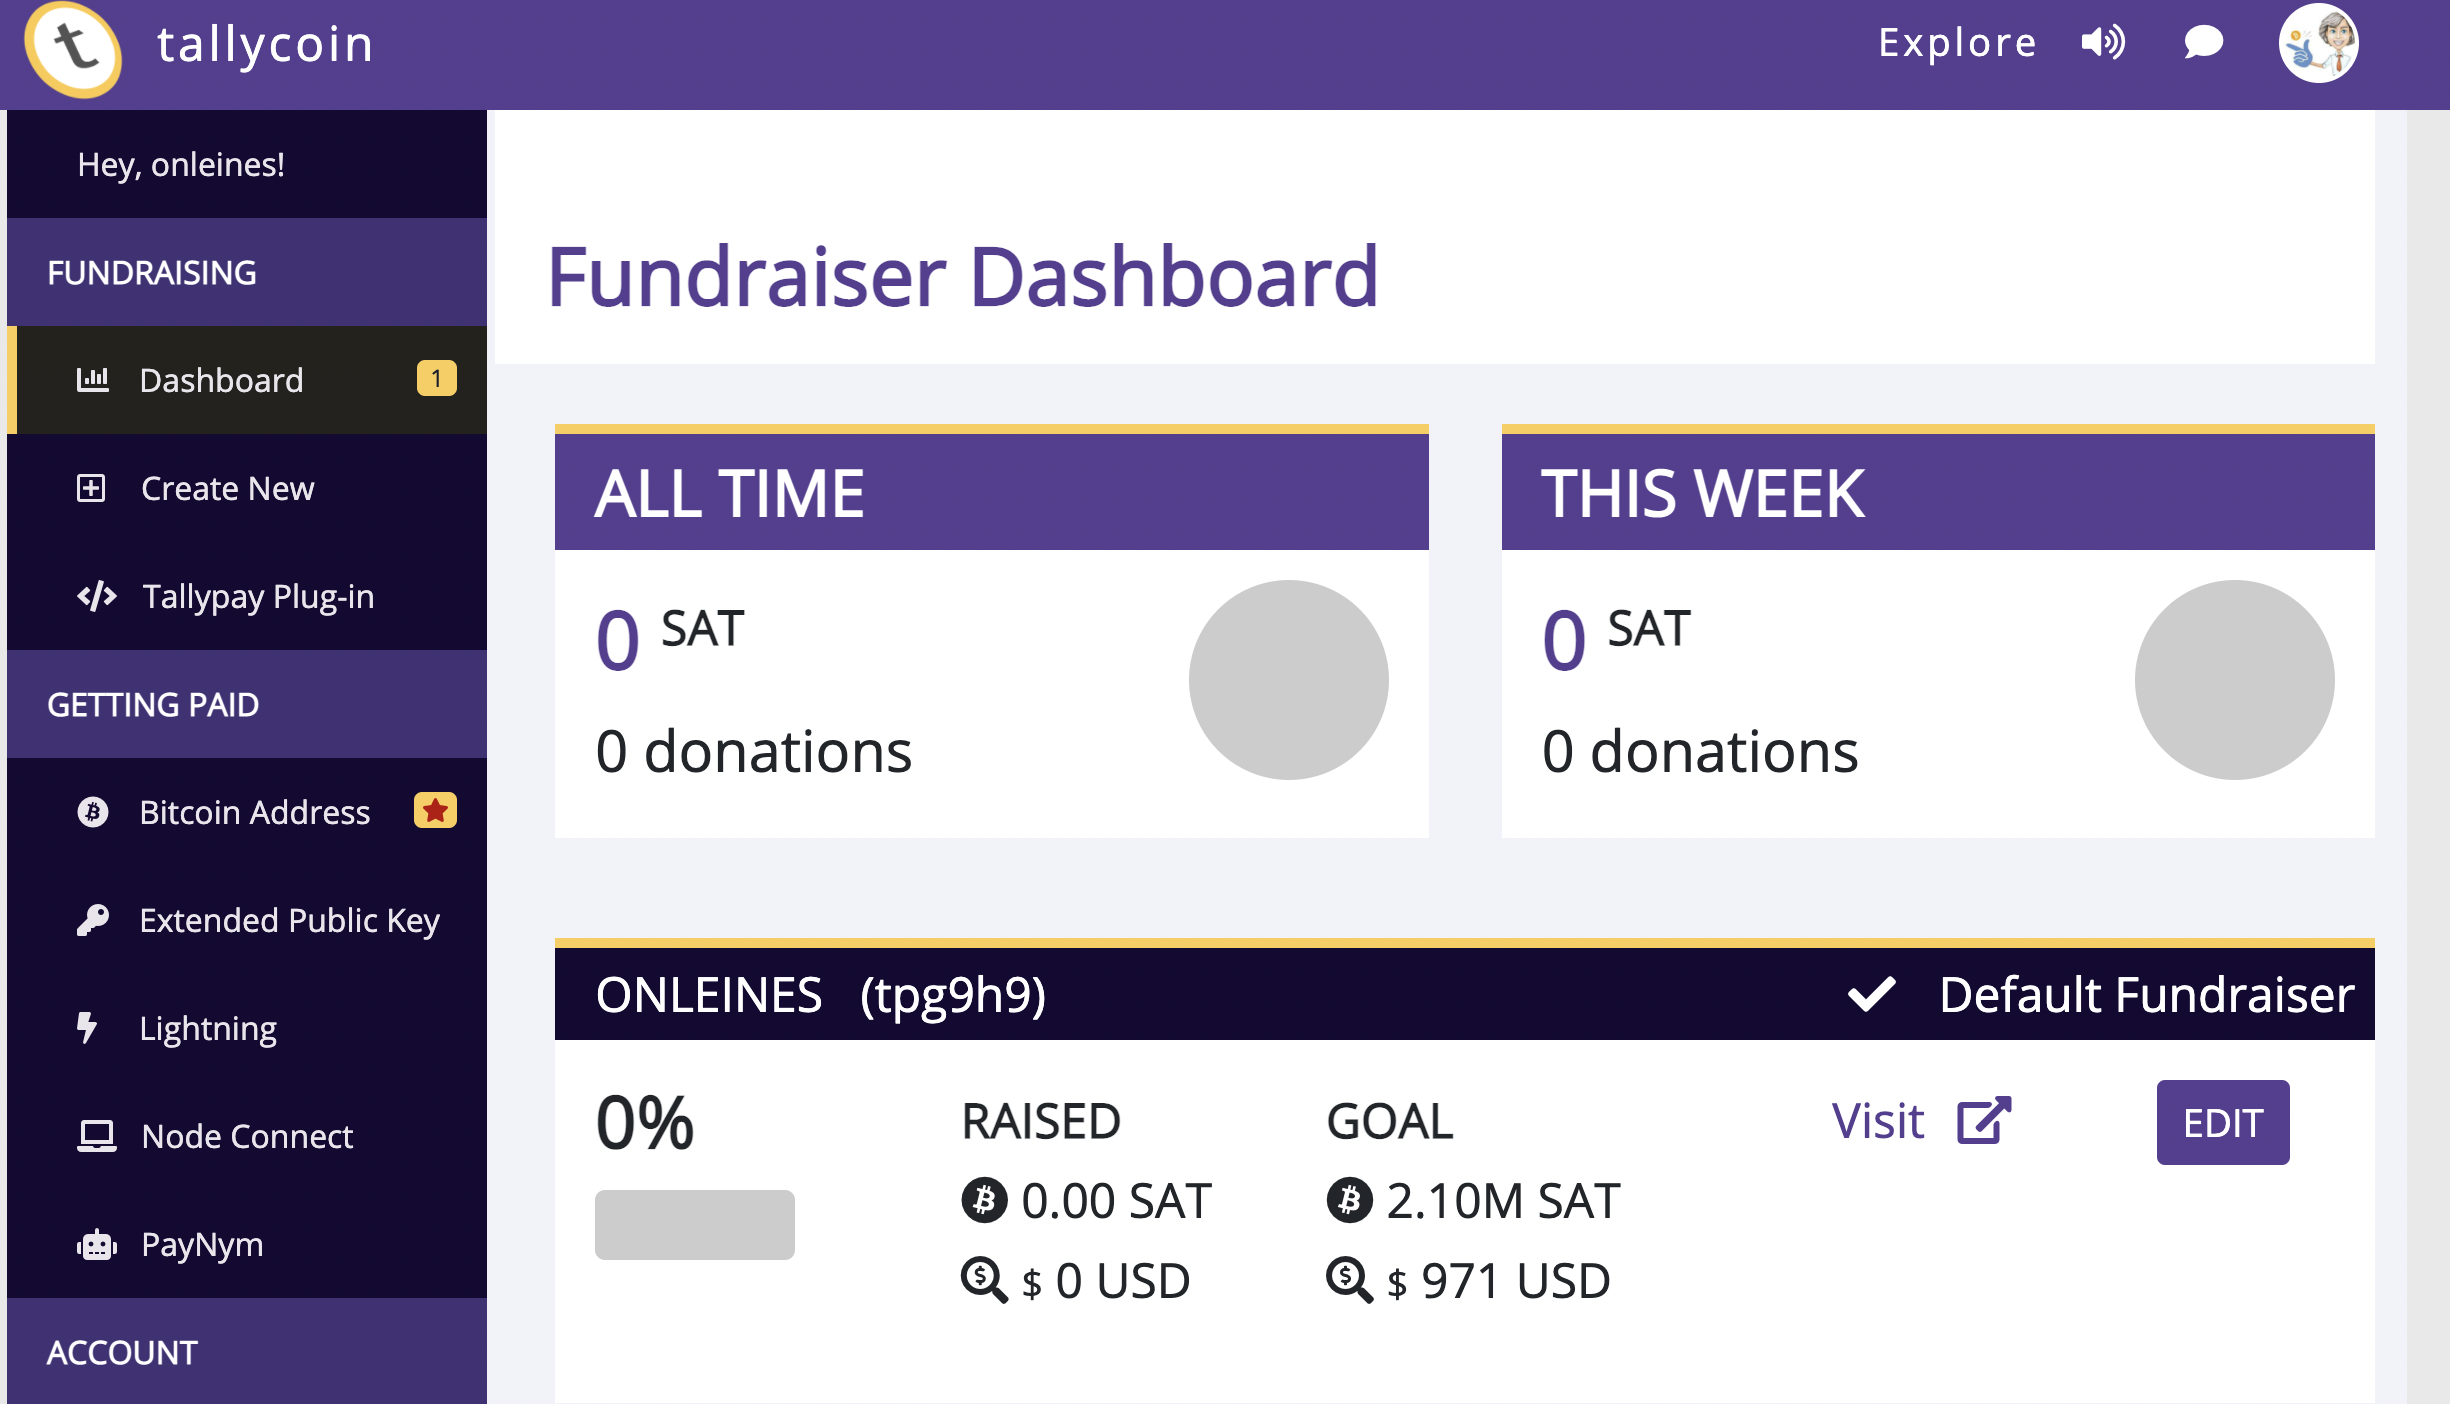
After the description of the fundraising project has also been described and saved, the fundraiser dashboard is accessed.
Lightning Settings
We have already described how payments can be received via Bitcoin (on-chain) with the Fundraising page by depositing a Bitcoin address or via the xPub Key.
Receiving donations via Lightning (off-chain) requires running your own Lightning Node.
Unfortunately, it is not possible to simply deposit a Lightning address as it is possible with a Bitcoin address.
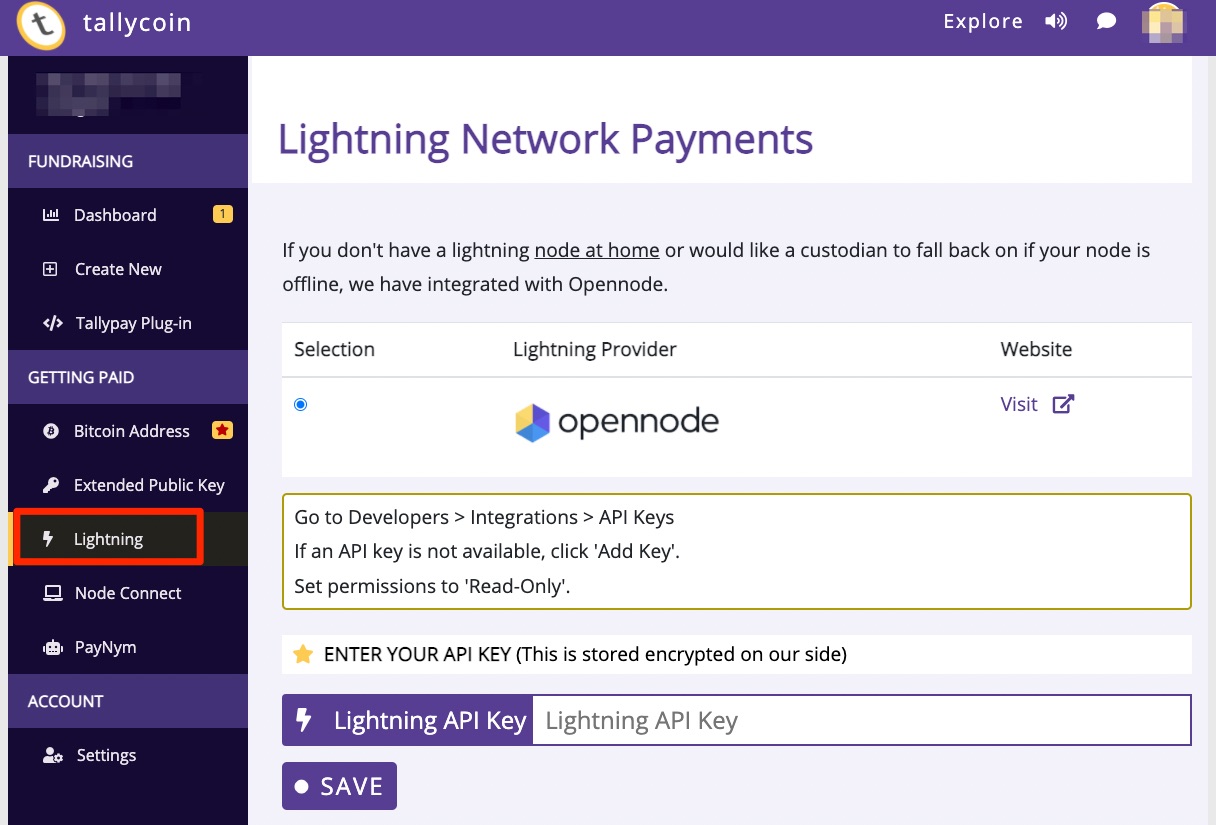
To receive donations via Lightning, there are two options. You open an account with the Bitcoin payment provider Opennode and deposit the API key, which is provided by Opennode.
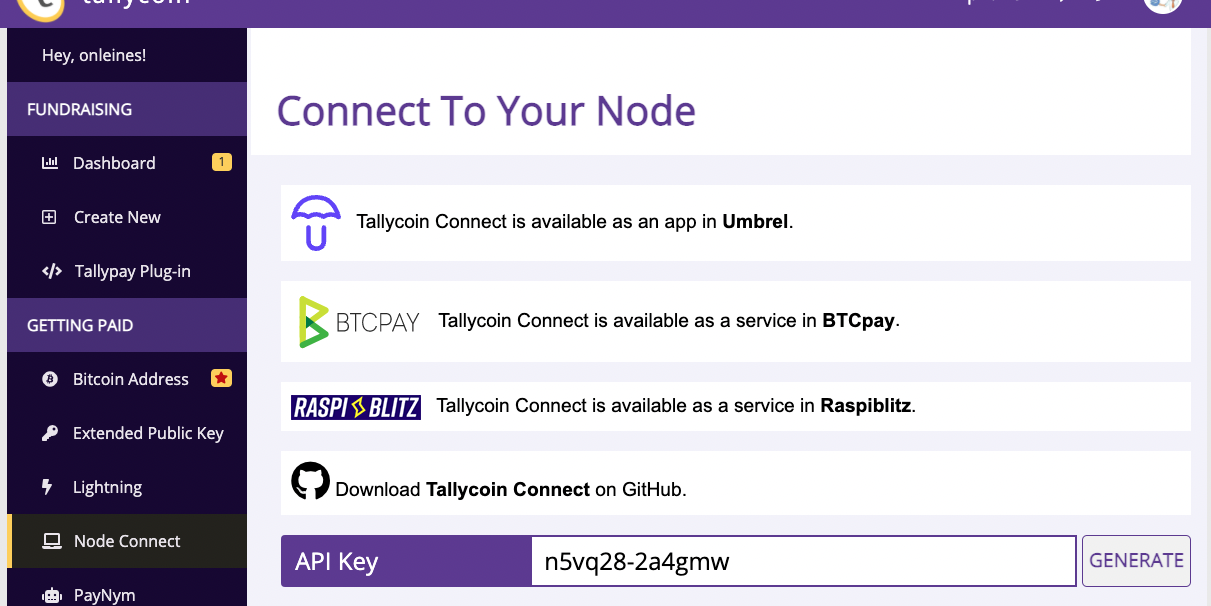
If you operate your own Lightning Node, you can connect your Lightning Node via the Node Connect menu item.
Tallycoin Connect can be used to connect to Umbrel, BTCPay and Raspiblitz.
We describe the procedure in the chapter Tallycoin Connect with BTCPay Server.
Tallycoin Connect with BTCPay Server
We need Tallycoin Connect(https://github.com/djbooth007/tallycoin_connect) and the Tallycon API key to connect the Tallycoin fundraising page with our Lightning Node.
We can obtain the Tallycoin API key via the Node Connect menu item.
We will install Tallycoin Connect on our BTCPay server running on a LunaNode and use BTCPay’s instructions:
https://docs.btcpayserver.org/Docker/tallycoin-connect/#tallycoin-connect
We log in to our LunaNode server via terminal and switch to root mode via
sudo su –
Then we change to the directory of btcpayserver-docker via
cd btcpayserver-docker/
now we need to specify the Tallycoin API Key and the password. We will use the API key we created on the Tallycoin page and our own password
export TALLYCOIN_APIKEY=”my-tallycoin-api-key”
export TALLYCOIN_PASSWD_CLEARTEXT=”sUpErSeCuRe”
After we do that, we enter:
BTCPAYGEN_ADDITIONAL_FRAGMENTS=”$BTCPAYGEN_ADDITIONAL_FRAGMENTS;opt-add-tallycoin-connect”
Now the BTCPay server must be restarted and for this we enter:
. btcpay-setup.sh -i
The setup will start and all necessary programs will be installed and the server will be restarted.
After the server has restarted, we go to the Tallycoin page in the Node Connect menu and check whether our connection has been successfully established.
We click on Test your Connection and are shown Connected if everything has been done correctly.
After everything is OK on the Tallycoin side, we want to see what has happened on the BTCPay server.
BTCPay Server – Other external Services
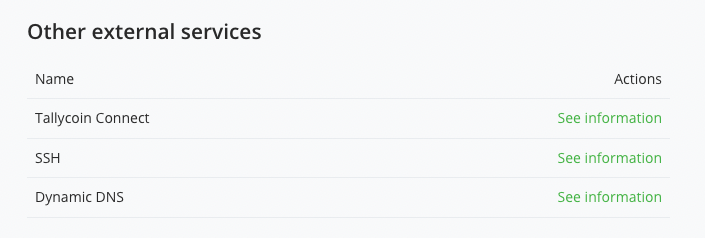
After you have installed Tallycoin Connect on your BTCPay server, you will find in the Server Settings => Services section in the Other External Services area the item Tallycoin Connect.
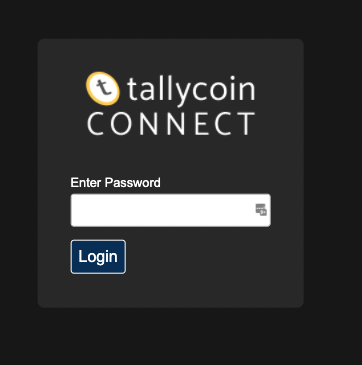
If you click on See Information, you will be redirected to the adjacent page. This page is password protected. You have to enter the same password that you used for Tallycoin Connect.
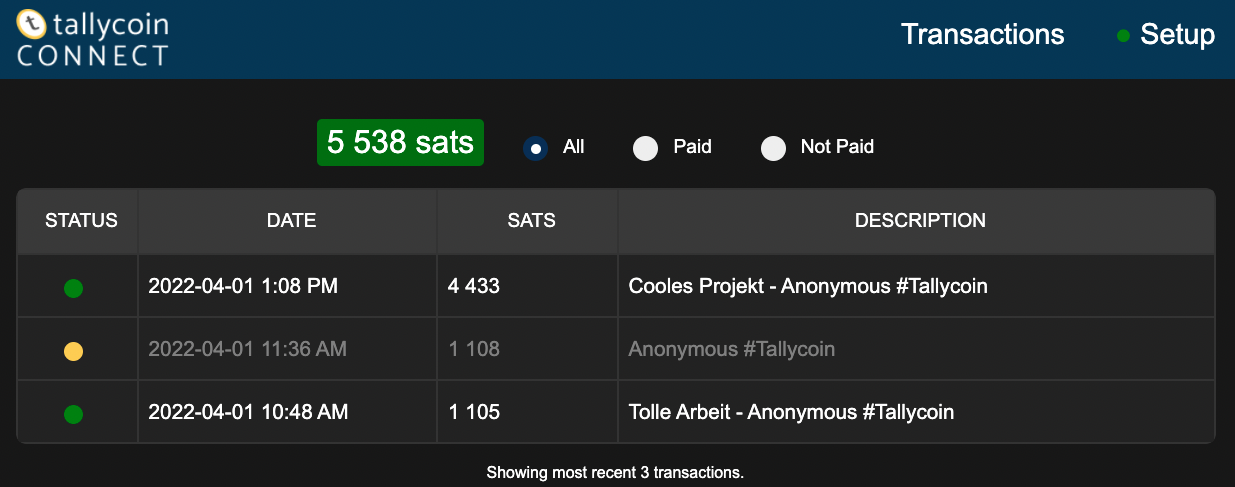
In the overview you will see all Lightning donations that you have received via Tallycoin and that have been credited to your own Lightning Node.
Go to your Tallycoin fundraising page now and check if off-chain payments are now offered in addition to on-chain ……
Integrate Tallycoin on your own website
Instead of waiting for visitors to the Tallycoin website to become aware of your fundraising project, you can also integrate Tallycoin onto your own website.
Tallycoin refers to this feature as Tellypay and explains it itself at: https://github.com/djbooth007/tallypay
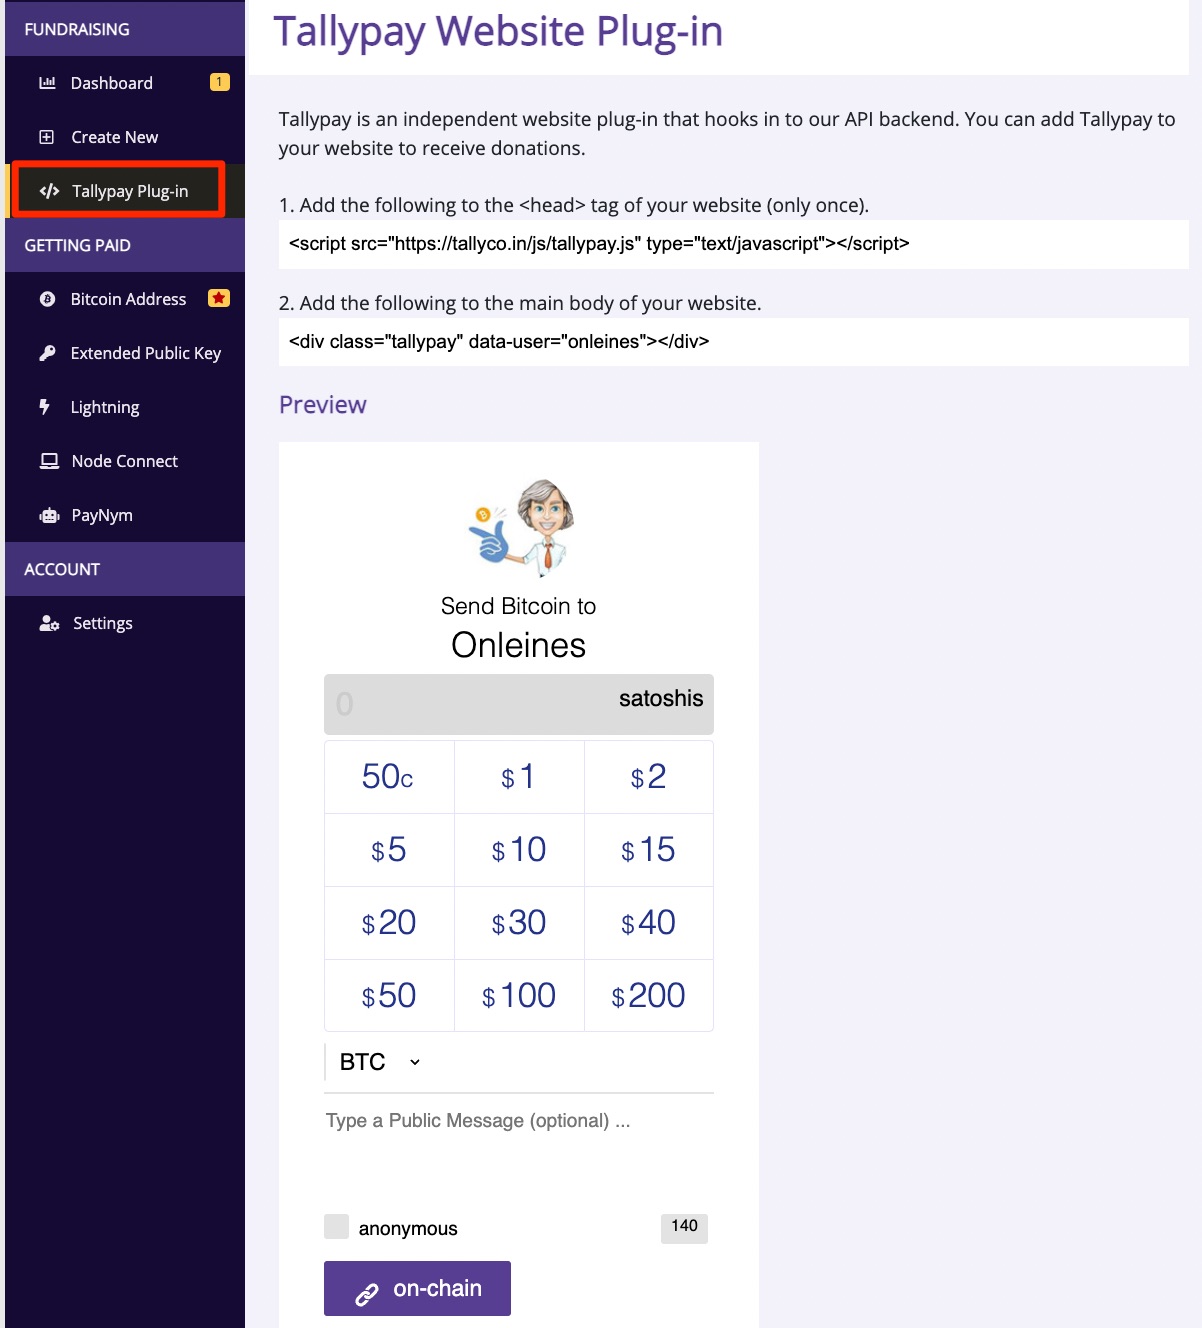
We create a custom HTML page and include the following head tag in the header area of the HTML page:
<script src=”https://tallyco.in/js/tallypay.js” type=”text/javascript”></script>
We then integrate the following tag into the main body of our website:
<div class=”tallypay” data-user=”username”></div>
For Username we use the username on the Tallycoin page.
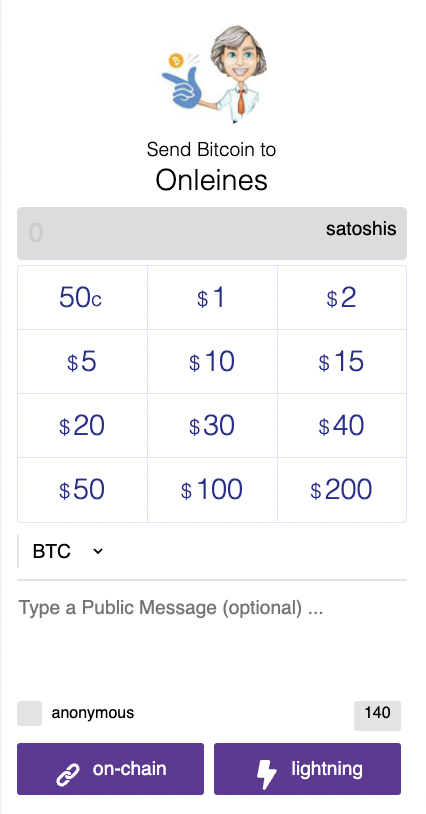
On your own website, the amount entry field is displayed as shown next to it.
It is identical to what was already shown as a preview on the Tallycoin page.
What is not displayed are the other details of the fundraising project such as the Fundraising Description and the Fundraising Goal.
When a donation is made and the donor leaves a message, this is displayed as a Comment on the fundraising page. Unfortunately, this message is also not displayed on your own website.
Via Advanced Option or the Tallycoin API documentation https://docs.tallyco.in/api/a few more individual adjustments can be made.
Tallycoin Fundraising Website Plugin
This is what the finished fundraising website plugin looks like when it has been integrated into your own website.
Try it yourself and try to send me a donation.
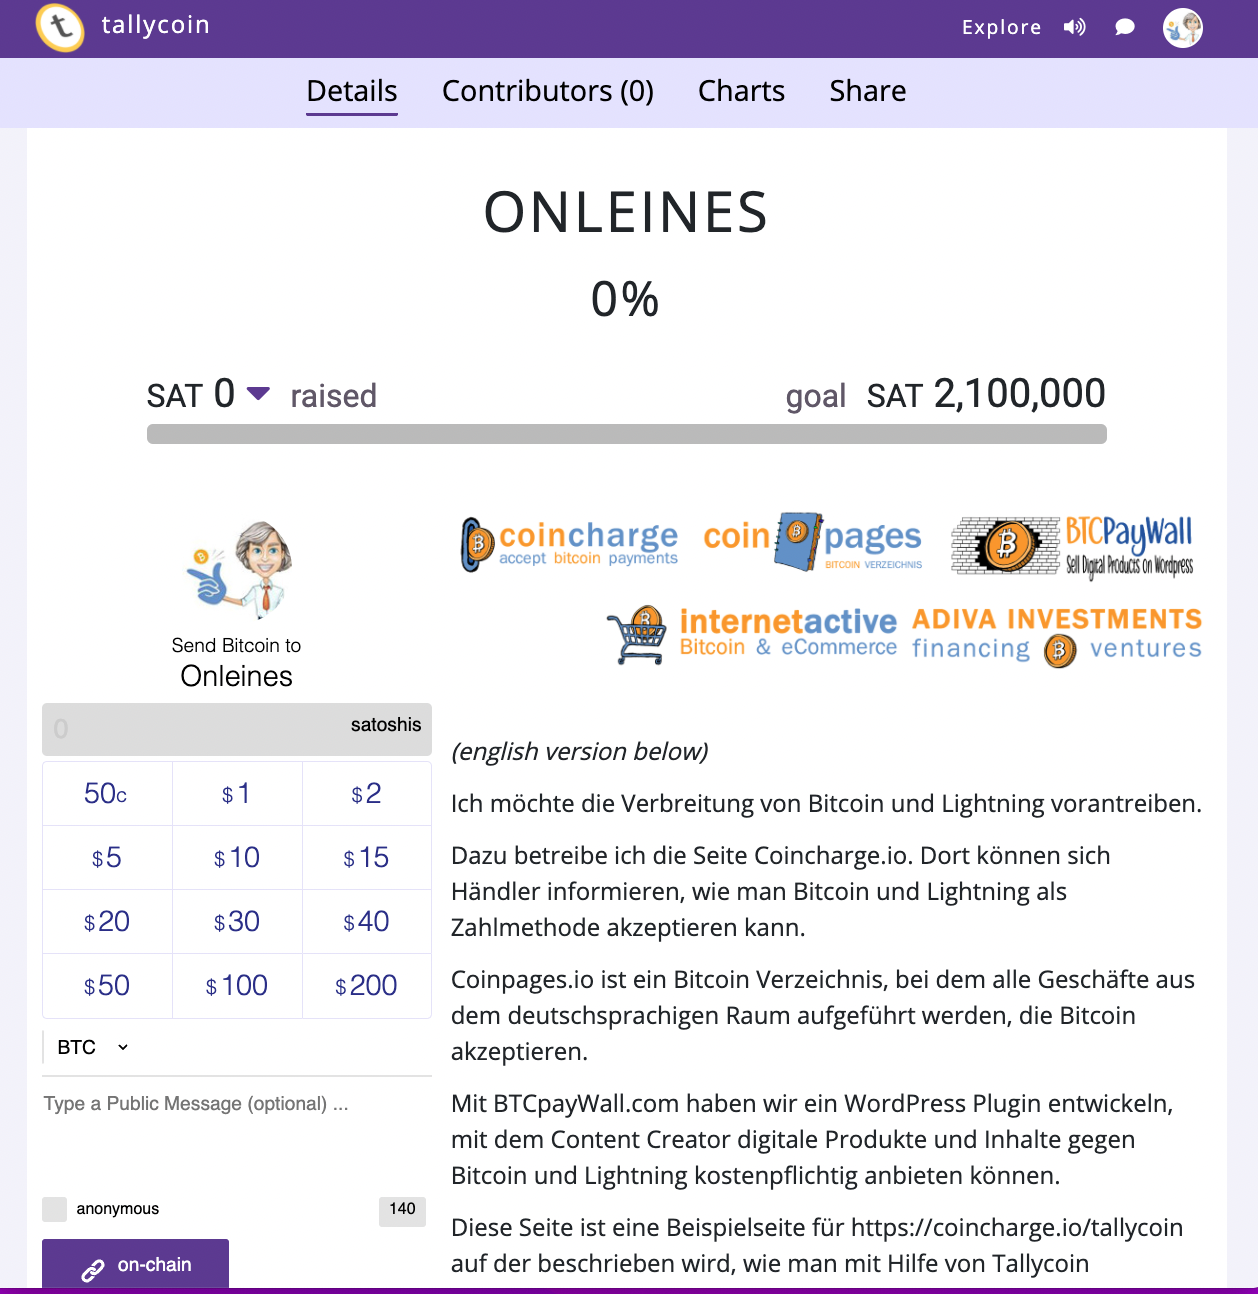
If you want to see the Onleines fundraising page on the Tallycoin site, go to: Onleines fundraising page
There you will also find the comments left, the fundraising goal and a fundraising description.
Summary
Tallycoin is a very good fundraising project to collect donations via Bitcoin and Lightning for your own crowdfunding or fundraising campaign.
Very nice is the possibility that donors can leave a personal message, which will be displayed on the project page.
The donations are credited directly to your own Bitcoin wallet or Lightning Node and thus secure payments.
A disadvantage is that no Lightning address can be stored in order to receive Lightning payments if you do not operate your own Lightning node.
It would also be desirable if the Fundraising Goal and the comments could also be displayed when embedding on your own website. Perhaps this can be implemented as part of the next version. Those who want to support the new version can donate to the fundraising of Tallycoin V3.

