Create custom Bitcoin checkout page for BTCPay
How to create a custom Bitcoin checkout page for the BTCPay server. With your logo, your colors and in your individual design.
Set up and administer BTCPay Shop In addition to the design, it explains other setting features and functions that can be displayed to the customer on the Bitcoin Checkout page.
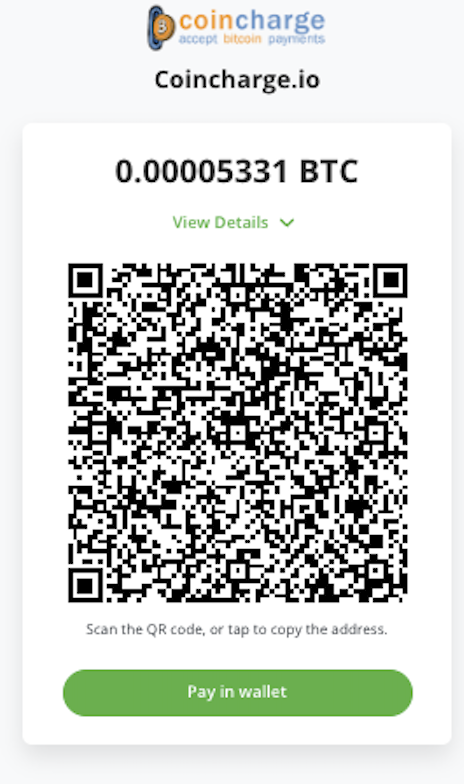
Customize Bitcoin Checkout Page for BTCPay Shop
How to create a custom Bitcoin checkout page for your BTCPay store. The payment page in the design of your online store based on the BTCPay server.
Since BTCPay Server version 1.7 there is a new possibility to customize the payment page (Checkout Page). The payment page is the page that is displayed to the payer when the order is placed.
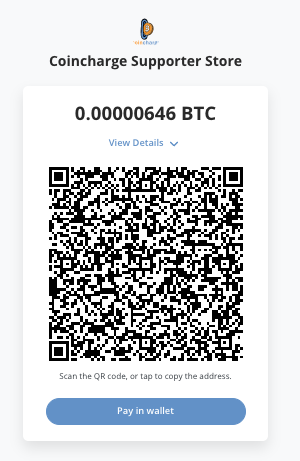
You can store your own logo and set your own colors. All the customer sees otherwise is a QR code for payment. A QR code used for both Lightning payments and Bitcoin payments. The customer no longer has to make a selection. Simply open your Bitcoin or Lightning wallet, scan the QR code and make the payment.
YouTube video: Creating a BTCPay payment page (english subtitle)
On the German YouTube channel of Coincharge there is a video in the BTCPay playlist with the title: “Erstelle Deine individuelle Payment Page / Checkout Page für den BTCPay Server“.
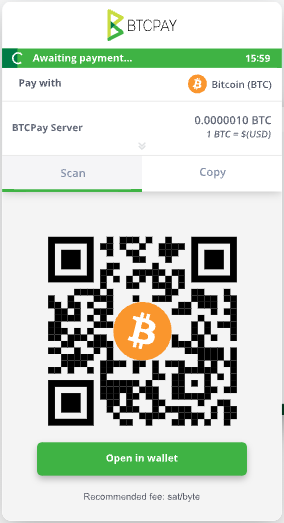
Until now, the BTCPay payment page looked by default like the picture on the right. With the BTCPay logo, in green and the payer had to choose whether to pay with Bitcoin or Lightning.
In addition, a variety of other information was displayed that was rather confusing to the payer.
The new design is sleek and simple and focuses on pure Bitcoin or Lightning payments.
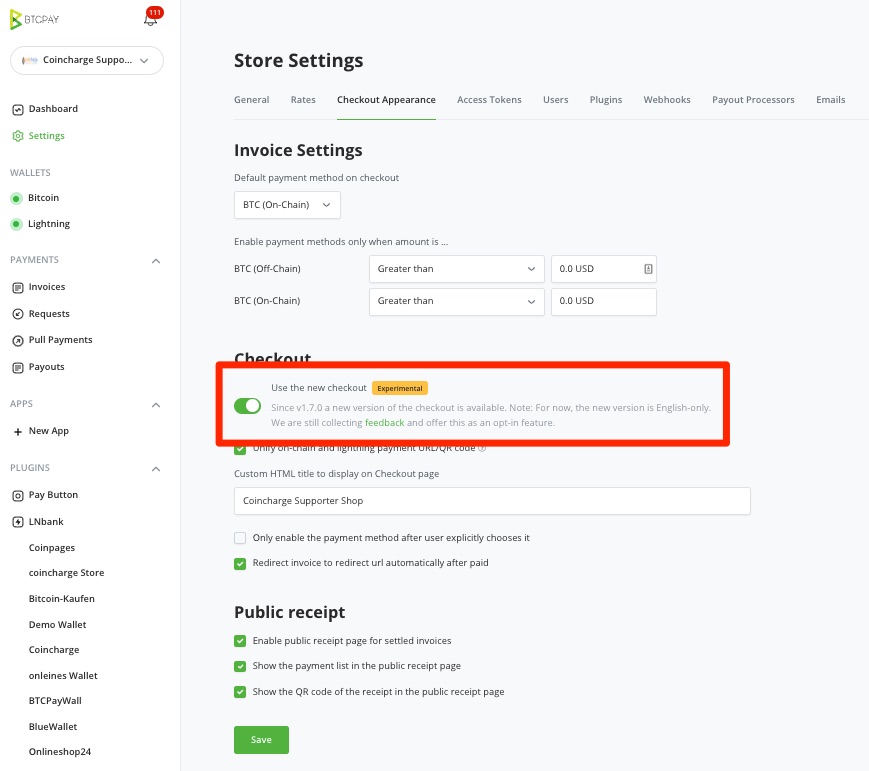
Store Settings => Checkout Appearance
To customize the BTCPay payment page, log in to your BTCPay store and go to the Settings section.
The corresponding store settings are displayed here. We will first go to the Checkout Appearance section.
In the Checkout Appearance section there is a Checkout section.
Here the menu item “Use the new checkout” is activated. In the future versions of BTCPay Server, this option will be enabled by default.
Additionally, make sure that the “Unify on-chain and lightning payment URL/QR code” option is also enabled. This option ensures that the previously separate QR codes for Lightning payments and Bitcoin payments are now displayed in one common QR code.
It then doesn’t matter whether the payer uses a Lightning Wallet or a Bitcoin Wallet to make the payment. The QR code recognizes both payment methods and can accept the payment.
In the field “Custom HTML title” you can enter what will be displayed to the customer as the store name.
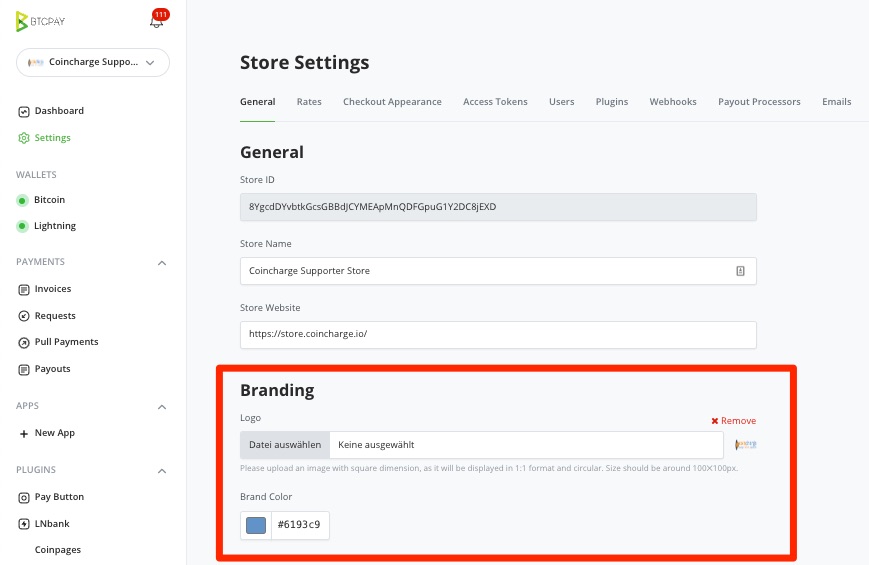
Store Settings => General
After that, we switch to the General section within the Store Settings.
In the General section there is the Branding section.
Here you can select your own logo, which will then be displayed in the payment page. Just click Select File and choose the file on your own computer. It is recommended to use a square logo. The logo is displayed centered on the BTCPay payment page.
In the Brand Color area, you can define your own color.
Now just make a test order in one store to check if all settings have been applied correctly.
Those who want to see how the modified payment page looks in practice can place a test order in the Coincharge Supporter Store at: https://store.coincharge.io/.






Leave a Reply
Your email is safe with us.