Accept Lightning with the BTCPay server
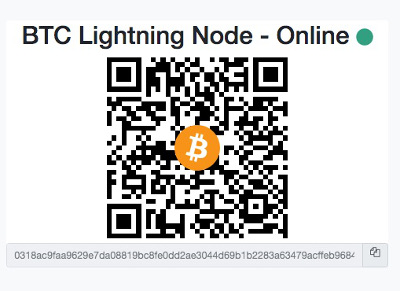
This post explains how you can accept Lightning payments with the BTCPay server.
We explain where the Lightning Node is administered on the BTCPay Server Settings. The following section describes how to administer the Lightning Node itself.
From a BTCPay store operator perspective, we’ll go over the different options for accepting Lightning payments in your store.
We will start with the settings options for administrators of the BTCPay server. If you share a BTCPay server and are interested in the settings for a BTCPay store, you can skip this section and go directly to thesettings options for operators of a BTCPay store.
Setting options for operator and administrator of a BTCPay server.
BTCPay Lightning Server Settings
Setting options for operator and administrator of a BTCPay server.
When installing the software for the BTCPay Server, a Lightning Node is also installed. Thus, the BTCPay server is able to process Lightning payments for all BTCPay stores on the server.
In order to administer the settings for Lightning, you must be an administrator and make the settings within the Server Settings.
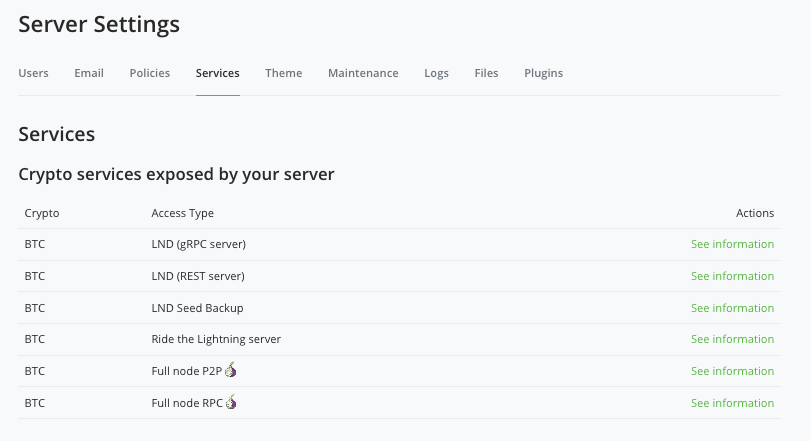
To do this, go to the Services section within the Server Settings.
Here you can find an explanation for the Crypto Services at Server Settings -> Services.
If you have chosen LND during the installation, then it looks in the backend like on the adjacent picture.
If you have chosen c-lightning, then it may look a little different. The essential functions for administration are identical.
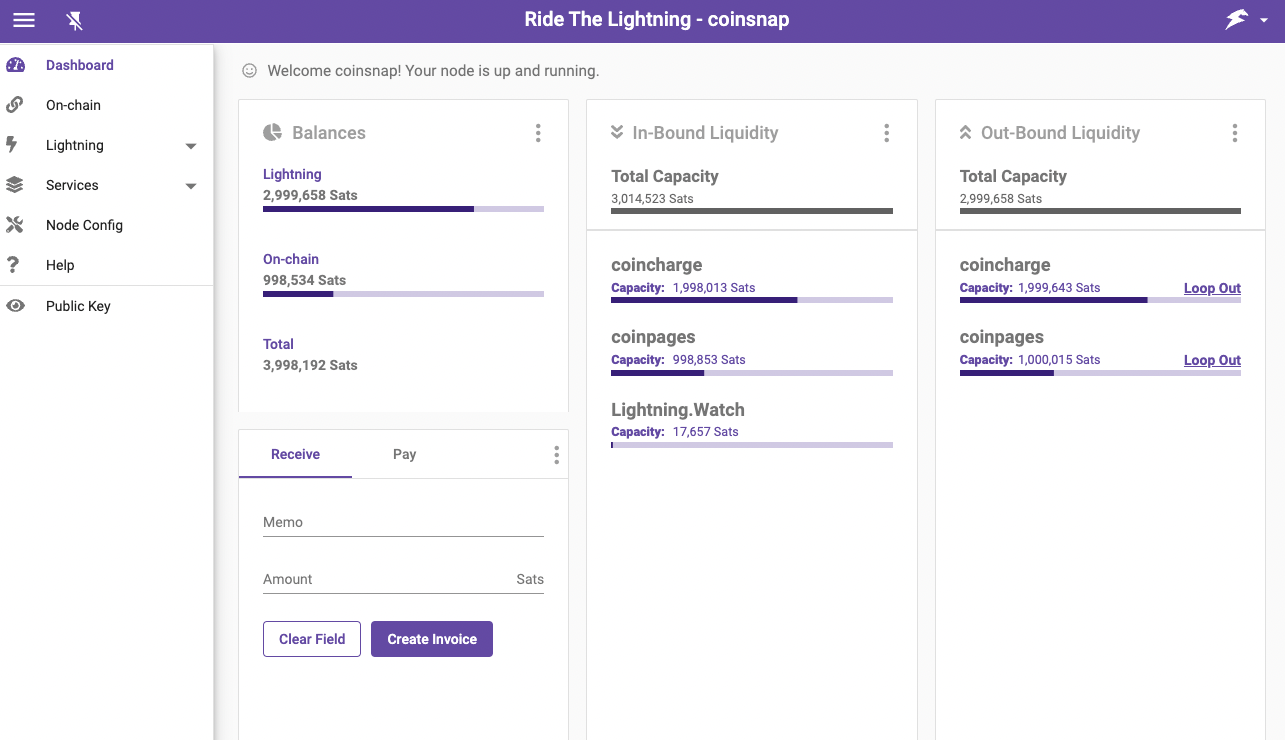
Lightning Node per Ride the Lightning
Setting options for operator and administrator of a BTCPay server.
For the acceptance of Bitcoin payments, a separate Bitcoin wallet can be stored for each separate BTCPay store, to which the Bitcoin is credited directly.
When accepting Lightning payments, the payment is received centrally on the BTCPay Lightning Node.
Incoming payments via Lightning are therefore made for all BTCPay Stores on the shared Lightning Node.
We use Ride the Lightning (RTL) to administer the Lightning Node.
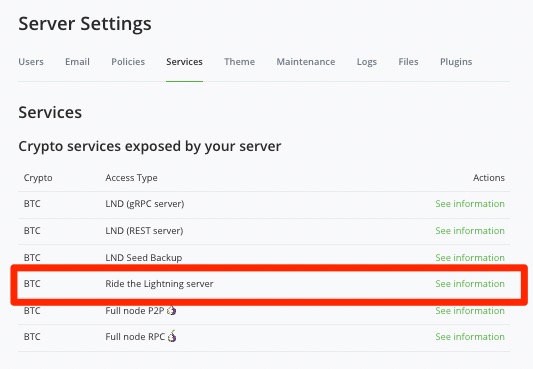
We call up RTL via the server settings => Services and then Ride the Lightning.
Ride the Lightning
Setting options for operator and administrator of a BTCPay server.
In order to run your own Lightning Node, you as the operator must provide liquidity in the form of Bitcoin.
In addition, connections to other Lightning Nodes must be established so that the own Lightning Node becomes part of the Lightning network.
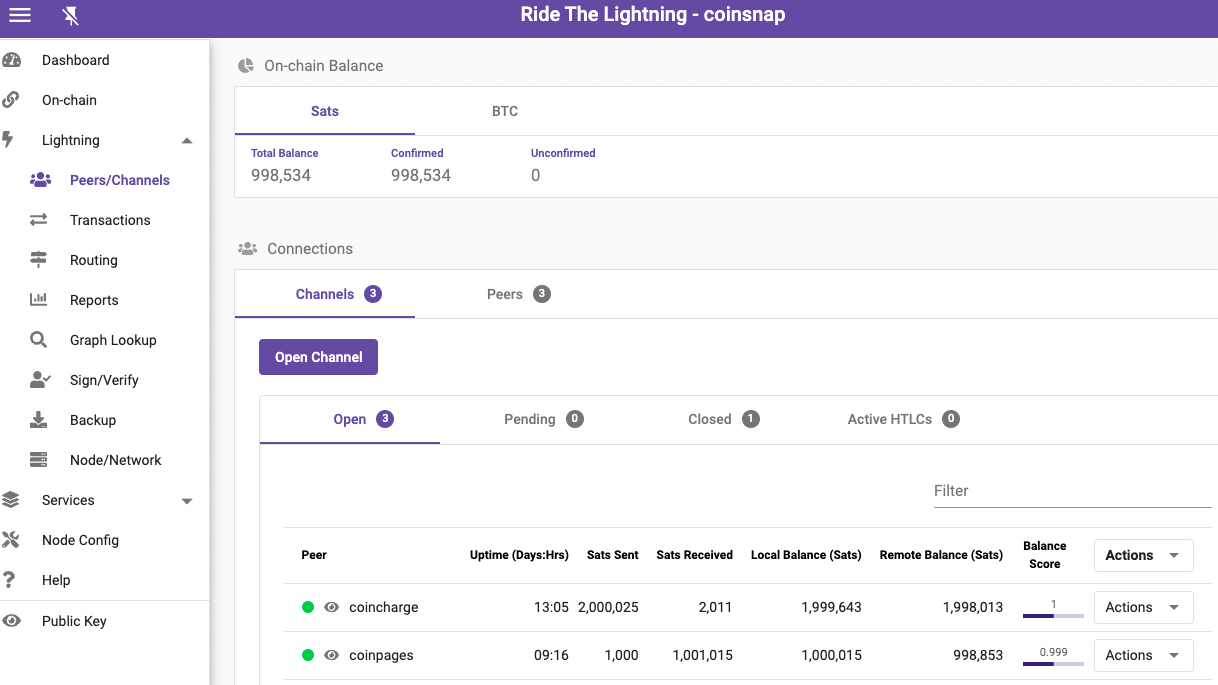
The administration of the Lightning credit and the establishment of connections to different channels can be done via Ride the Lightning, among other things. You can find detailed information and instructions in the article: Ride the Lightning
Lightning Liquidity
A Lightning Node requires Lightning liquidity in the various channels that exist to other Lightning Nodes. The article Lightning Liquiditydescribes how to get the corresponding Lightning Liquidity.
Lightning Channel with Coincharge
To ensure that your new Lightning Node immediately has a strong connection into the Lightning network, you can open a shared channel with Coincharge.
Coincharge and Your Node reached a shared channel with a total capacity of, for example, 2 million sats (=0.02 BTC). Of this, each side provides 1 million sats. Thus, your Lightning Node has good connectivity and sufficient Lightning liquidity to receive and send the first Lightning payments.
How to create a shared Lightning Channel via Ride the Lightning is described in the article: Shared Lightning Channel via RTL
LNbank
Setting options for operator and administrator of a BTCPay server.
As described earlier, when Lightning payments are received by the various BTCPay stores, the Lightning sales are credited to the central Lightning node.
In the overview of the individual Invoice and in the transaction overview, it is possible to track which Lightning sales the individual BTCPay Store has achieved. Thus, an accounting subdivision is guaranteed.
LNbank goes one step further.
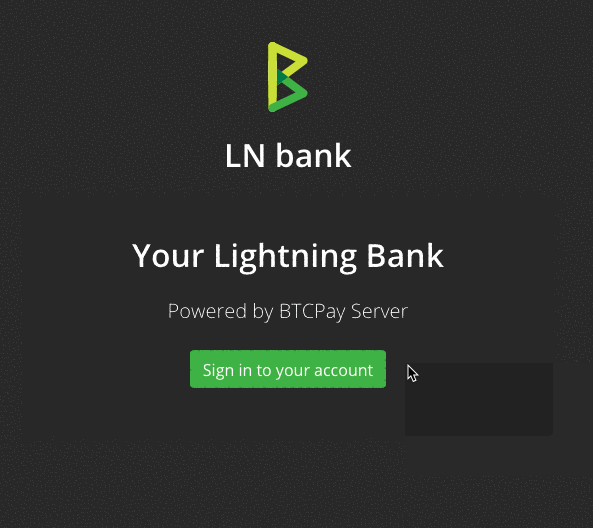
With the help of LNbank, individual Lightning wallets can be set up that use the technical infrastructure of the central Lightning node, but allow separate Lightning credits per user or per BTCPay store.
An LNbank Lightning Wallet can be used to record the Lightning sales of a single BTCPay store. The associated store owner can independently dispose of the Lightning credit and pay out to his own Lightning Wallet.
LNbank is especially suitable for the operators of a BTCPay server who have a larger number of BTCPay stores and want to show the Lightning sales separately.
LNbank is a separate BTCPay server plugin, which can be additionally installed via Server Settings Server Settings => Plugins
A detailed description of LNbank can be found at: LNbank Lightning Wallet for BTCPay Server
Setting options for operators of a BTCPay Store
Accept BTCPay Lightning payments
This post explains how you can accept Lightning payments with the BTCPay server.
In addition to Bitcoin, the BTCPay server also supports Lightning payment processing. Lightning payments are particularly suitable for very small amounts in the micro- or even nano-cent range.
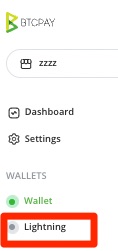
If you have created a BTCPay Store on a BTCPay server, you will be offered the option Lightning within the menu item Wallet.
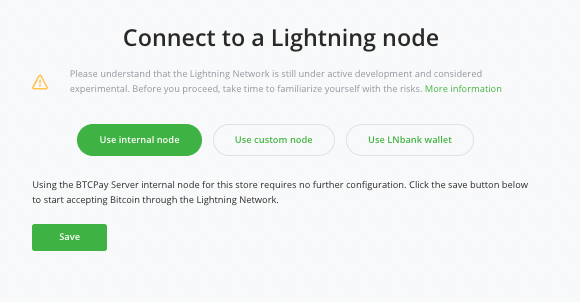
After selecting the Lightning item in the menu, the following overview appears.
There are several options available on how a single BTCPay store should process Lightning payments.
If Use internal node is selected, the internal Lightning Node of the BTCPay server is used. All Lightning payments are captured, processed and credited by the central Lightning Node. The administrator of the BTCPay server has access to the Lightning credit.
With Use custom node an external Lightning Node can be stored. If you already have your own Lightning Node, e.g. a Raspiblitz, you can store it here. For instructions on how to use your own Lightning Node with a BTCPay store, see the article: Using your own Lightning Node with BTCPay Server.
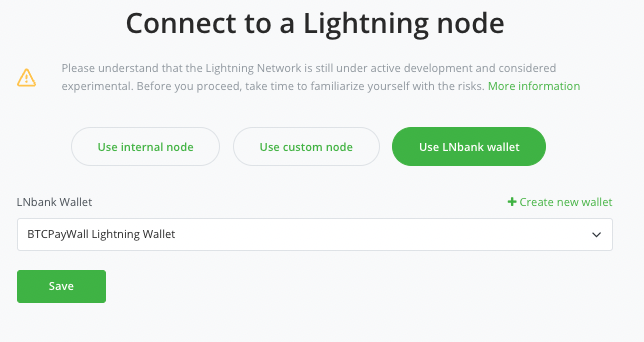
The Use LNbank wallet option is available as an option if the LNbank plugin has been installed on the BTCPay server.
Select the LNbank wallet to be connected to the BTCPay store. If no corresponding LNbank wallet has been generated yet, this can be done at this point.
How to create a LNbank wallet and how to dispose of the Lightning balance is described in the article LNbank.
BTCPay Store Lightning Settings
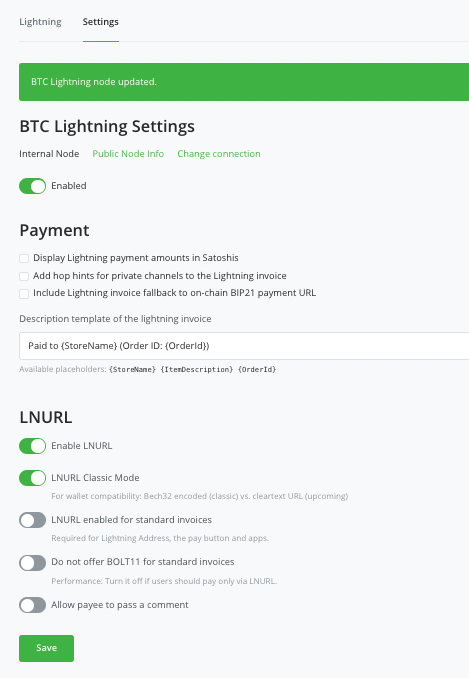
In the BTC Lightning Settings, individual settings can be made for the respective BTCPay store in relation to Lightning.
The first line with Internal Node shows to which Lightning Node the BTCPay Store is connected. This can also be changed at this point if necessary.
If Lightning payment is enabled for the BTCPay store, then the switch is set to Enabled.
In the Payment section, settings can be made that will later be displayed to the customer on the payment page.
Whether to display the invoice amount in sats and whether to display a note for private channel usage.
If Fallback is enabled, then the payer will be shown a QR code on the payment page that can be used for Lightning and Bitcoin payment. The customer will be shown a Lightning invoice. However, if a Bitcoin wallet is used, then the payment is not rejected, but is carried out as an on-chain (=Bitcoin) transaction.
LNURL provides advanced capabilities for Lightning payment processing. If you want to offer the LNURL functions to your customers, then this can be enabled with Enable LNURL.
A general description of LNURL can be found in the article. LNURL
An explanation of the settings options in connection with Lightning within the BTCPay Store will follow soon.
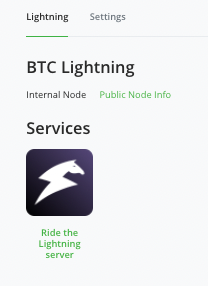
BTC Lightning
In the Lightning settings there is a section called BTC Lightning, which contains a link to the administration area of the Ride the Lightning server.
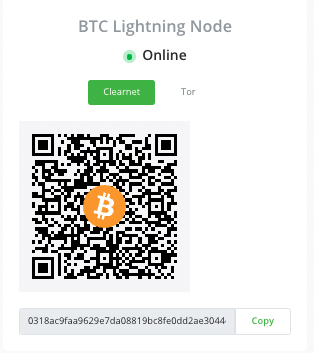
The Public Node Info link displays the adjacent page. This page contains the relevant information about your own Lightning Node. This information is interesting for other node operators, if they want to connect to your node.
If you are interested in other nodes opening a channel to you, you should share this information.






Leave a Reply
Your email is safe with us.