Note: Do NOT use LNbank Lightning Wallet on the BTCPay server anymore!!!
We have been informed by BTCPay that technical problems have occurred with LNBank and that the plugin should be deactivated and no longer used for security reasons.
See: https://d11n.net/one-more-lnbank-vulnerability
If you use the LNBank plugin on your own BTCPay server, you should install the latest version of the plugin. The LNBank function will then be deactivated.
We at Coincharge have followed this recommendation and deactivated the LNbank on the Coincharge BTCPay server.
If you have used the BTCPay server from Coincharge, this means that you can no longer offer your customers Lightning payments and can no longer access the balance in your LNBank wallet.
However, Coincharge has a solution for both cases.
We would like to pay out your Lightning credit. Please provide us with your Lightning address, the name of your Lightning wallet and the Lightning balance on the LNBank wallet.
To continue offering Lightning payments in your online store, we recommend using the services of Coinsnap.
With Coinsnap you can accept Lightning payments in your online store.
The sales of your customers who pay with Lightning in your online store are credited directly to your own Lightning Wallet.
You can continue to use the Coincharge BTCPay server for processing Bitcoin on-chain payments and use Coinsnap for processing Lightning payments.
You can find more information about Coinsnap here.
LNbank Lightning Wallet for BTCPay Server
LNbank is a lightning wallet system for the BTCPay server. The LN stands for Lightning and thus we are dealing with a Lightning Bank.
Operators of a BTCPay server can provide their users with their own Lightning Wallet.
This Lightning Wallet will then be credited with Lightning payments that are converted on a BTCPay store.
The LNbank solution is especially interesting for operators of a BTCPay server who want to make their own BTCPay server available to friends and acquaintances for use.
Users can deposit their own xPub for Bitcoin payments and get the Bitcoin sales credited to their own Bitcoin wallet.
With LNbank, Lightning payments are credited to your own LNbank Lightning Wallet.
In this article we explain how you, as an operator of your own BTCPay server, activate and set up the LNbank plugin.
Then we explain from a user’s point of view how to create an LNbank wallet.
How to deposit the LNbank Wallet with the BTCPay Store.
Then we will show you how to integrate this LNbank Lightning Wallet into BlueWallet, so that you can dispose of your Lightning balance via your smartphone at any time.
On the Coincharge YouTube channel we have published a German-language video (with English subtitle) on the topic “LNbank – Lightning Bank for the BTCPay Server“,
What can LNbank be used for?
Those who run multiple BTCPay stores on their BTCPay server to capture payment processing for different projects usually want to separate these payments.
Be it to separate one’s own projects, to separate private and business projects or because one co-manages projects of friends via one’s own BTCPay server.
With a few clicks, Lightning Wallets can be created for different accounts, which can be linked to BTCPay stores.
The Lightning payments on this BTCPay store are then credited to the respective Lightning wallet and the account holder can freely dispose of them.
The technical base infrastructure is the Lightning Node of the BTCPay Server and LNbank are quasi sub-accounts of this Lightning Node.
If you do not have your own BTCPay server, but use a BTCPay server of a third party, you must be aware that in extreme cases you will no longer be able to access your Lightning Wallet.
While with the Bitcoin Wallet you have access to your Bitcoin on-chain balance at any time through your own key, this is not the case with the Lightning Wallet with a third-party solution. Therefore, this solution should be used only for trial and with very small amounts.
The credit should be transferred to its own Lightning Wallet at any time and for larger turnovers it is recommended to operate its own BTCPay server including Lightning Node and LNbank for its own BTCPay stores and the respective projects.
Activate LNbank plugin on its BTCPay server
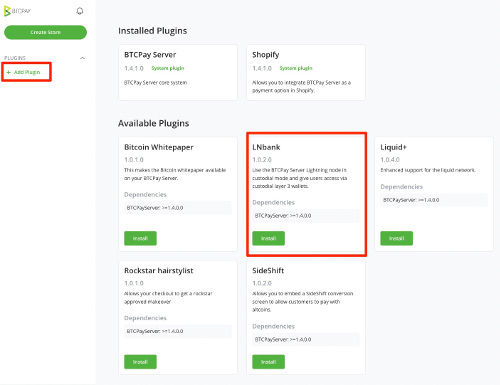
The plugin LNbank is, since BTCPay Server version 1.4. available and can be activated by the administrator of the BTCPay server via the menu item Manage Plugin.
After clicking Install, the LNbank plugin will be installed on the BTCPay server.
The new menu item LNbank appears in the menu bar.
As an administrator, external users can be allowed to share the internal Lightning Node (Use Internal Node) under the menu item Server Settings -> Policies. If you do not want to allow your fellow users to do this, you should disable this and only allow use via LNbank wallet.
Create a Lightning Wallet with LNbank
In the left menu bar you will find the menu item LNbank.
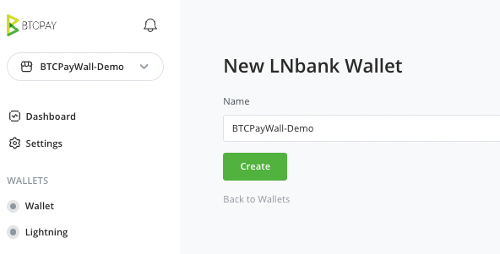
Via Create a Wallet, the user can create his own Lightning Wallet. For this purpose, a wallet name is selected and then create is clicked.
Receive
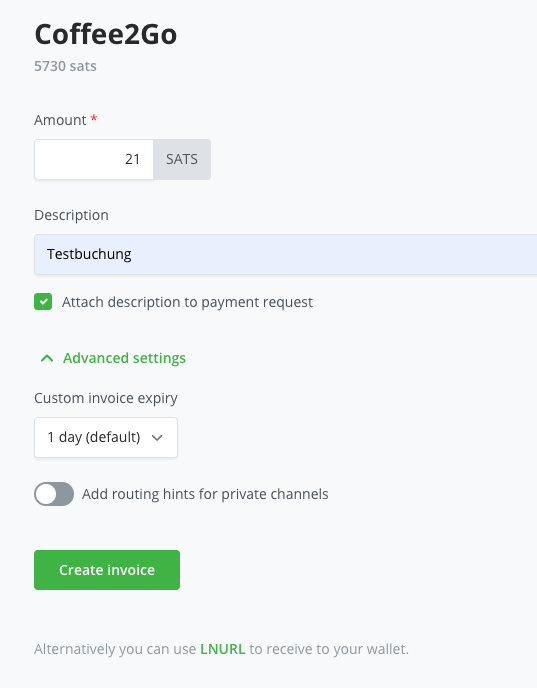
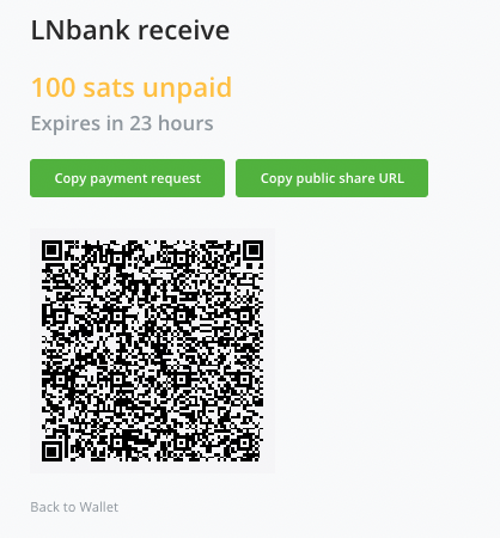
To receive a Lightning payment, a Lightning Invoice must be created.
For this purpose, a purpose is entered in the Description field. We set a check mark so that the purpose is transferred with the payment.
The amount is entered into Sats and then a Lightning invoice is created via Create Invoice.
Send
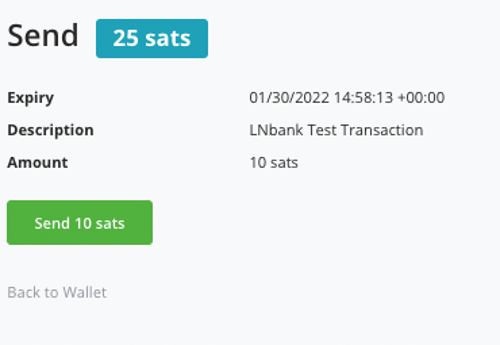
If you want to make a Lightning payment from your Lightning balance, go to Send.
An input field with the name Payment request appears. Here you copy the data from a Lightning Invoice. If you do not have a Lightning Invoice, then you can also enter the payee’s Lightning address.
Then click on Decode / Lookup
LNURL
A payment can be sent via LNURL if you have not received a Lightning Invoice from the payee. This may be the case if you want to make a donation to the payee.
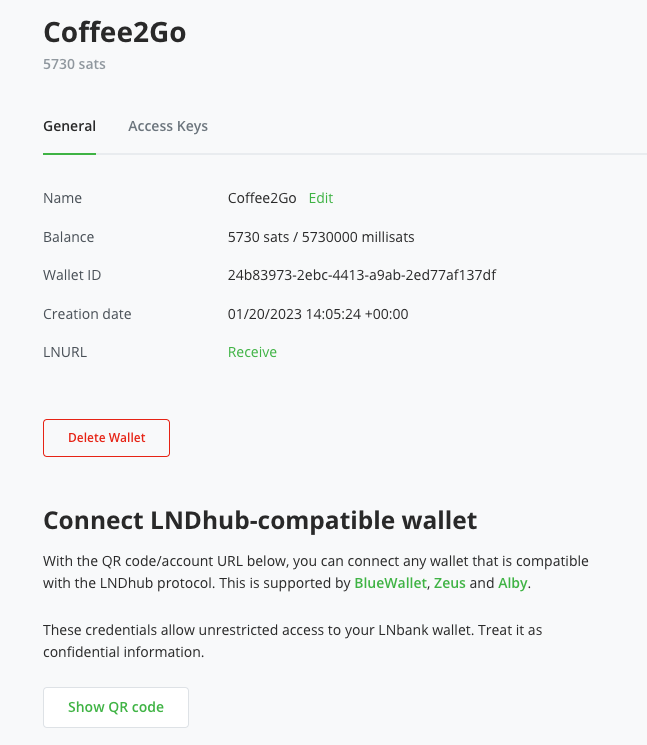
In the LNBank Wallet, if you click on the gear in the top right corner, which is next to the Send and Receive buttons, you will get to the adjacent view.
In these LNBank settings you will find the information about your LNbank wallet and you can, for example, change the name of the wallet.
There you will also find the item LNURL and next to it Receive.
This menu item displays a LNURL address for your Lightning Wallet. You can share this address or the corresponding QR code with anyone who wants to send you a Lightning donation. You can publish this QR code on your website or include it in your YouTube video.
Try it yourself and send yourself a donation from another Lightning Wallet. Here’s what happens then:
After scanning the QR code, the payer is prompted to specify which amount should be sent. Unlike a Lightning Invoice, the payer determines the amount.
Then the payer can specify a comment or a purpose. This information is then transmitted to the payee in order to be able to allocate the incoming payment.
Connecting LNbank Wallet with BTCPay Store
After we have created a LNbank wallet, this Lightning wallet should be used to receive Lightning payments.
Accordingly, we connect the LNbank Wallet to the corresponding BTCPay store.
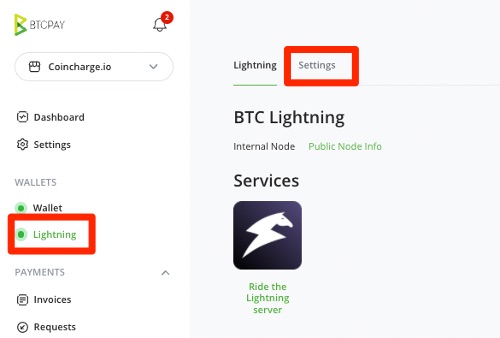
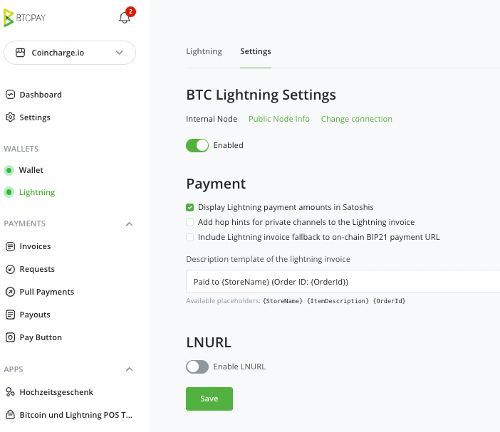
To do this, we select the appropriate BTCPay store (Coincharge in this case). In the Wallets menu, we click on Lightning and then on Settings.
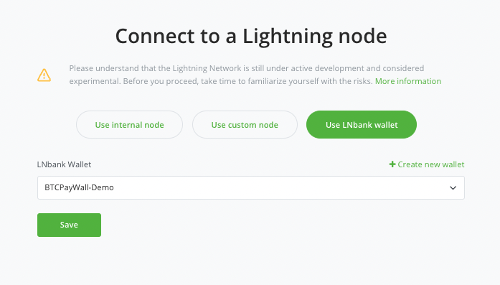
The selection for Connect a lightning Node appears and select the option Use LNbank wallet.
We select the LNbank wallet that we want to use.
If we haven’t created an LNbank wallet yet, we could do so now.
Connect LNbank Wallet via LNDhub
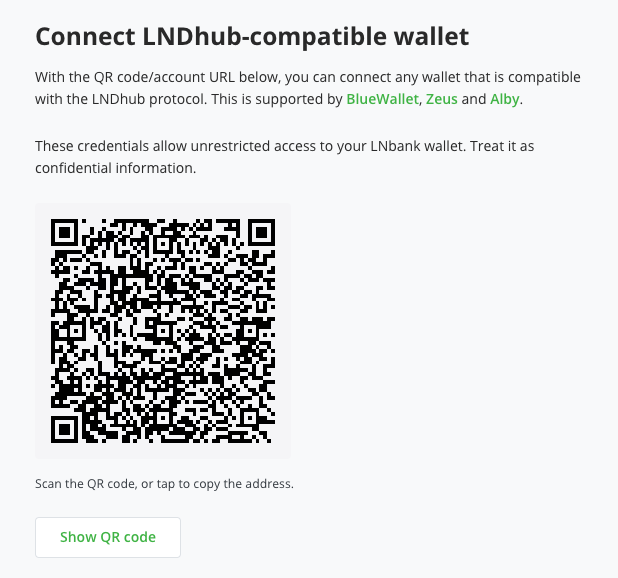
You can also access and use your LNbank Wallet from another Lightning Wallet. This works with all Lightning wallets that support LNDhub. These are currently the BlueWallet, Zeus and the Alby Wallet.
In the BlueWallet post, we explained how to create another Lightning Wallet in BlueWallet and then import an external Lightning Wallet like the LNbank Wallet.


