LibrePatron – The Bitcoin Alternative to Patreon?

LibrePatron – The Bitcoin Alternative to Patreon?
Patreon provides a way for artists to receive donations, grants or financial support. This financial assistance may be provided as a recurring payment. The artist thus receives regular income in order to be able to carry out his activity. In return, supporters receive exclusive content or special information.
Patreon does not support Bitcoin. So artists can’t receive bitcoin or supporters can’t pay bitcoin. With LibrePatron, an alternative has been developed that takes up the Patreon system and has been implemented as a Bitcoin alternative.
We took a closer look at the LibrePatron solution and replicated it. In doing so, we want to examine whether LibrePatron can be an alternative to Patron and whether this solution is also suitable for recurring payments.
LibrePatron for recurring Bitcoin payments
At LibrePatron, the customer is presented with various products which are to be paid as recurring Bitcoin payment every month. The customer will be sent a payment request by email every 30 days. Embedded in this payment request is the bill that the customer can pay each month via Bitcoin.
The LibrePatron system manages the customers, automatically generates the payment request every 30 days and sends the emails to the customers. If payment is not received, access will be blocked.
LibrePatron works on the basis of the BTCPay server and was originally developed as an alternative to the Patreon system. We want to use the system to settle a recurring bitcoin payment as a monthly rent for a BTCPay store and BTCPay server.
LibrePatron from the user’s point of view
At https://patron.coincharge.io we offer the possibility to rent a BTCPay store or a BTCPay server on a monthly basis.
When the customer goes to the page, then he gets the following view.
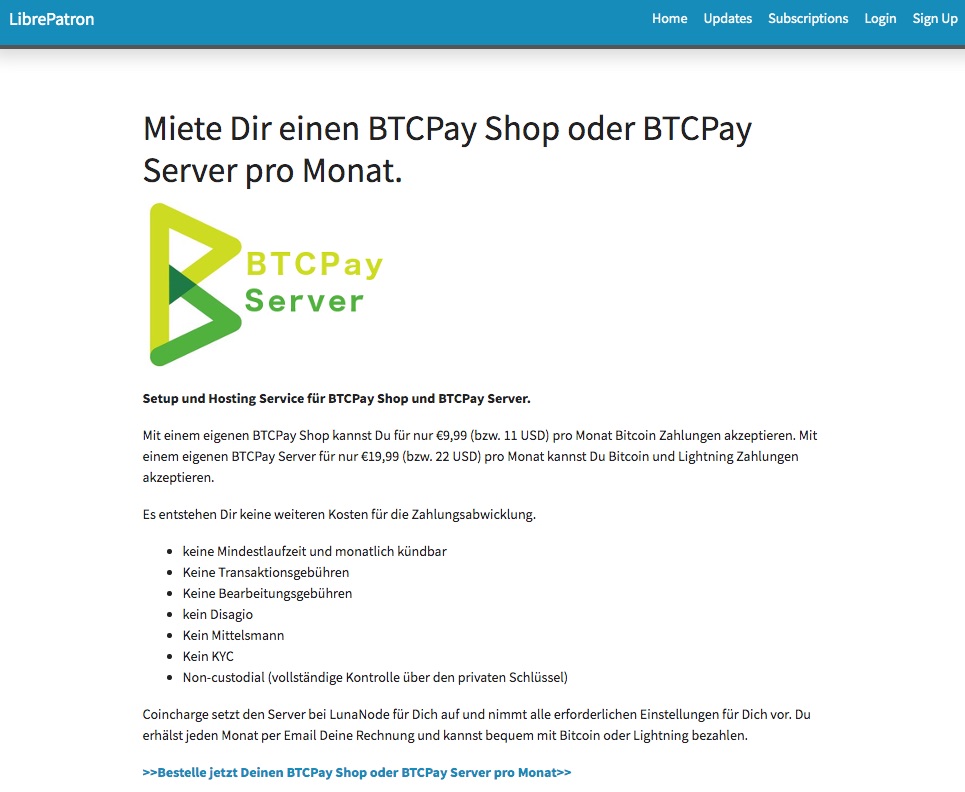
This home page can be customized with Markdowncommands. There are 21 templates available for the color layout.
Either by clicking on the link below or in the menu item Subscriptions, you can access the overview of the services offered:
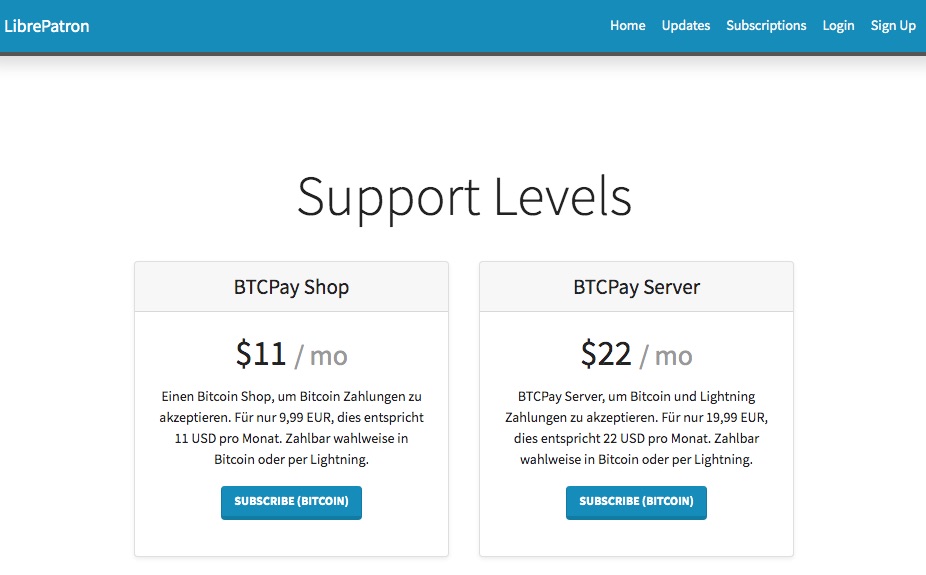
Here you can choose one of the listed products. The prices of the offered products can be displayed exclusively in USD. Accordingly, the amount in euros was listed again in the product description.
By clicking on the Subscribe Bitcoin button you will be taken to a page to register.
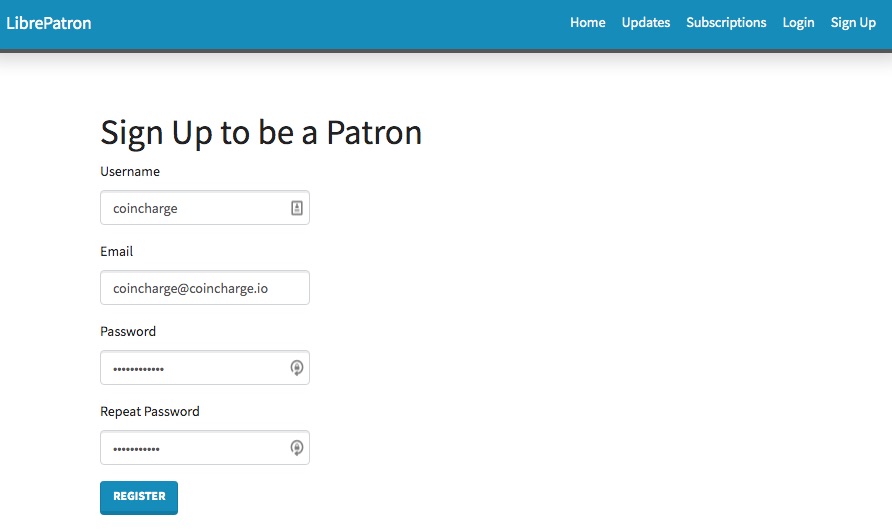
A username is generated during registration. In addition, the email address to which the invoices will be sent later.
After registration, the customer enters the login area, where he logs in for the first time.
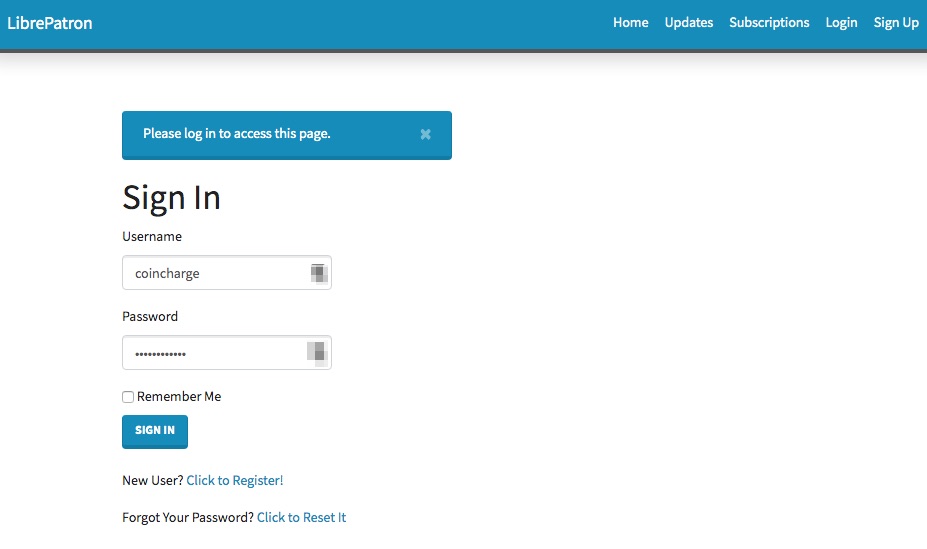
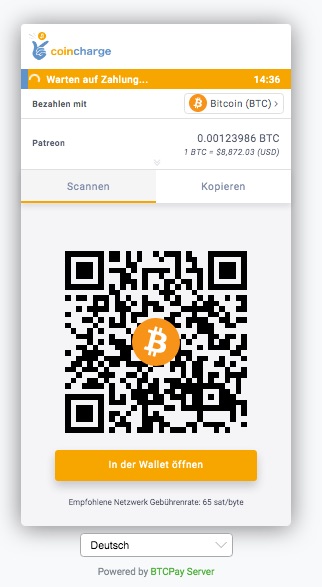
Immediately after registration, the payment page is called and the first payment can be made.
Going forward, the customer will receive an email every 30 days requesting payment of the equivalent of $11 USD or $22 USD in monthly rent via Bitcoin or Lightning.
Backend system
In the backend system of LibrePatron, all customers are listed in the user management area (Manage Users). With the details of username and email address. The Expiration field contains the date when the customer will be asked to pay again. The Role field lists the product that the customer has purchased.

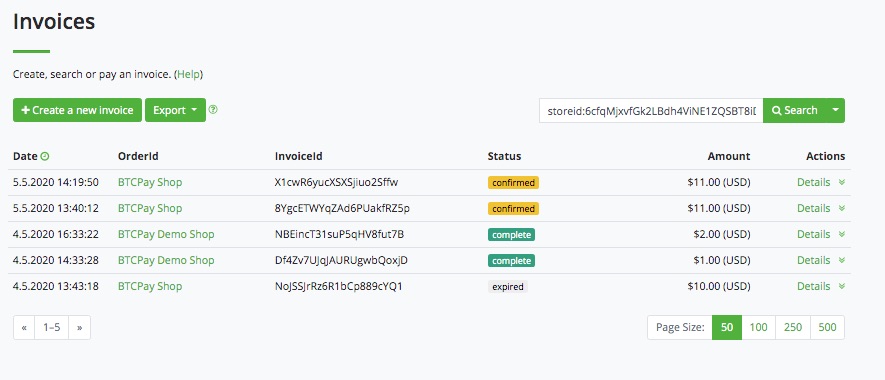
In the backend of the BTCPay server, the payments are also displayed to us. In yellow, the payments that have been successfully executed but do not yet have sufficient confirmation.
The transactions with the green Complete status are confirmed by the blockchain. With a kick on details one gets the detailed information about the respective transaction.
Install and set up LibrePatron
In order to be able to offer Bitcoin subscription payments yourself, the LibrePatron must be installed on the server on which the BTCPay server is also running. You have to have your own server running. A BTCPay store as a third-party solution is not sufficient for this.
An own BTCPay server can be set up at LuneNode. How this works is explained in the LunaNode Hosting tutorial.
Of course you can also run a BTCPay server with any other provider. We describe the installation here using LunaNode as an example. After you have set up the BTCPay server at LunaNode, we need some information from LuneNode. We need the IP address through which the server can be reached and the access data for the server.
To do this, we log in to LunaNode and get to the LunaNode Dashboard
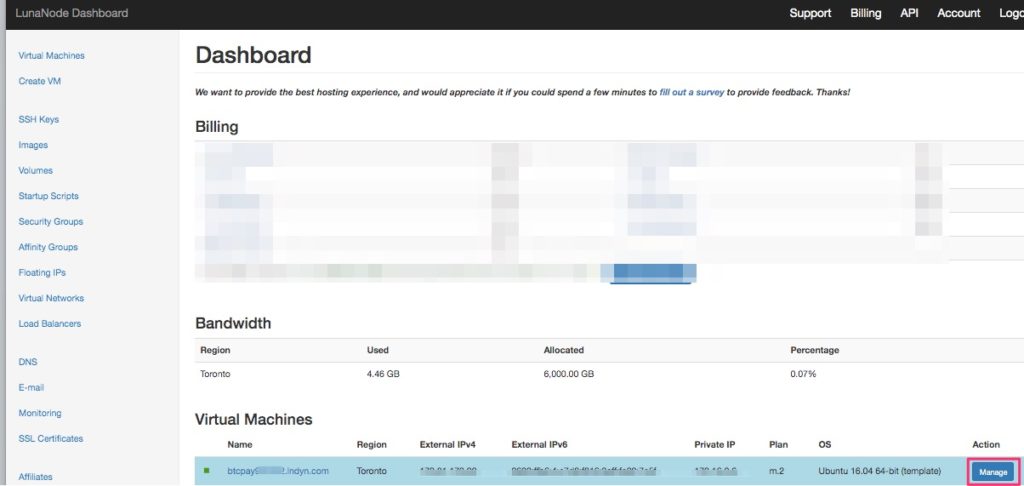
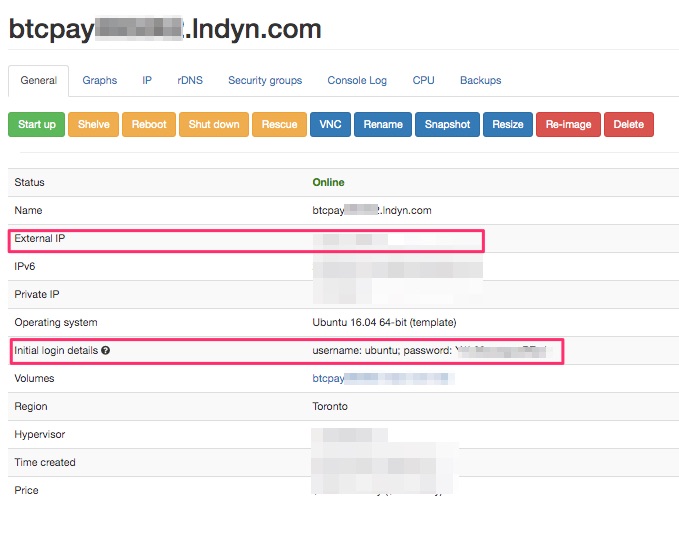
Then click on Manage and you will get an overview with all relevant information about your BTCPay server.
The required information, which is needed is:
- Name of the server something like: btcpay12345.lndyn.com
- External IP something like: 172.15.12.123
- Initial login details: like username and password
Create domain
LibrePatron must run on the same server as the BTCPay server. For this, we got the necessary credentials of our BTCPay server at LunaNode. Now we need to determine a domain for LibrePatron, which customers can access. This domain can be a completely independent domain or a third-level domain from our main domain.
We will use the domain patron.coincharge.io. Accordingly, we need to create an A-record entry with our domain provider. This A record is named patron and is a third-level domain of Coincharge.io. As IP address we specify the IP address we received as External IP from LunaNode.
Install LibrePatron on the BTCPay server
Then open the Terminal (Mac, Linux) or Putty (Windows) program on your computer and connect to your BTCPay server.
To do this, enter the following command:
ssh ubuntu@btcpayXXXXXXX.lndyn.com
Where for btcpayxxxx.lndyn.com you use the name of your BTCPay server.
Then you will be asked to enter a password. Here you enter the LunaNode password. Not the password for LunaNode that you use for the website, but the password from the server from the Initial Login Details field.
You have successfully logged in to the BTCPay server of yours. Now you have to log in as admin (Sudo). For this you give the command:
sudo su -
with the stroke. Then change to the directory btcpayserver-docker. You do this by entering the command:
cd btcpayserver-docker
and then you enter:
export BTCPAYGEN_ADDITIONAL_FRAGMENTS="$BTCPAYGEN_ADDITIONAL_FRAGMENTS;opt-add-librepatron"
for the next command, you have to make a small individual modification. You must now specify the domain for which you created the A-record.
In the following command, instead of your domain, you must use the domain where the page will be shown later. So the domain for which you have created the A-record.
export LIBREPATRON_HOST="Deine-Domain.com"
Then enter the last command:
. btcpay-setup.sh -i and press Enter the last time.
Then the lines rattle across your screen and when that is complete, you open the browser and enter the bitcoin address from the page.
You should then be greeted by this login:
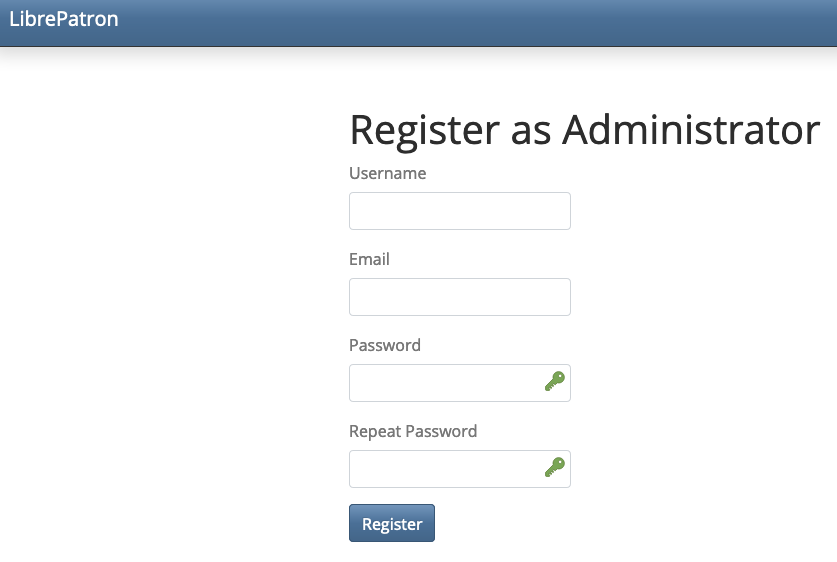
Now you should register and login to the site immediately. The person who registers for the first time is automatically created as an admin.
After you have successfully registered and logged in, the following view appears
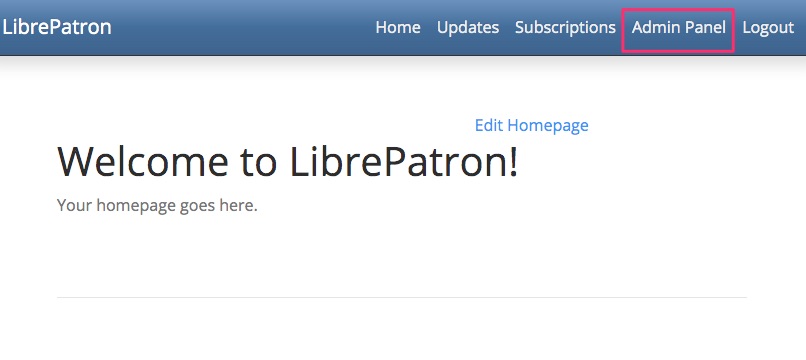
Switch to the admin area and we start customizing LibrePatron to our requirements.
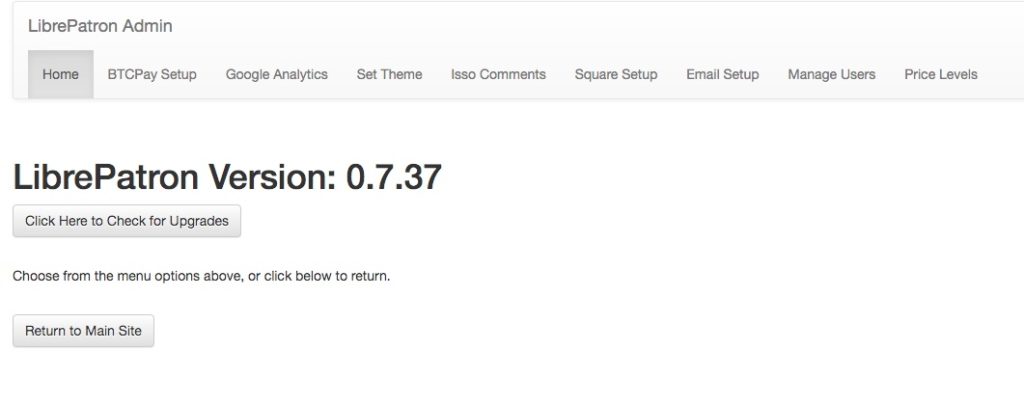
We get displayed that we are using version 0.7.37. The Github page lists version 0.7.39 as the latest version at the time of our installation. Updating to the latest version should be possible by updating via the BTCPay server, by going to Server Settings > Maintenance within the BTCPay server and clicking on Update.
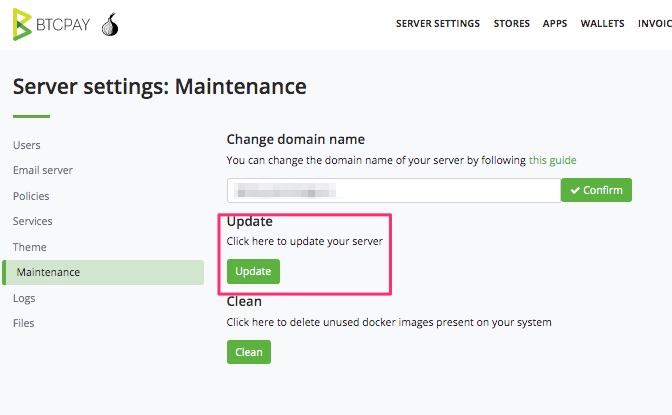
Leider hat es mit dem Update bei uns nicht funktioniert. Somit müssen wir mit der Vorgängerversion weitermachen.
BTCPay mit LibrePatron verbinden
Jetzt muss LibrePatron mit unserem BTCPay Shop auf unserem BTCPay Server verbunden werden.
To do this, we go to BTCPay Setup in the admin area.
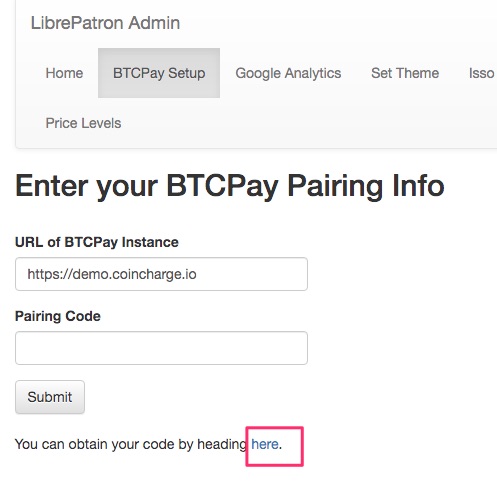
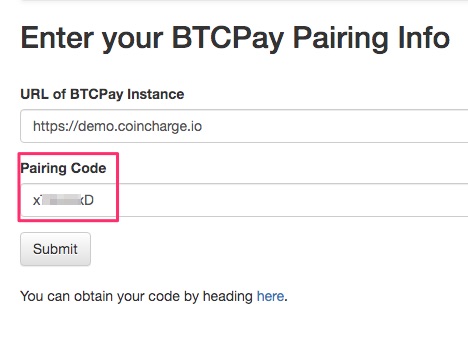
The Url of BTCPay Instance field should already be prefilled. This is the address of the BTCPay server running the LibrePatreon application.
We click hereto get the required pairing code. We will be redirected to the login area of the BTCPay server and log in there.
Now we need to select the appropriate store to be connected to our Bitcoin payment system. If we haven’t created our own store at this point, we’re catching up now.
In our case, we call the store Patron.
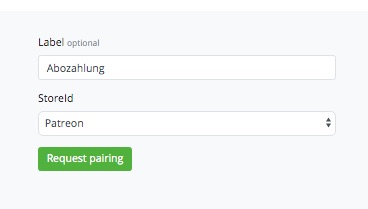
After that the Pairing permission page appears
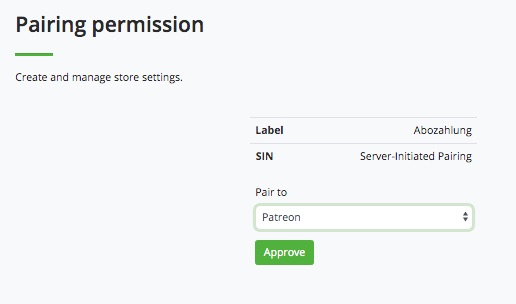
and we confirm the settings with Approve
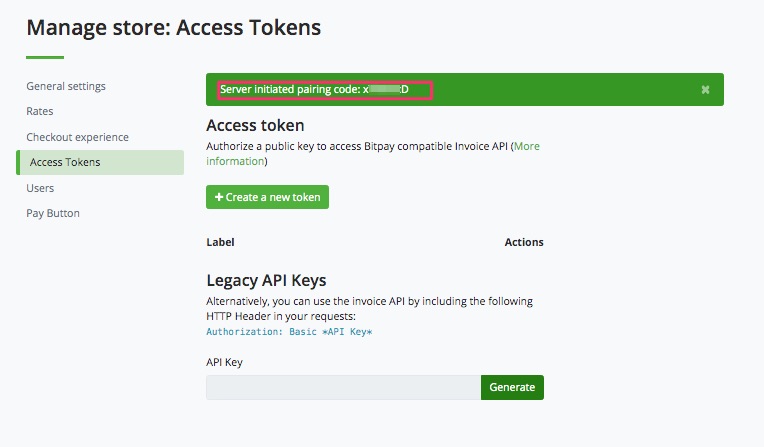
The pairing code is located in the green field and is about 7 characters long. We copy this pairing code and enter it into LibrePatron and we get the message “Pairing to BTCPa is complete”.
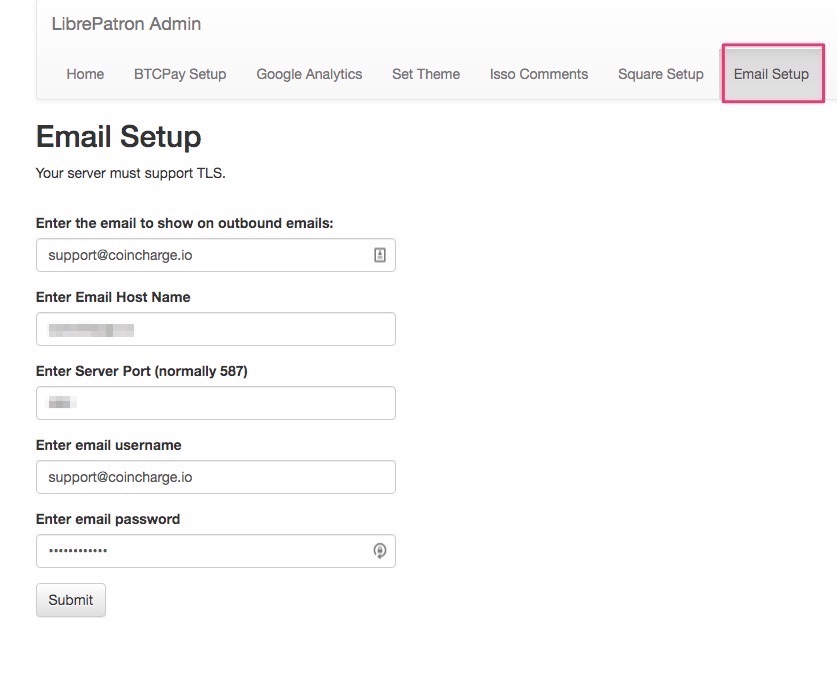
Email Setup
Bitcoin subscription payment requires members to be notified by email on each payment date. Accordingly, an email address must be stored, which will be used to send the email.
After you have entered the email details, you should send a test email. This email will be sent to the administration account.
Despite having several email accounts, we have not been able to send a test email.
Conclusion
The LibrePatron system in combination with a dedicated BTCPay server should be used for recurring payments via Bitcoin. It was developed as a Bitcoin alternative for the Patreon system.
Unfortunately, we have not been able to get the system to send automated emails. However, this is necessary to remind the customer each month to pay again. For this reason, we cannot give a final assessment. Unfortunately, LibrePatreon was unsuitable for our requirements. We have contacted the developer via Github. He has unfortunately had to inform us that further updates will not be made.
https://github.com/JeffVandrewJr/patron/issues/16
We then found the following solution for the customer Onlineshop24. We have included the WooCommerce Subscriptions addon in the WooCommerce store. This addon allows automated recurring payment for credit card and PayPal (Pull Payment). Then a manual recurring payment for all push payment payment methods like bitcoin or online transfers.
Now, customers receive automated emails every month to make payments via bitcoin. In case of non-payment, the service may be interrupted until the payment is made.
BTCPay suggests Pull Payments product for recurring bitcoin payments: https://docs.btcpayserver.org/PullPayments/
We do not consider this solution to be well suited for recurring payments. As far as we understand it, the payer would have to operate its own BTCPay server, put funds on the wallet there, from which a payee (merchant), can then debit the monthly payments.
This solution is feasible from a technical point of view, but it is not practical for a retailer to implement.
We see the potential uses of PullPayment in other places, which we will describe in more detail in the article “Creating Credit Notes”.
If readers of this article have had other experiences, we would be happy to receive feedback.





Leave a Reply
Your email is safe with us.